CI/CD with Stackery & Travis CI
Continuous integration/delivery is, fundamentally, concerned with modeling your software off a pipeline. If you’re reading this, you are likely aware of the plethora of tools designed to tackle this challenge. When we set out to create Stackery, we didn’t see a case for adding our name to that list when there were already useful tools we could integrate with instead.
Stackery overlaps with those other CI/CD platforms in terms of value. But our primary CI/CD service is the ease with which our serverless acceleration software works with the services you’ve already tried and loved— services like Travis CI.
The goal of this guide is to demonstrate how to automatically deploy a serverless application when commits are pushed to specific branches in the project's repository. By the end of this guide you'll have:
- One development environment to build, test, and manually deploy early versions of your serverless applications
- Two environments to automatically deploy staging and production-ready versions of those applications
- A customizable CI/CD workflow that integrates the Stackery CLI with Travis CI builds.
The source code used in this guide can be found in the Stackery + Travis CI repository
What you'll need:
- GitHub account (will be synced with Travis CI)
- Stackery Account with completed setup steps (Linked GitHub + AWS)
- Travis CI account
- First 100 builds free for private repositories (orgs)
- Always free for public repositories (open source)
- AWS Account to deploy
Stackery Setup
Add the environments
- Log in to Stackery, head to the Environments page, and select Add an Environment

- For this guide, create three separate environments dev, stg, and prod
- Each environment will exist in that same AWS account and region, us-east-1

Add a stack
- Next up, navigate to the Stacks page, then select Add a Stack

- For the Git Hosting Provider select
GitHub - Name it
stackery-travis-demo, and create a new, blank repo in the Stackery GitHub
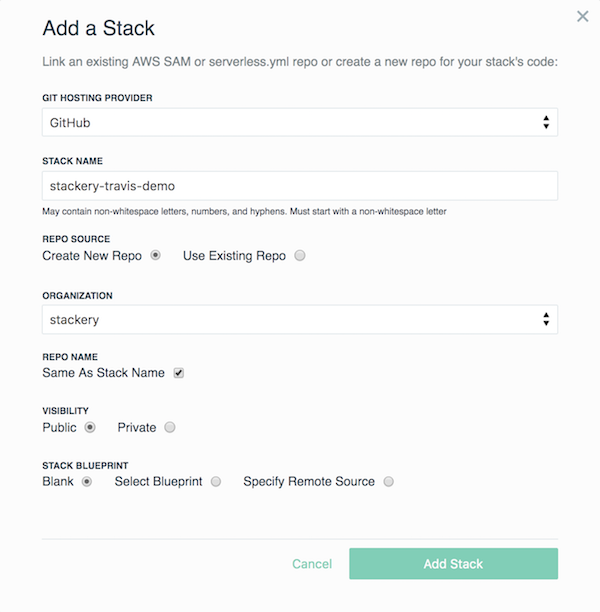
- Once the stack is created, select the link under the stack name to go to the stack's GitHub repo
- Clone the repo in a terminal window and
cdinto it, we'll come back to it shortly
Working with Travis CI
Setting up Travis CI
- Head over to Travis CI to get started
- If you already have an account go ahead and skip this section. If not, select 'Sign up with GitHub'
- Setup steps are easy to follow and will guide you through the process of syncing up your GitHub repos with Travis CI
Gather deployment credentials
Two sets of credentials are needed to deploy a stack using Stackery:
- AWS credentials (see the AWS docs for a description of access keys and how to create them)
- Stackery credentials
To create Stackery credentials for your Travis CI builds login to Stackery then navigate to Settings > CLI Tokens. Create a new token:
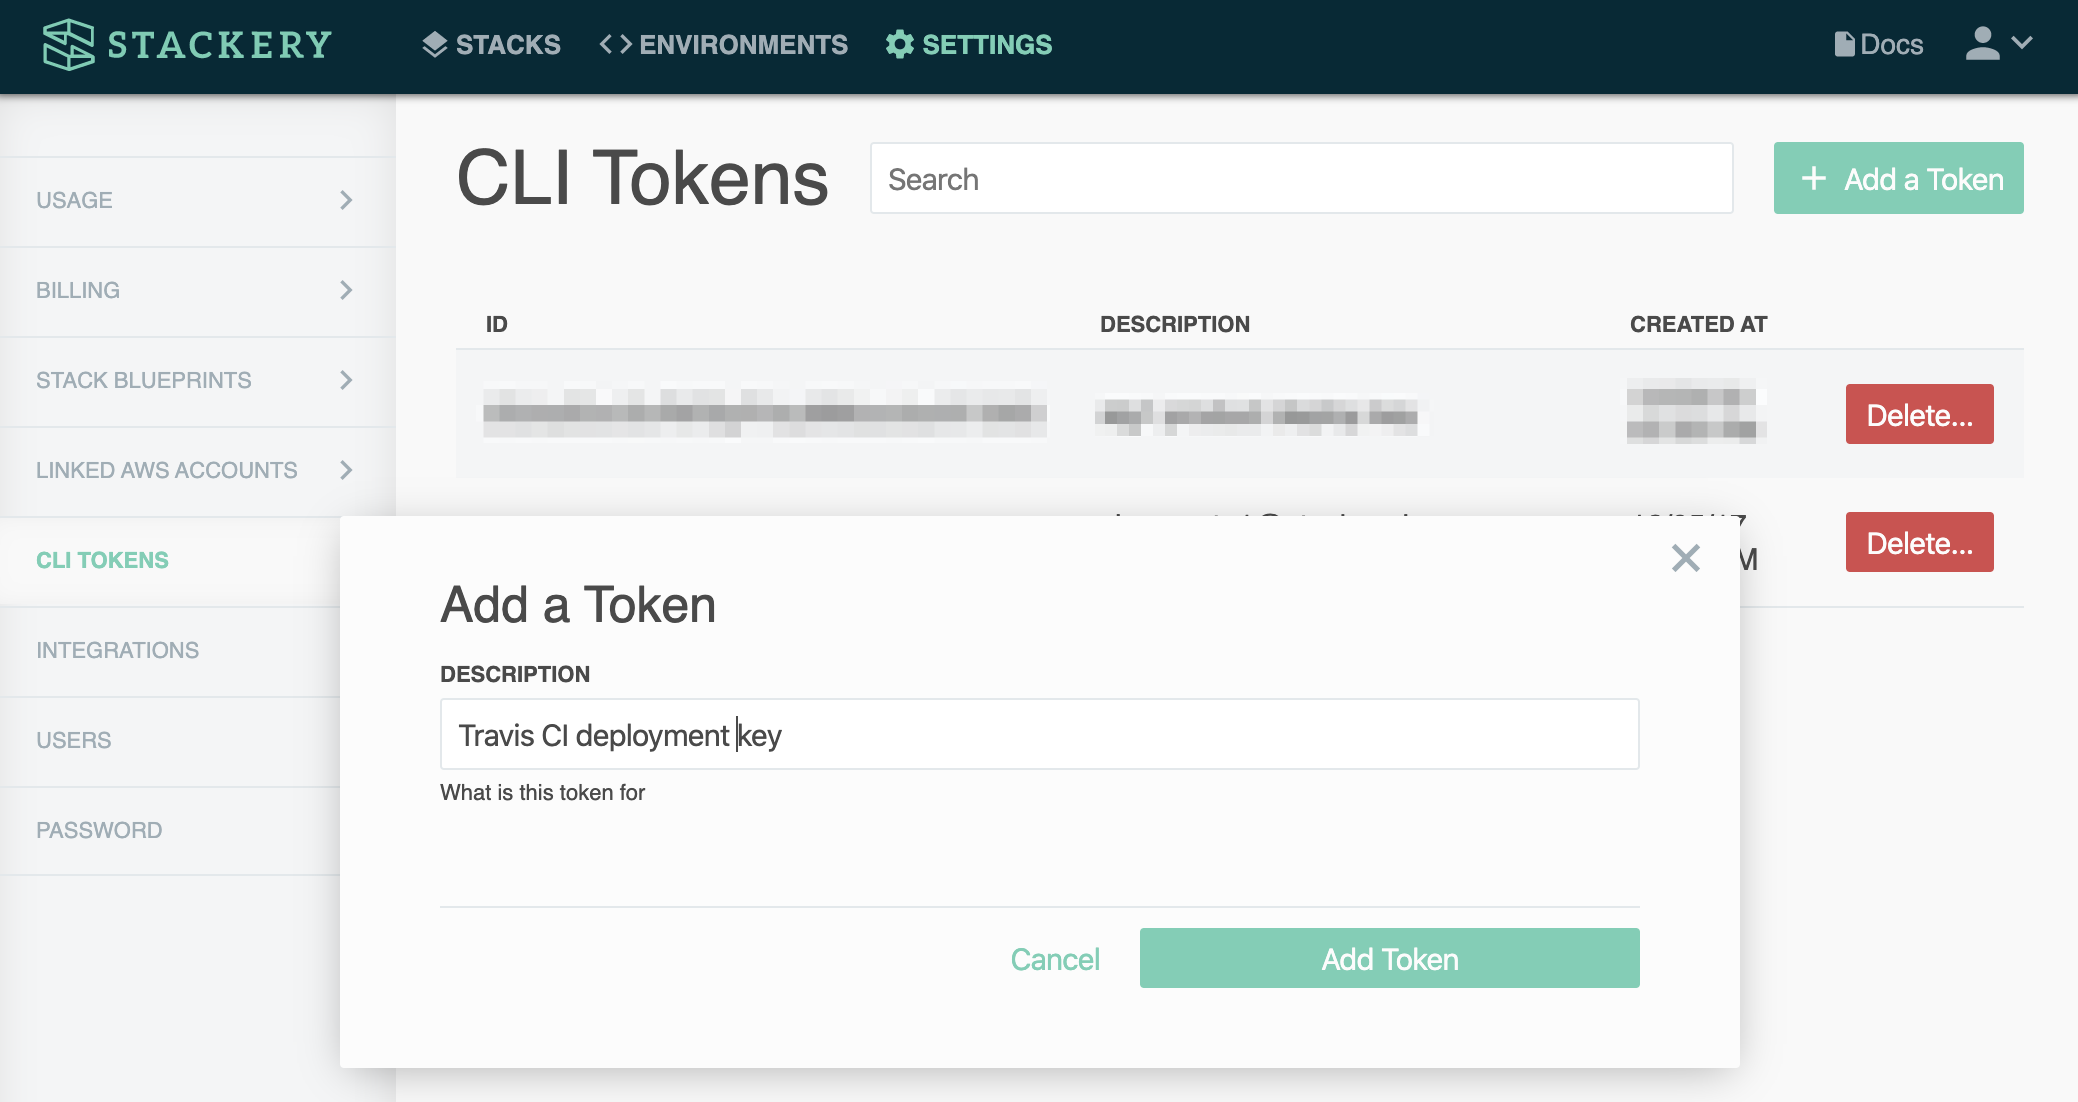
Now copy the generated key and secret for use in the next step.
Storing secrets in Travis CI
- With GitHub repos synced and populated on the Travis CI homepage, select the repo
stackery-travis-demo - The
.travis.ymlanddeploy.shfiles don't exist in this repo yet, so we should be greeted with the following:
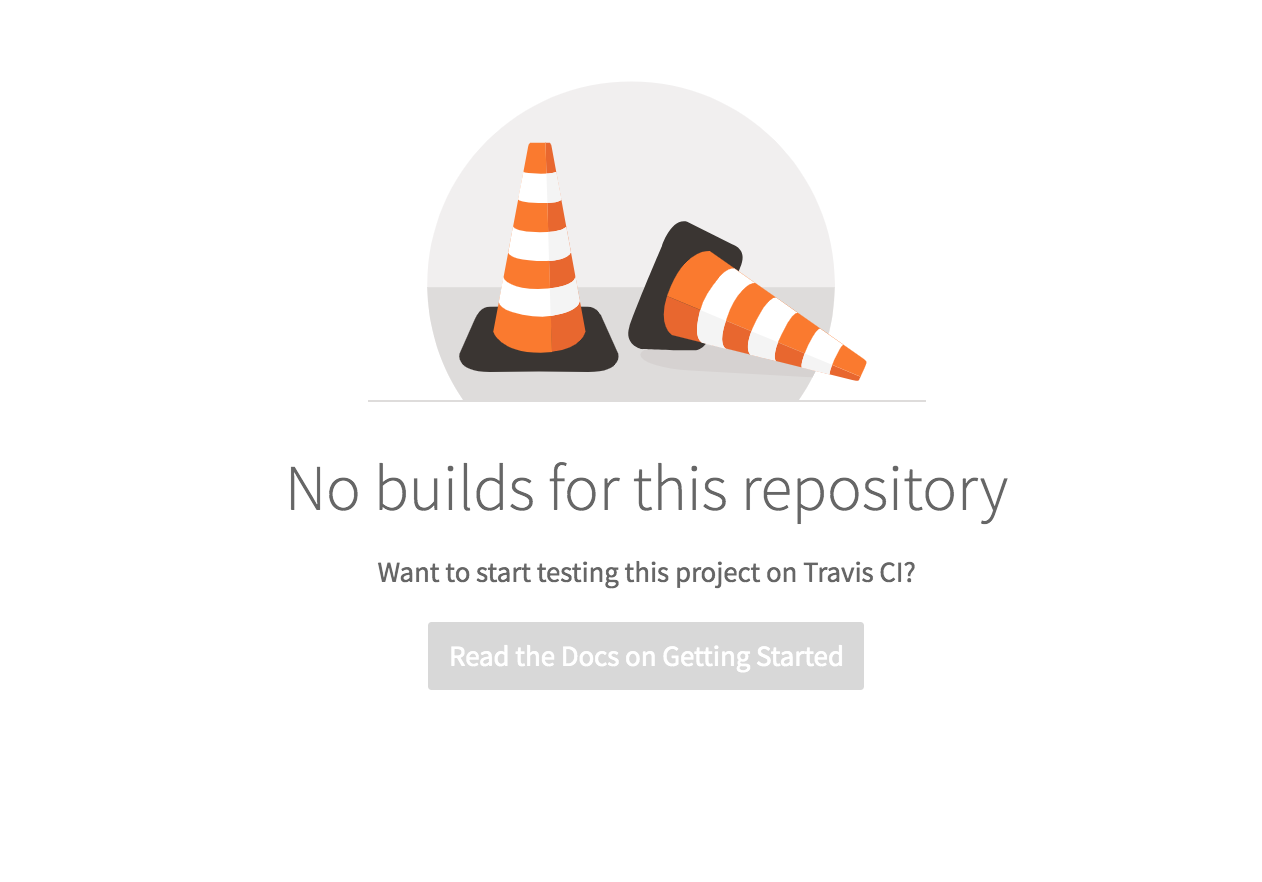
- Before adding those files to our repo, we'll define the secrets that will be used in
deploy.sh - Select More options on the top right, then Settings
- On the Settings page, scroll down to Environment Variables and add the following using your AWS and Stackery credentials:
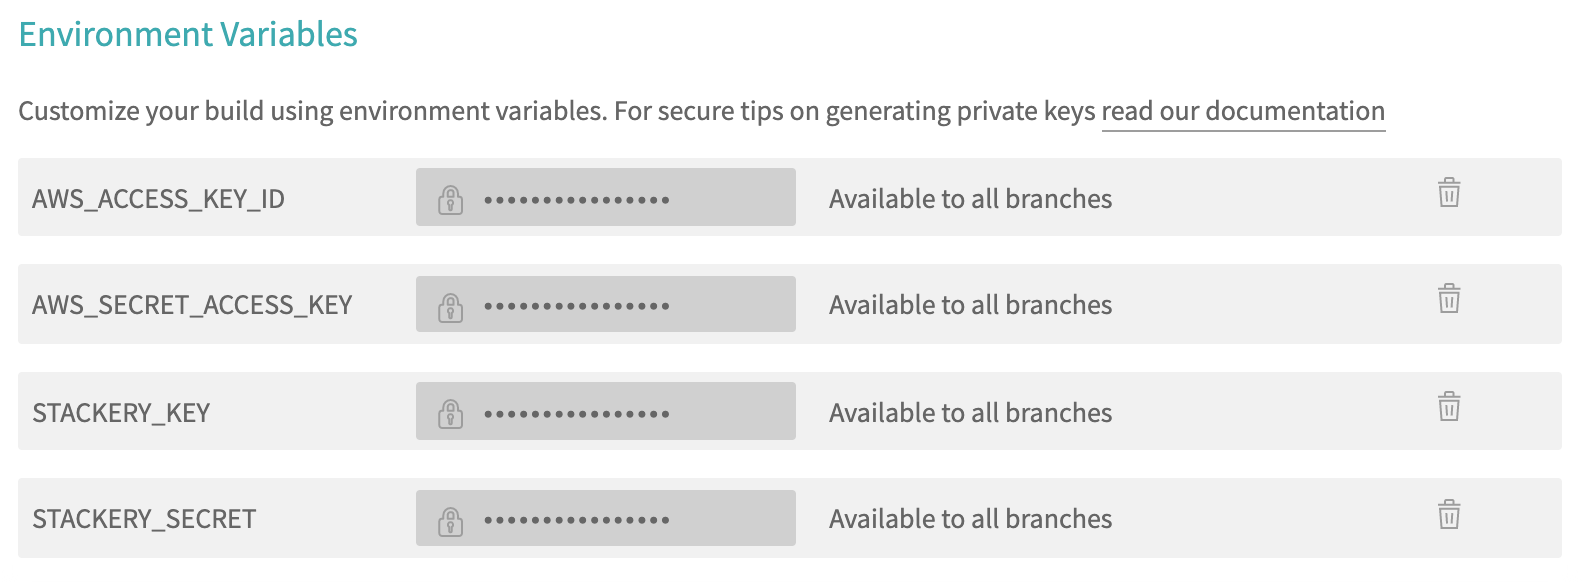
Travis CI files
- Back in the terminal window, in
stackery-travis-demo, add a file named.travis.yaml - Next, create a directory called
scripts, then add a file into it nameddeploy.sh stackery-travis-demoshould now look like this:
stackery-travis-demo
  |scripts
    |- deploy.sh
  |.travis.yml
  |template.yaml
Configuring .travis.yml
Open stackery-travis-demo in a code editor paste in the following code snippet into .travis.yml
language: bash
branches:
  only:
    - stg
    - master
deploy:
  provider: script
  script: bash scripts/deploy.sh
We configure Travis CI to run using bash as the build language.
The branches property and its only sub property serve as a conditional for the build. It tells Travis to care only about changes that have been pushed to the stg or master branches in the repository. This is so Travis doesn't run this build and the Stackery deploy script every time we commit and push to our dev branch.
Travis will also recognize when a pull request has been opened on either stg or prod and run a pull request build that skips the deployment.
Under deploy we have a provider property that informs Travis we'll be feeding in a custom script to run on this build. The script property runs a bash command that searches this repo for scripts/deploy.sh and runs the script inside. The script includes the Stackery CLI commands needed to deploy our stack to CloudFormation, which we cover next.
Customizing Travis with deploy.sh
Paste in the following code snippet into scripts/deploy.sh
# Linux OS curl to download + install Stackery
curl -Ls --compressed https://ga.cli.stackery.io/linux/stackery > /tmp/stackery
sudo -i chmod a+x /tmp/stackery

stackery=/tmp/stackery
branch=$TRAVIS_BRANCH
repo=$TRAVIS_REPO_SLUG
repo=${repo#*/} # Remove 'github-owner/' from the string to retrieve 'repo-name'

# Set '$env' to 'prod' or branch name
[[ "$branch" == "master" ]] && env="prod" || env="$branch"

# Deploy to Stackery using AWS access and secret keys
echo "Deploying stack $repo to environment $env using git branch $branch"
$stackery deploy -n $repo -e $env -r $branch --non-interactive
If you've installed the Stackery CLI before, you'll recognize the first two lines. This curl command allows Travis to download and install Stackery into the virtual machine's tmp folder and modify it to be an executable file.
Lines 4-7 are variable definitions to improve the readability of the Stackery CLI commands that follow. Variables that begin with $TRAVIS are the default environment variables provided by Travis CI. The secret values that we populated this repo's settings with earlier can all be accessed by appending $ to the key name, like $STACKERY_EMAIL.
The next condition statement assigns the value prod to our $env variable when the branch being pushed to, is master. This is because we set up our environments to have a prod environment instead of naming it 'master'. Since this build only runs for the stg and master branches, the only other value $env could hold is stg.
The next CLI command is the most important: stackery deploy. This command deploys the stack stored in our repository to the AWS environment that matches up with the repository branch we've pushed to. It uses our Stackery credentials stored in Travis environment variables to prepare a change set, and then uses our AWS credentials, also stored in Travis, to access CloudFormation and deploy our stack. The --non-interactive argument instructs the CLI to immediately fail if it's missing any information instead of trying to prompt for information as though the command were run by a human user.
Initial Travis CI build
- Back in the terminal, in
stackery-travis-demo, commit and push these new changes tomaster - On the Travis CI site, notice the first build is running
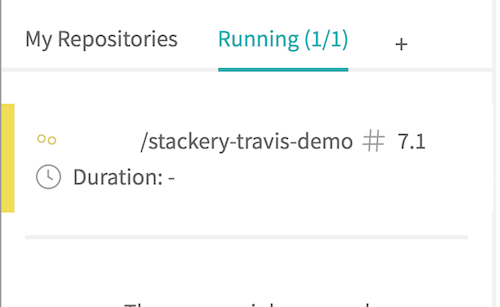
- Click on the job number on the right to open up the current build job, it will be in run for a few minutes

- Once the build passes, open up the Job Log below

- If we open up Deploying application, we'll see the messages logged in our bash script followed by AWS account info and the Stackery CLI deploying an empty stack to CloudFormation
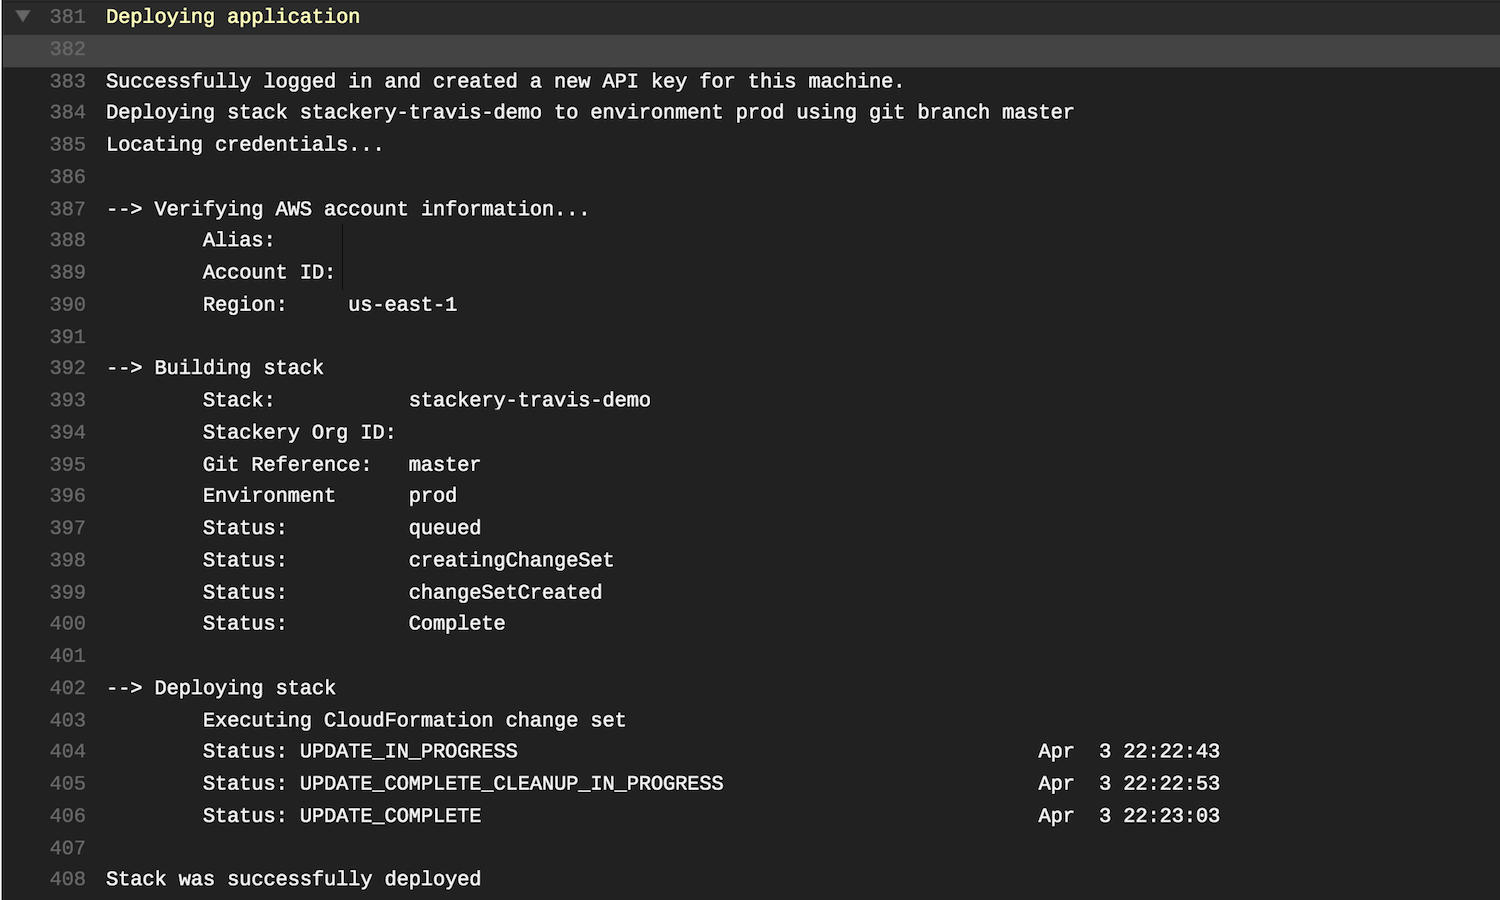
- On the Stackery homepage, we can verify the stack has been deployed to the correct
prodenvironment under Recent Activity

Now that our master branch has been pushed to our GitHub repo, any branches derived from master will have the required .travis.yml and deploy.sh files for them to trigger a Travis CI build. A .travis.yml file needs to be present on all active branches in the repo
Bringing it all together
This section illustrates the following example workflow:
- Develop the serverless application with Stackery in the
devbranch - In GitHub, submit and approve a pull request to merge changes in
devintostgbranch - Once merged in GitHub, Travis CI runs our custom script to deploy an updated stack to the
stgenvironment in AWS
Stackery
In the stack
stackery-travis-demo, we'll create two branchesdevandstgeach branching from master. When we were configuring our Travis files, we mentioned that we want these two branches to match the Stackery Environments they'll be deploying to.After creating the
devbranch, selectmasterfrom the drop down option again, then Create branch to create thestgbranch. This is to ensure both branches stem frommasterand to avoid possible merge conflicts on future pull requests.
- In the
devbranch, add a Function resource (don't worry about configuring it) - Select Commit and confirm.
- Commiting in Stackery will push these changes to the
devbranch.
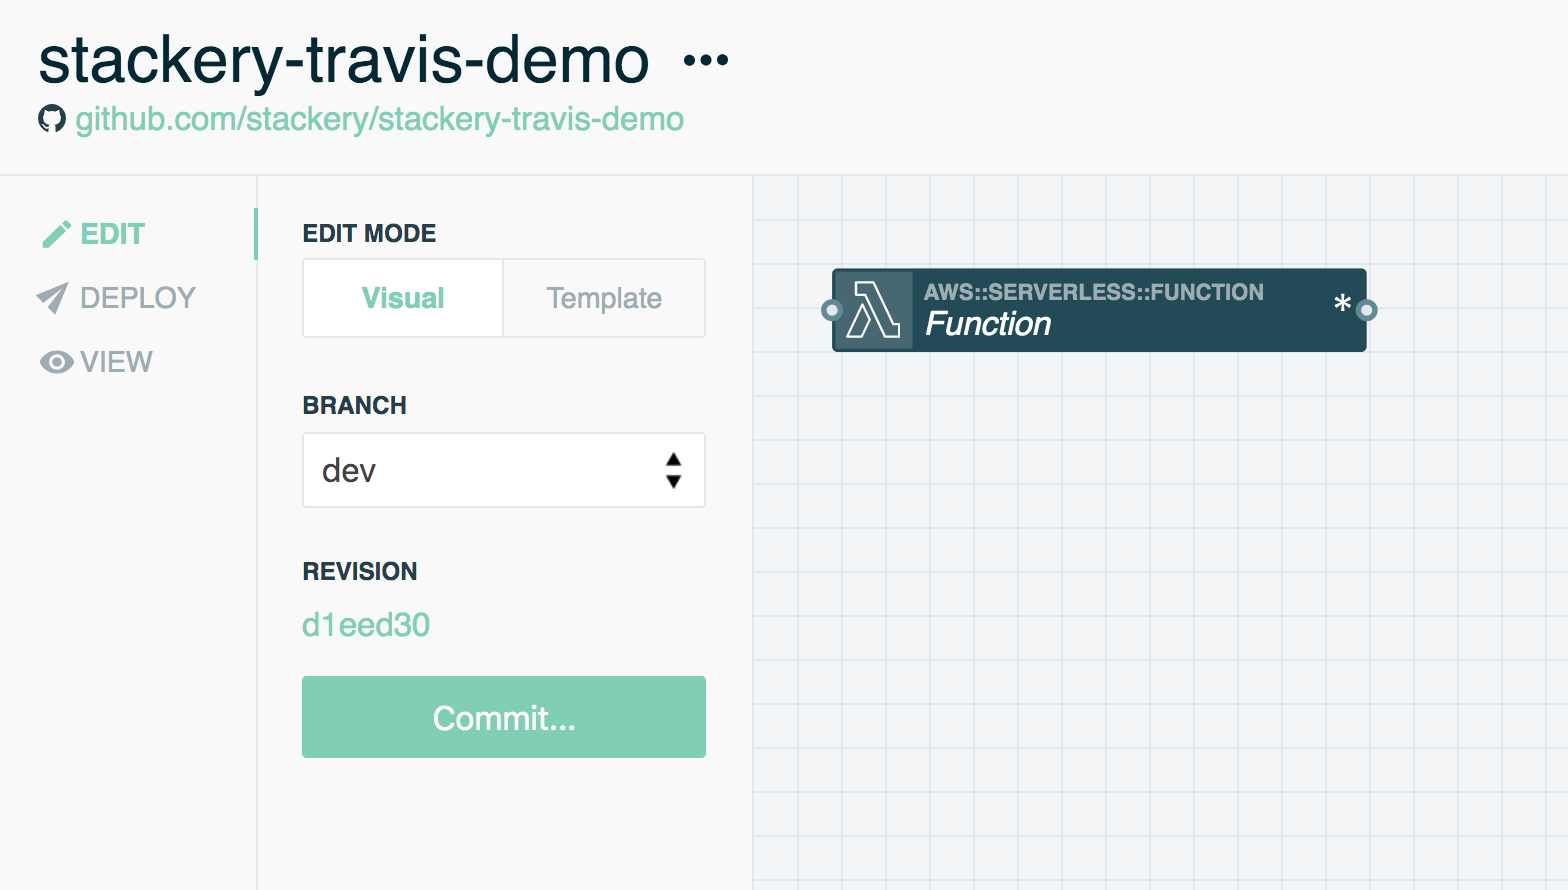
This push will not trigger a Travis CI build since we specified in .travis.yml to only run when we push to the stg or master branches.
GitHub
In the
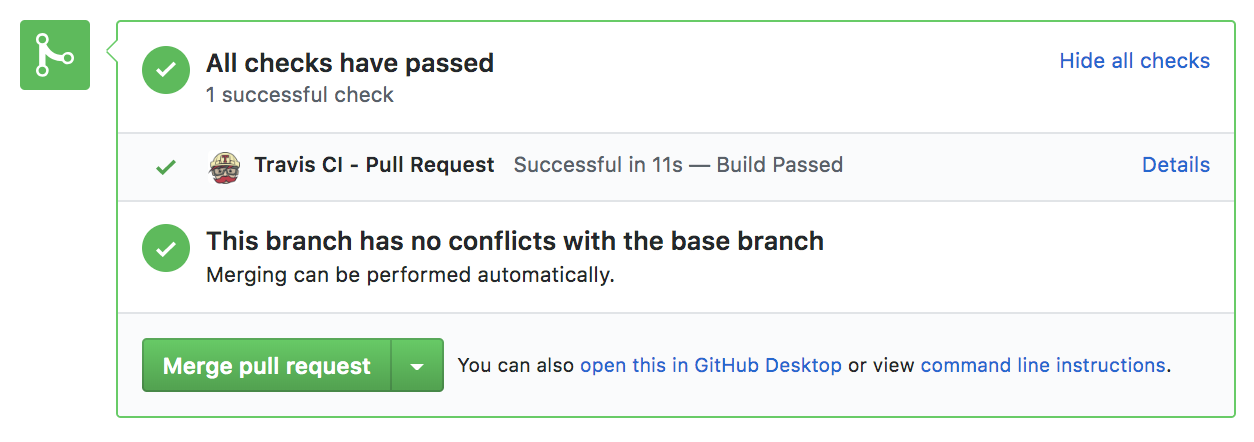
stackery-travis-demorepo, submit a pull request to merge the changes indevinto thestgbranchThis pull request will start a new build in the Travis dashboard, but will not run the
deploy.shscript. In this guide, we're more interested in the Travis build that occurs as a result of the mergeThe Job Log of a pull request Travis build has the following message at the very bottom:

- Other developers will typically review the pull request, but let's assume this a perfect PR and merge it in.
Travis CI
- Soon after the pull request is merged, notice a new build running for the
stgbranch in our Travis CI dashboard - Once it passes, open up Deploying application in the Job Log to verify the stack has been updated successfully
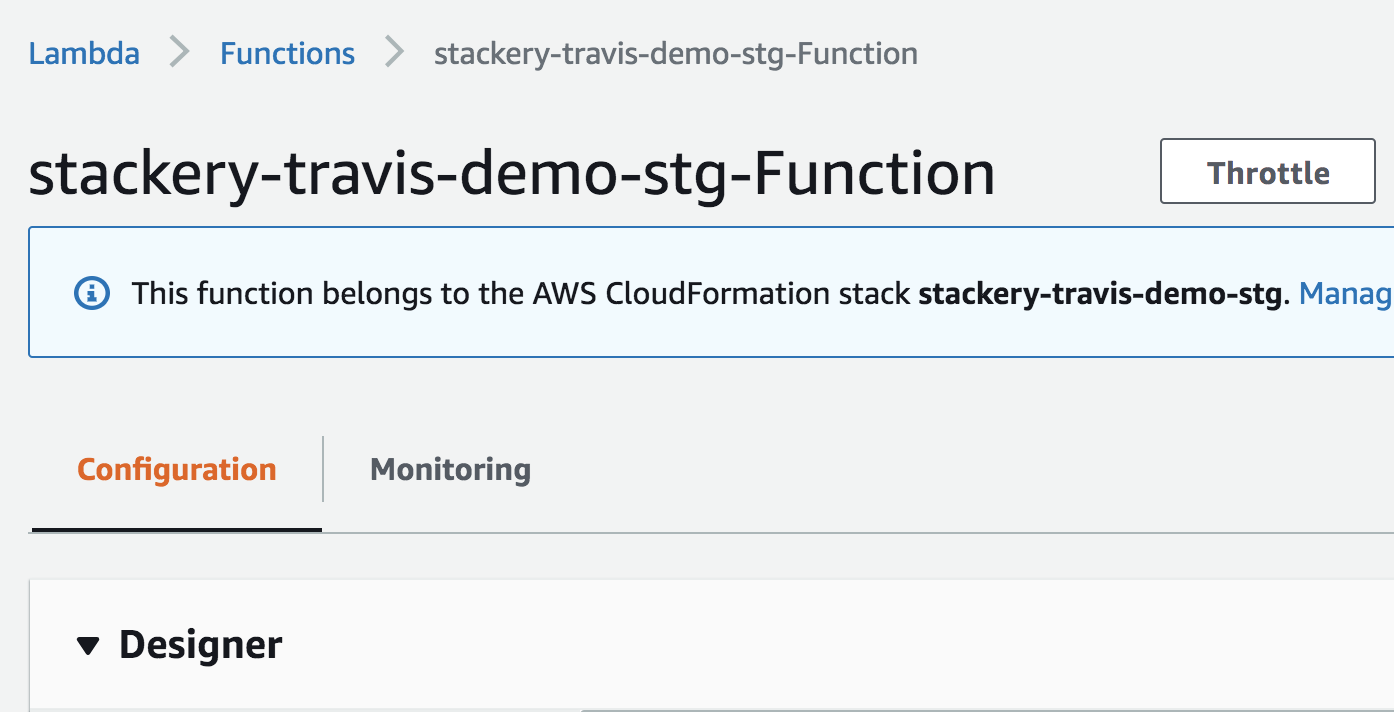
You can also verify in the AWS console, that Function resource has been created in the stg environment

Repeat this process when the stack in the stg environment completes its required tasks or tests and is ready to be deployed to the prod environment.
Developing and deploying your stack is now a part of a CI/CD process!
Again, there are preexisting tools to help you with the middle of the continuous integration and delivery process. Stackery comes in to help at both the beginning and end of your existing CI/CD procedure: initially, when you are creating and defining your infrastructure and finally, during the namespacing of environments across multiple AWS accounts.
With Stackery’s seamless integration into your existing toolkit, CI/CD is truly continuous— throughout the entire lifecycle of development.
