Stackery Dashboard
Stackery gives you the option to work in two ways: the Command Line Interface (CLI) and the Stackery Dashboard, a GUI you can access in the browser.

This guide will show you all of the components of the Stackery Dashboard and how they work together.
Home Page
When you log in to your Stackery account, you will land on the Home Page:

The Home Page is an at-a-glance summary of your activity in Stackery.
It shows how many stacks, environments and deployments you have total, and provides quick links to view your stacks or environments list. It also has a log of the recent activity by you or other users in your organization, so you can quickly see what your team has been up to every time you log in.
Chat Widget
Should you encounter any problems or have any questions, help is just a click away! Just click on the chat icon in the lower right corner of the canvas, and one of our engineers will help you out.
Stacks
List Stacks
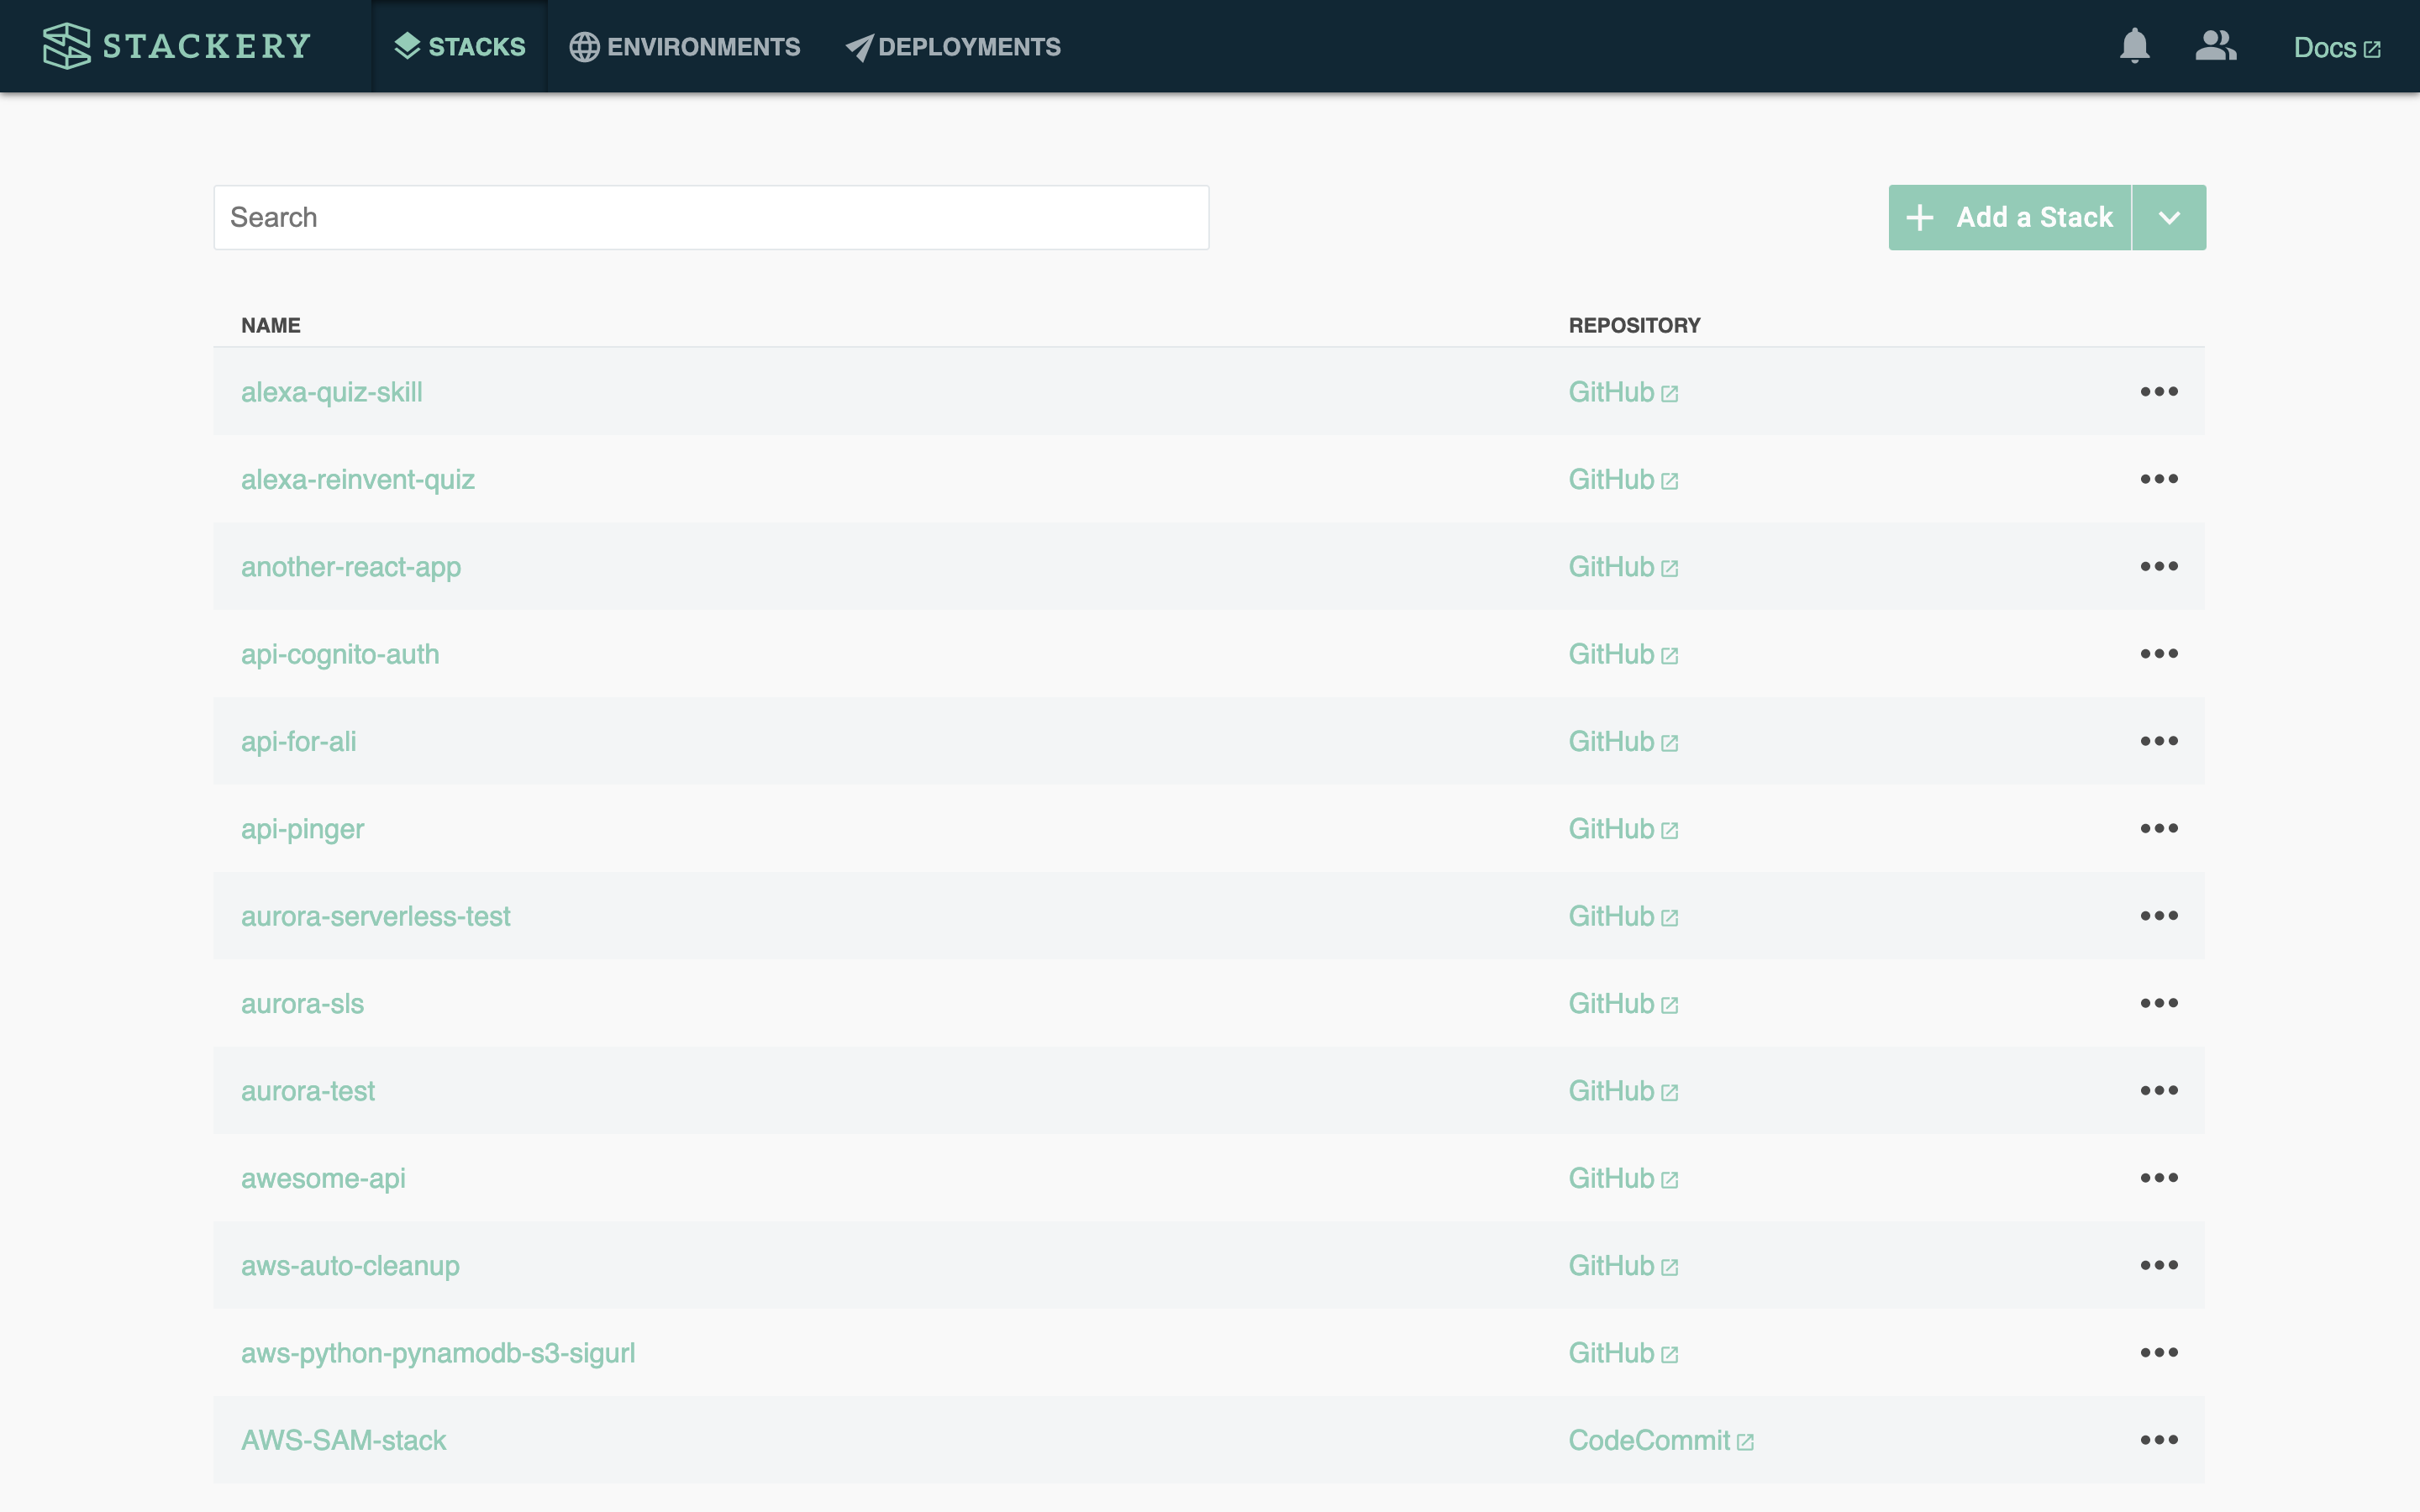
The Stack List view lists all of your serverless applications, both those that are deployed as well as those still in development. It also includes information about their repositories.
This is also where you can create a new stack in the Dashboard.
Clicking on the stack name will take you to the edit or deployment view for that stack.
Clicking on the repository name will take you to the repository page for that stack, either on GitHub, GitLab or another supported git hosting provider. The options button on the far right allows you to rename or delete your stacks.
Creating a new stack
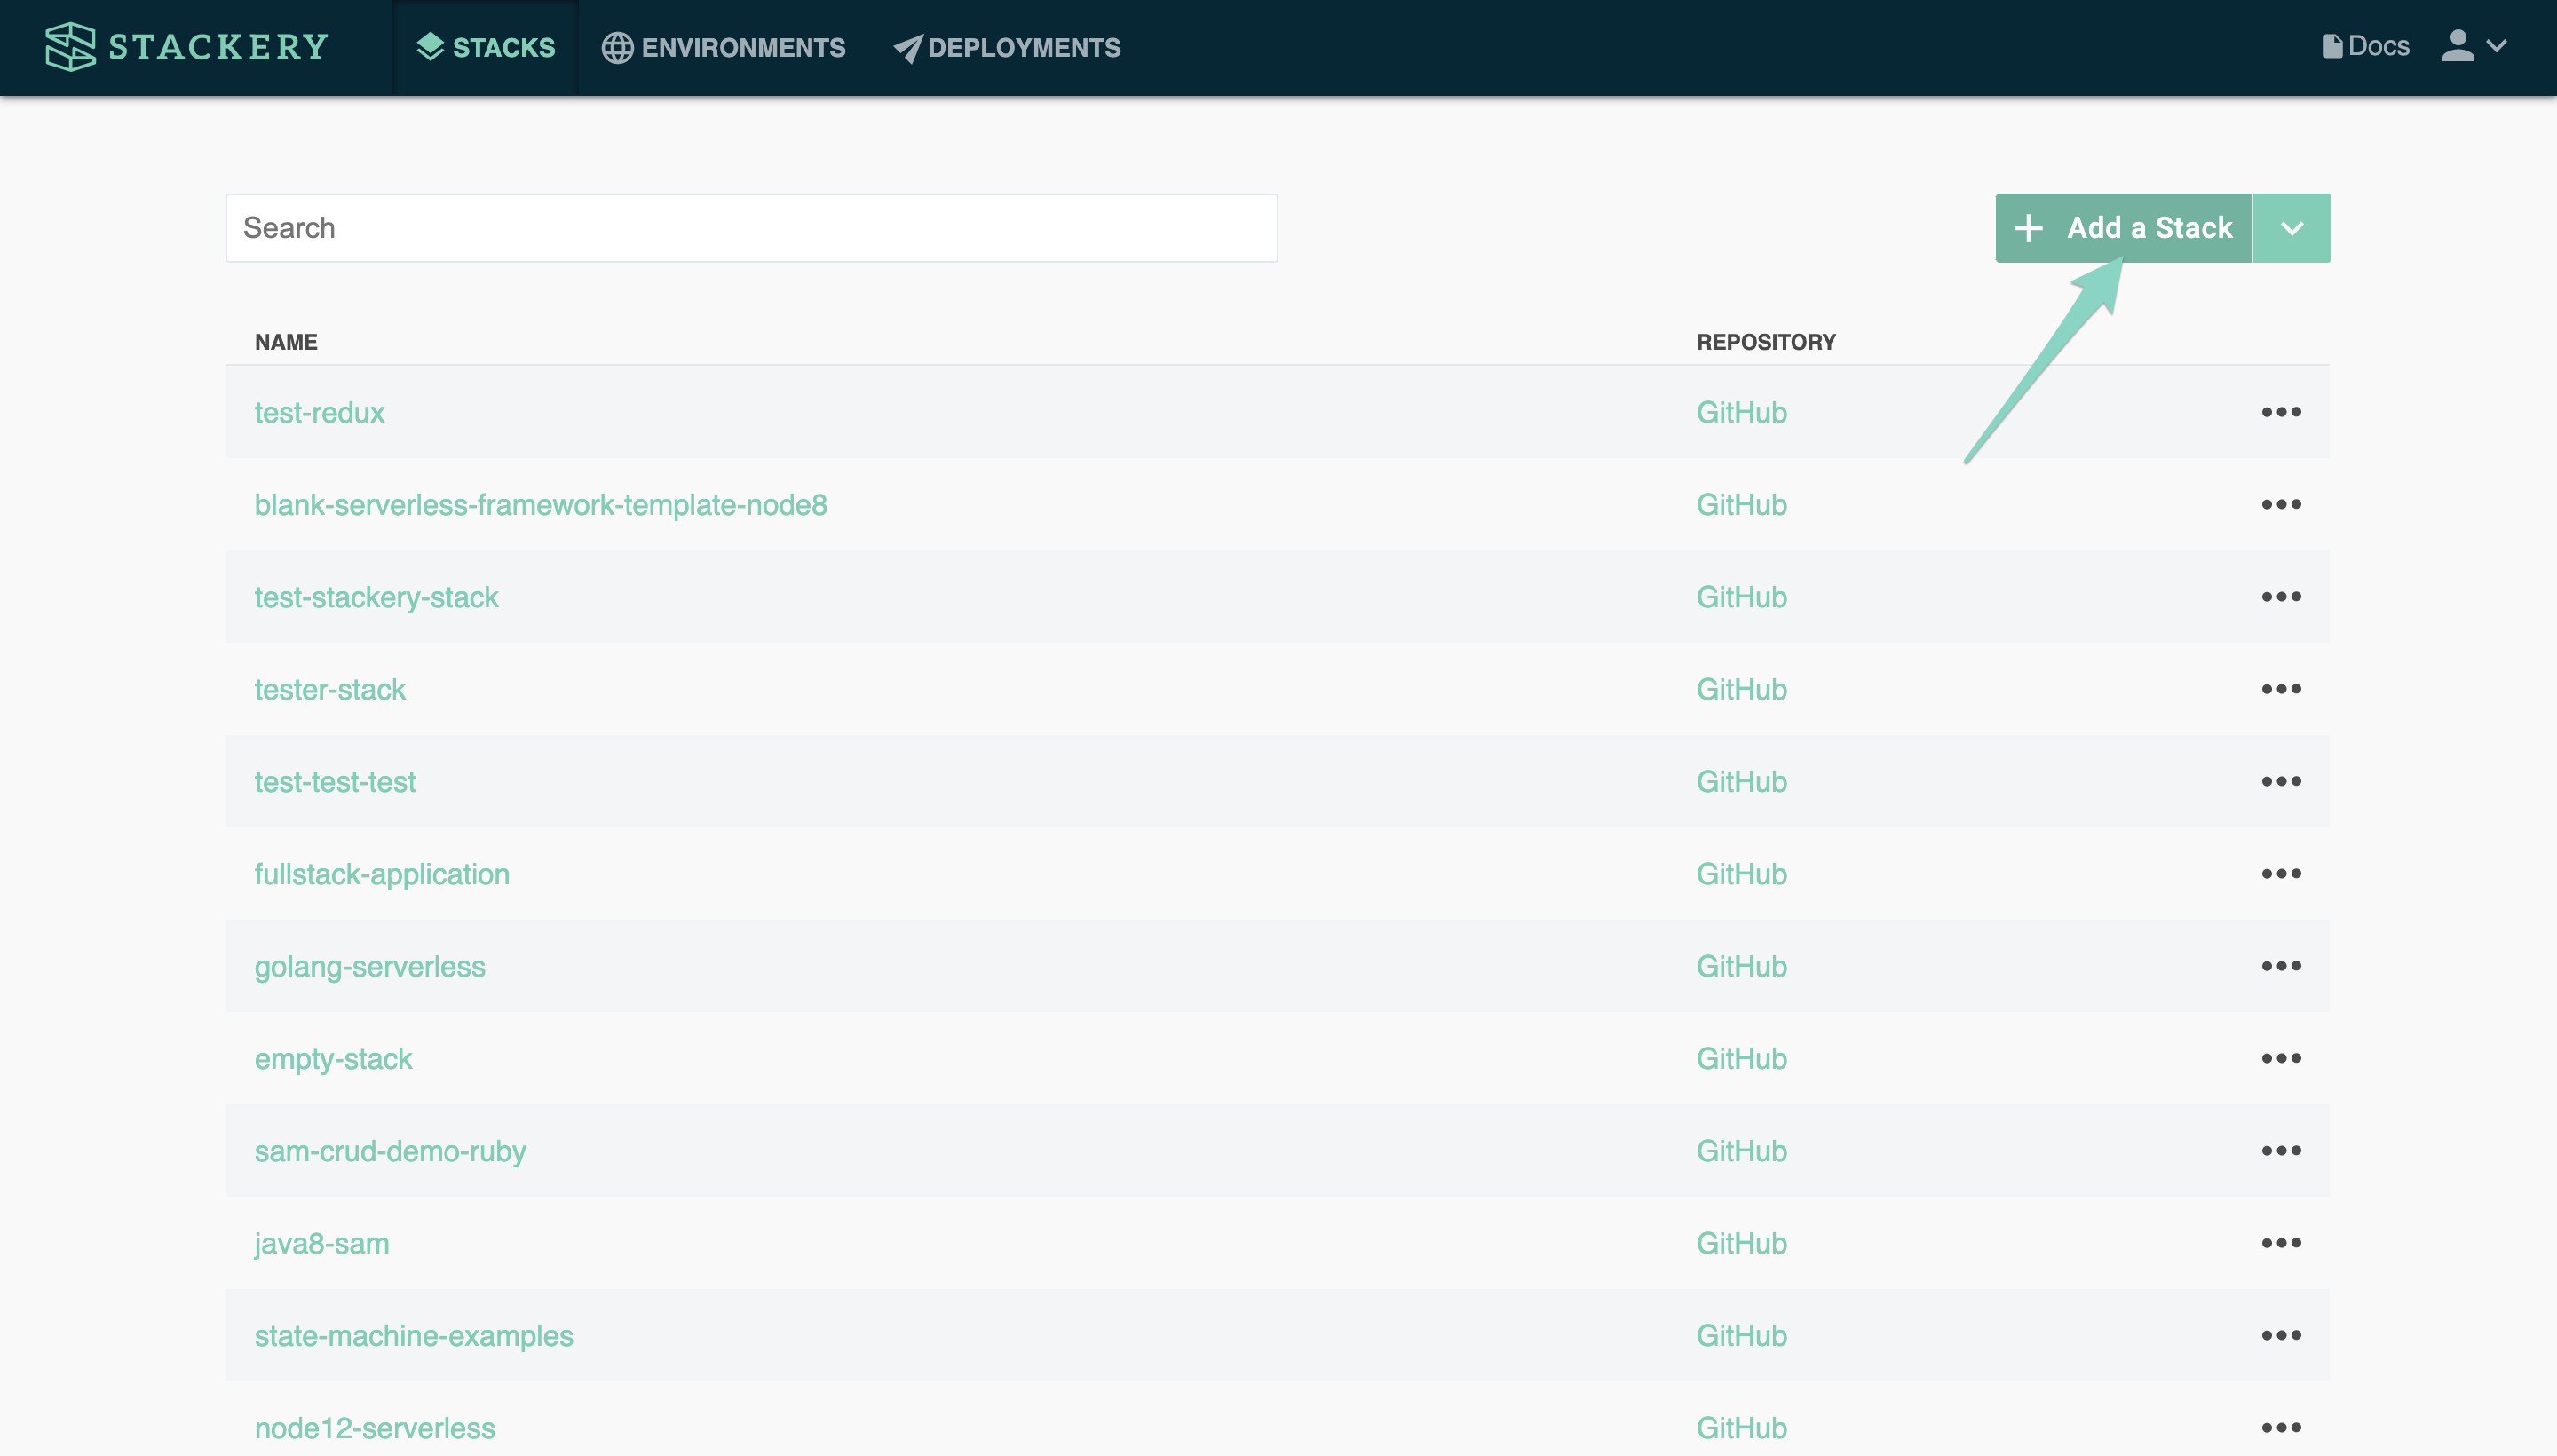
To instantly create a new stack, click the Add a Stack button and you will be dropped into a blank canvas with a blank template.
A blank template is just the bare minimum of yaml required to indicate a CloudFormation Stack:
AWSTemplateFormatVersion: '2010-09-09'
Transform: 'AWS::Serverless-2016-10-31'
Resources: {}
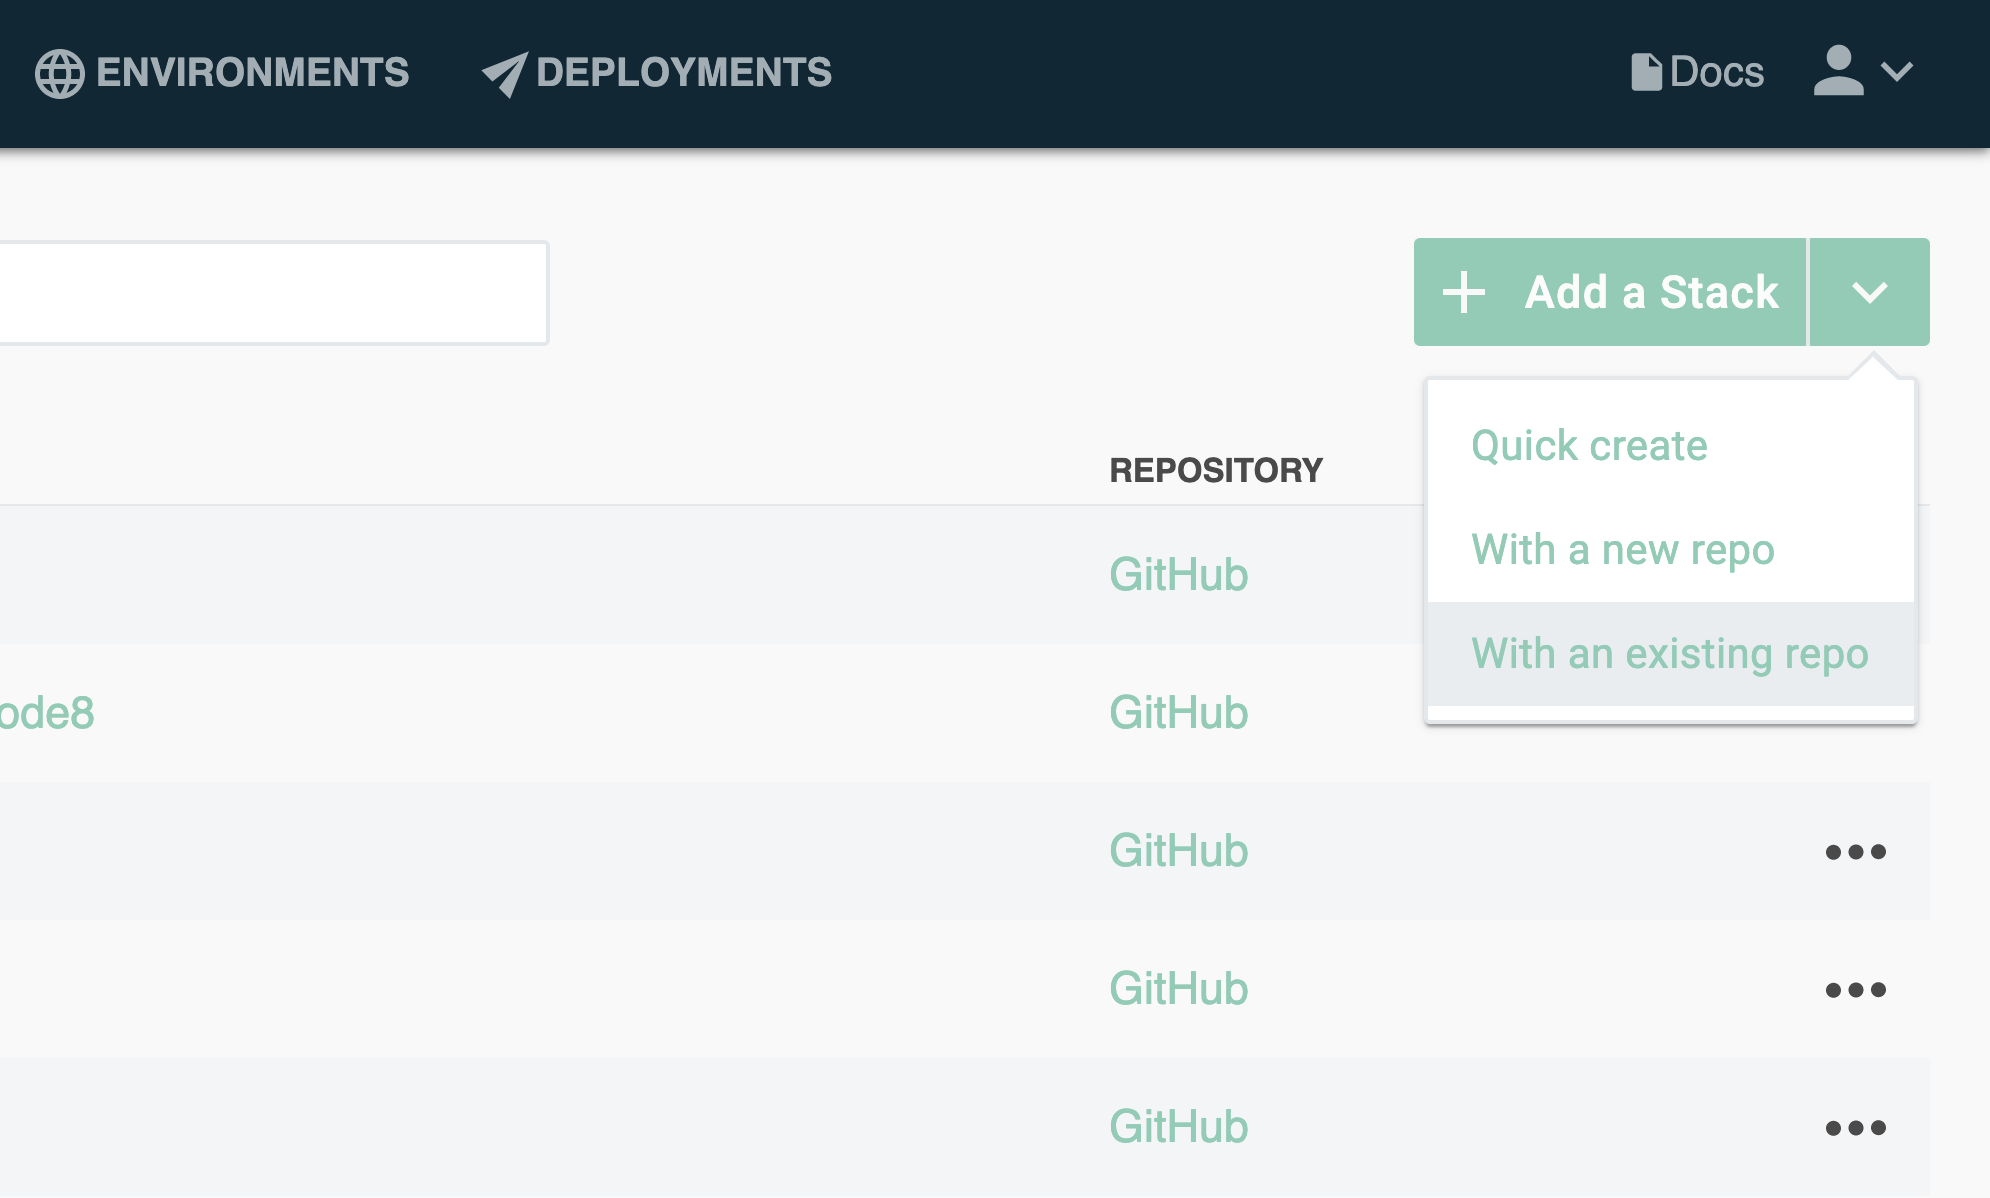
There are two ways to create a new stack: the "Quick Create" described above, or directly creating a new repository with your Git provider. You can choose between these options in the Add a Stack dropdown menu:
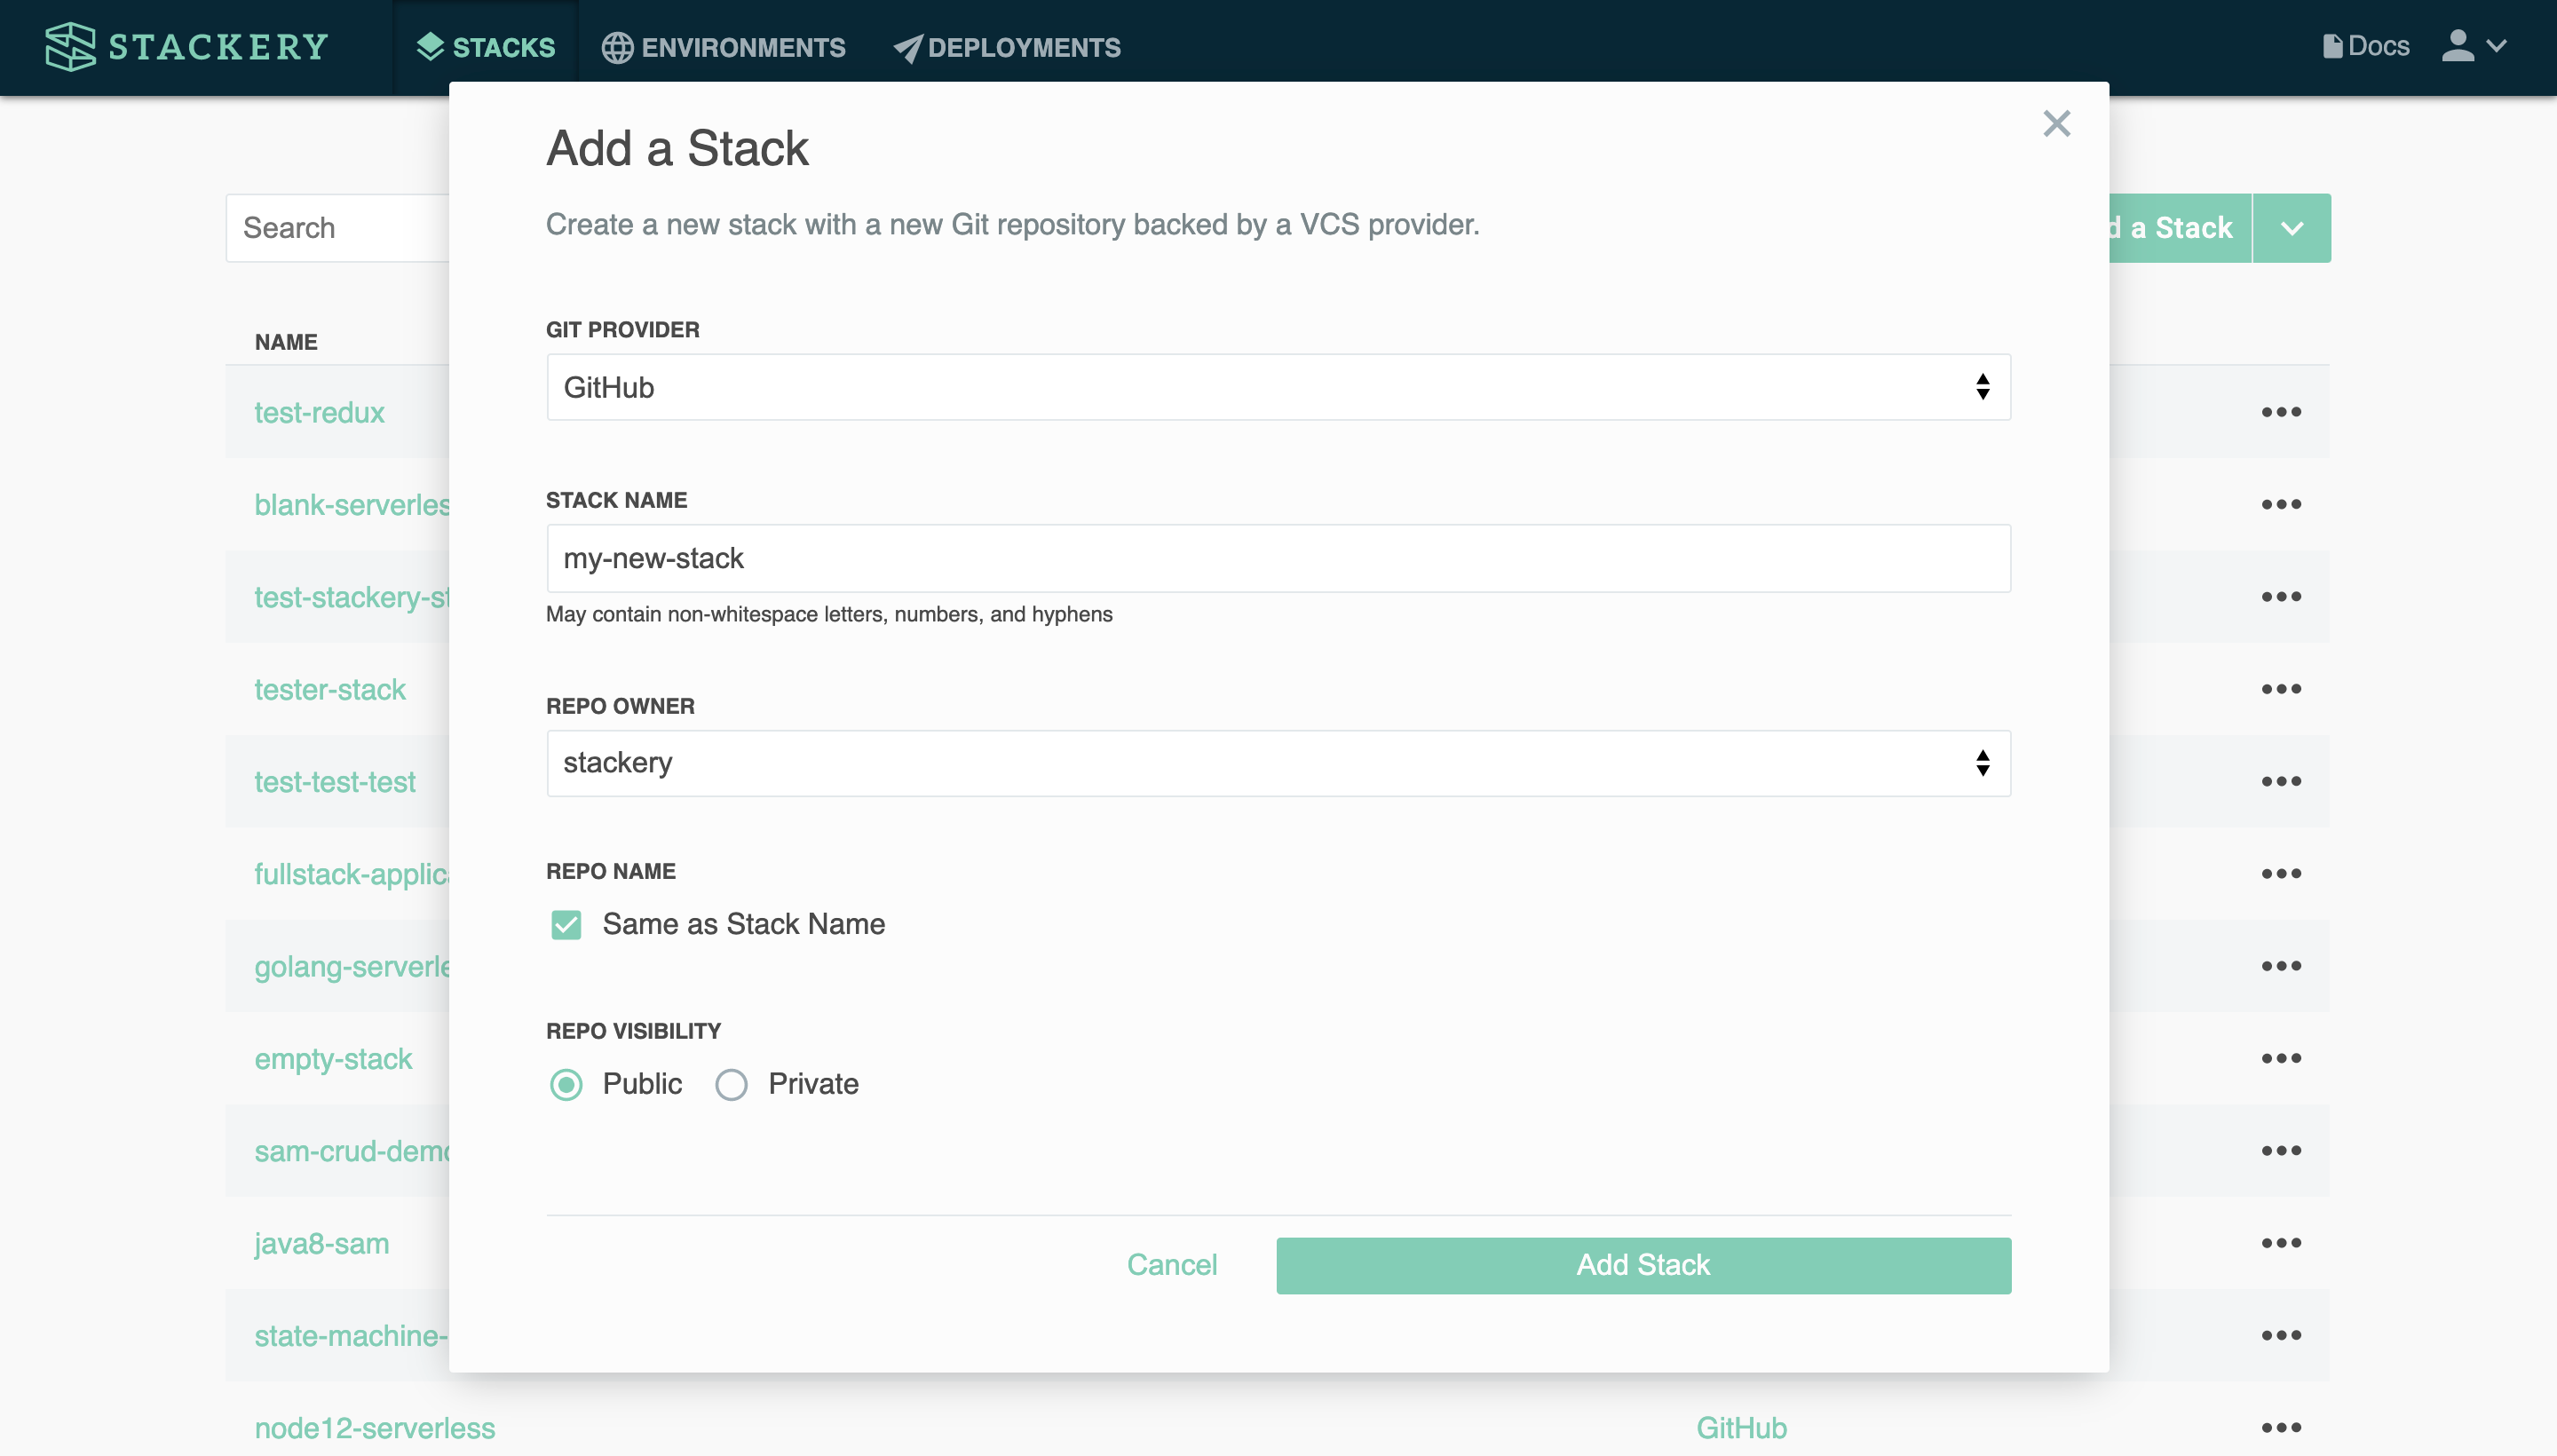
To add a stack and create a Git repository at the same time, select With a new repo. You'll be prompted to choose your Git provider and link if you haven't done so before, then you can give your stack a name (the repo name will be the same by default), choose whether to house the repo in your organization or another, and select public or private visibility.
Importing an existing stack
Instead of creating a new Git repository, Stackery will use the provided repository directly when choosing to import a stack. This means, for example, that modifications to the stack will be committed directly to the imported repository.
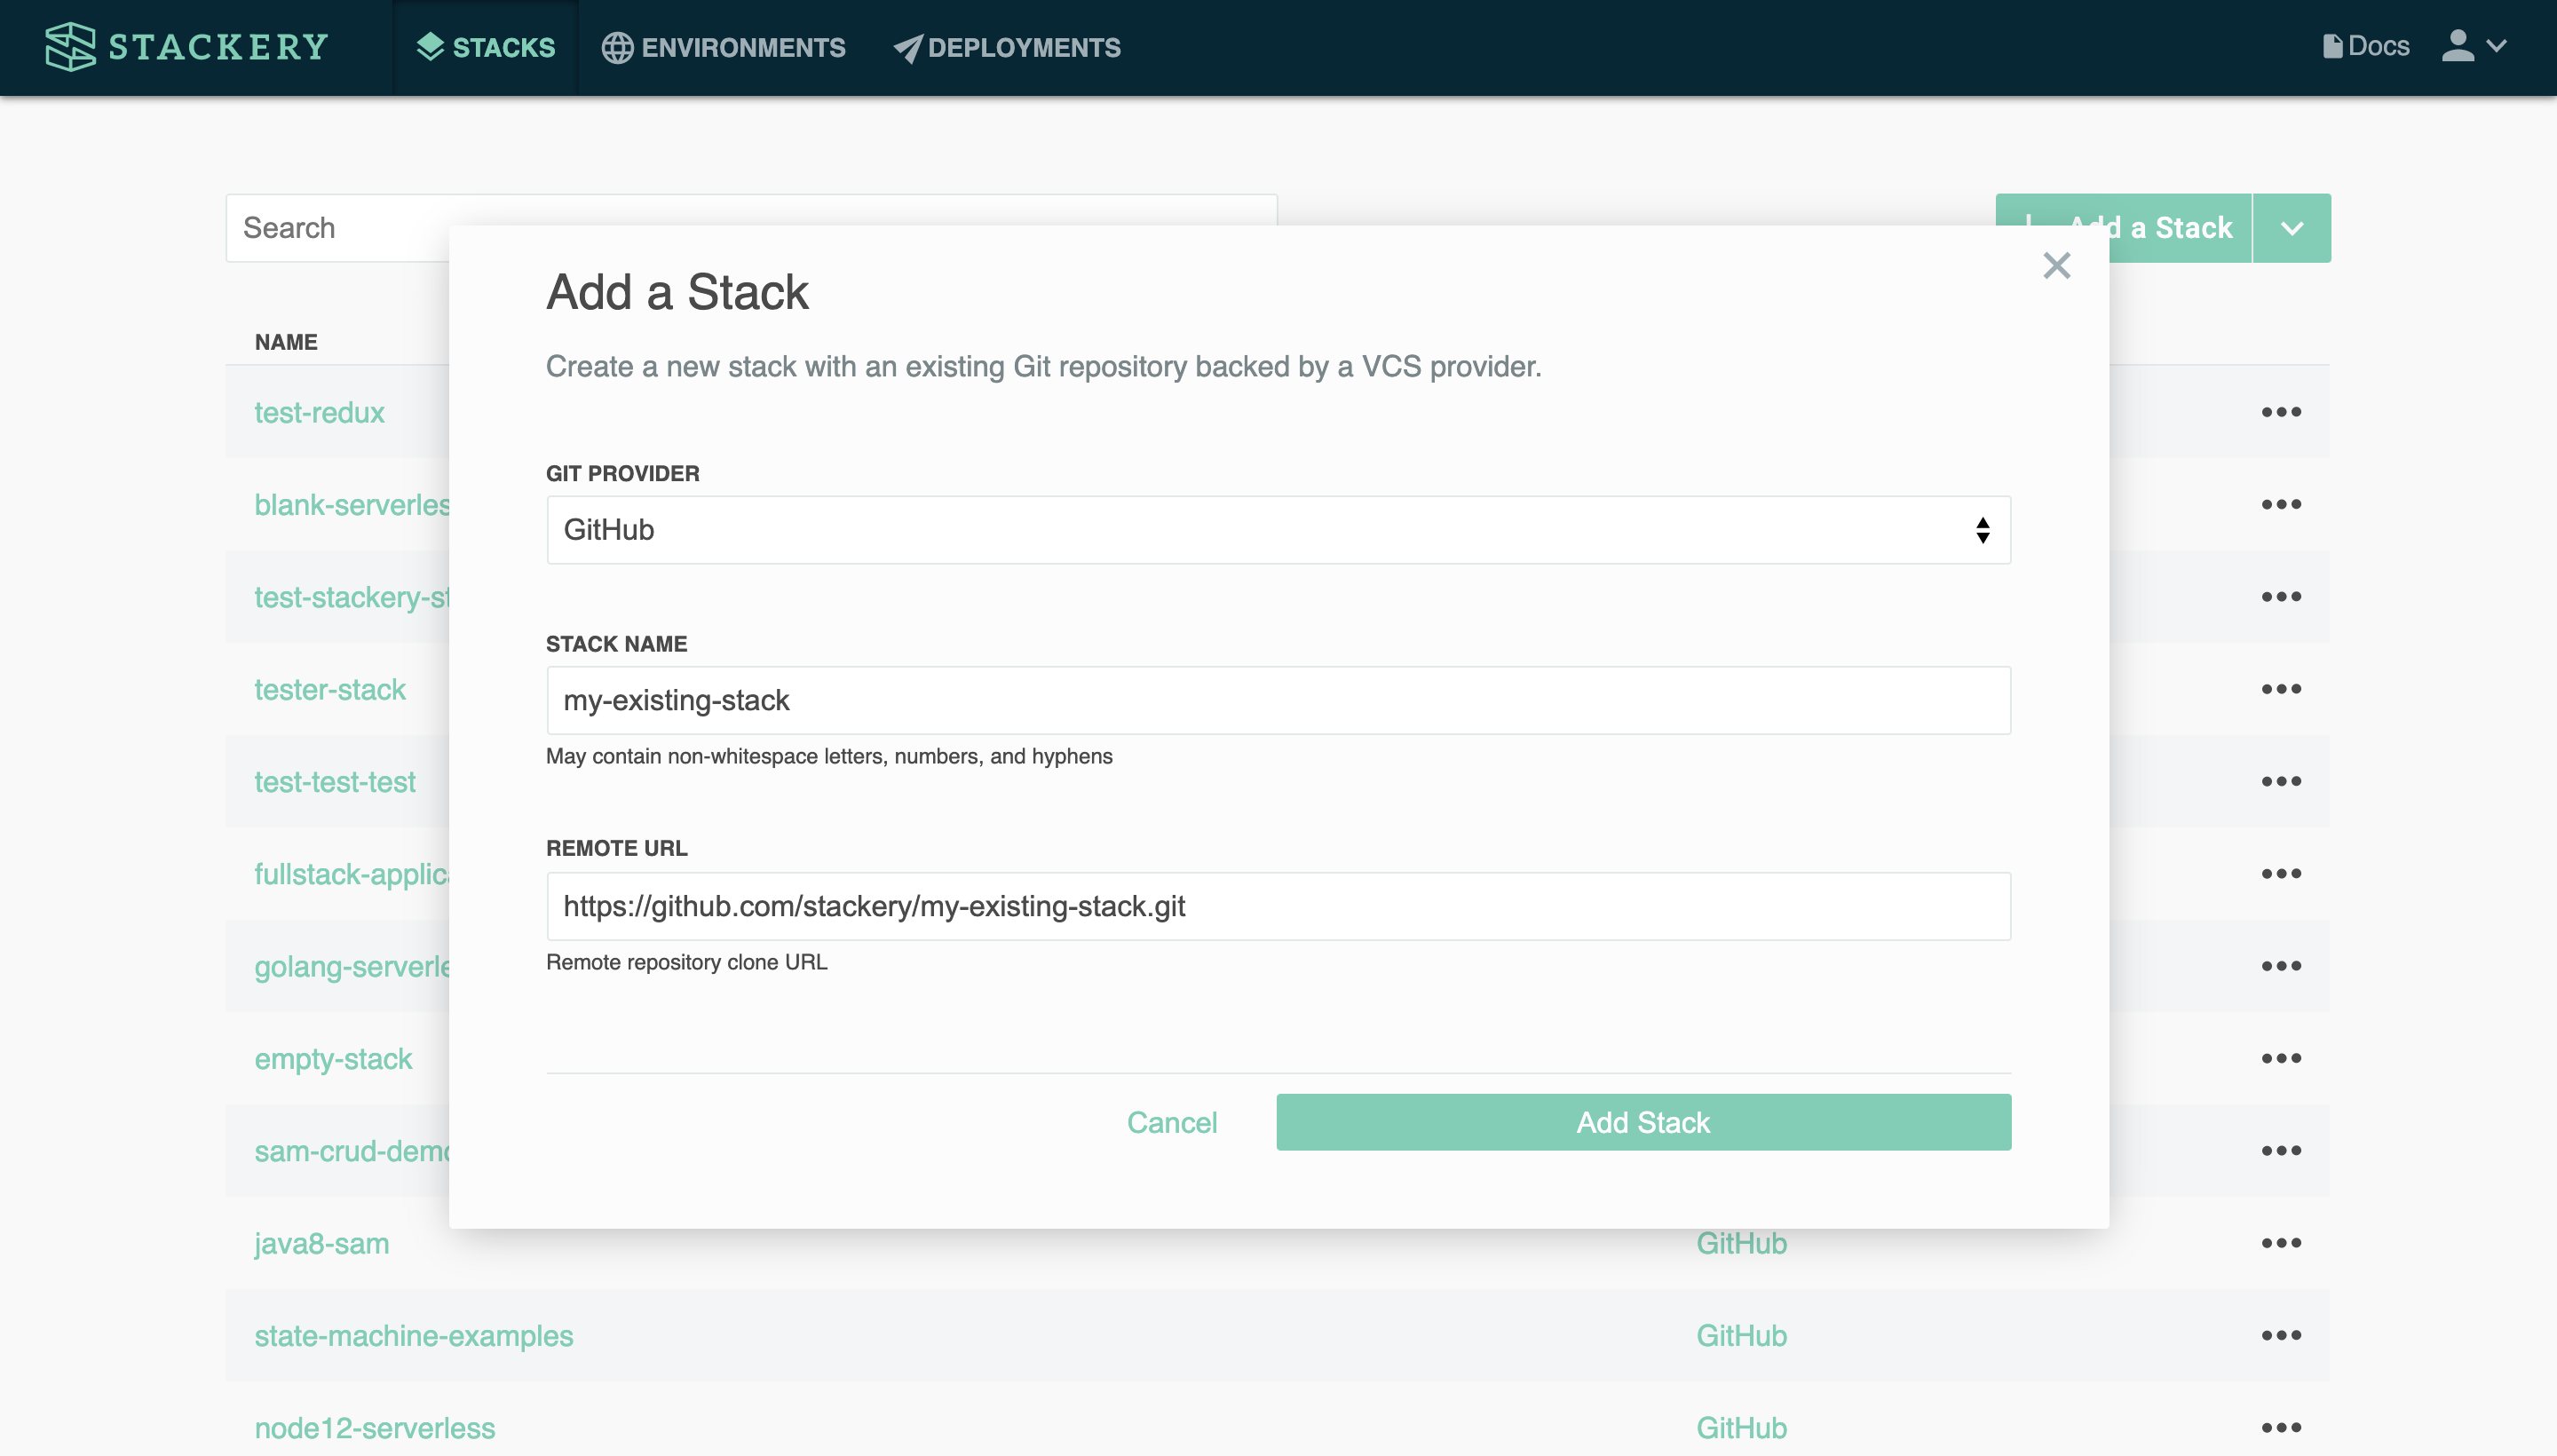
To import an existing stack with a valid AWS SAM or Serverless Framework template, choose With an existing repo from the Add a Stack dropdown.
You will then need to enter the remote repository URL, and click Add Stack to import your serverless stack.
Stack Overview
When you click on a stack from the list, you will be taken to its Overview page. Here you'll have an at-a-glance view of that stack's deployment history as well as stack-specific activity.

Edit Stack
The Stack Editor is where the app really shines. You can use our GUI to add new cloud resources, define event subscriptions, configure resource settings, and prepare deployments.

The Editor has two modes: Visual and Template. The Visual editor is shown above, while the Template Editor, shown below, allows you to directly edit the AWS SAM or Serverless Framework template that serves as your stack configuration.

If you make any changes to the Template Editor, you can commit those changes and they will be reflected in the Visual Editor as well.
Visual Editor
The Visual Editor is only supported for AWS SAM and CloudFormation stacks.
The different elements of the Visual Editor include:
Sidebar
The sidebar is where you can toggle between Visual and Template mode, choose which branch to work on (or create a new branch), see the current stack that is being edited (based on its git SHA), and commit your changes to your git repository.

Canvas
The canvas is the visual element of your serverless stack. It contains all of the Cloud Resource References that are currently in your stack, allows you to edit their relationships, and to add or delete resources. To delete a resource, just select it and hit the delete key.

Resource Editor
You can double-click on a cloud resource node to open the Resource Editor. When a resource has been added or edited but the changes have not yet been committed, it will have an asterisk next to its name. Once those changes have been committed, the view changes to the default.

Add Resource Panel
When you hit the Add Resource button in the upper right corner of the canvas, you will open the Add Resource panel. To add a resource, either click on its icon or drag and drop it to the canvas. Resource nodes can be connected with two types of wires:
- Event Subscription Wire (solid wire) - Defines an event subscription for a Lambda function, e.g a Lambda function triggered by an API Gateway endpoint.
- Service Discovery Wire (dashed wire) - Sets up service discovery for a Lambda function by automatically configuring function environment variables and IAM permissions.

Deploy Stack
The Deploy Stack view allows you to prepare your deployments in different environments, and deploy prepared deployments (in the AWS Console). You can also see all of your current deployments in all of your environments at a glance.

View Stack
If you have already successfully deployed your stack, the View section will be the default view when you click on a stack name.
The deployment view includes the deployment sidebar and the stack health viewer, where you can monitor the health and performance of your serverless app.

Deployment Sidebar
In the View section, the sidebar allows you to switch between multiple environments, as well as choosing which environment to observe.

Stack Health
The deployment view allows for real-time monitoring of your deployed serverless app. You can adjust the time range of your health metrics, as well as double-clicking on each element to show more details, and see a list of links to the resource, metrics, logs, etc. in AWS.

Deployed Resource Properties
You can click on a cloud resource node to open the Deployed Resource Properties Panel. This provides access to deployed configuration settings, logs, metrics, telemetry, and traces related to that resource.

Stack Settings
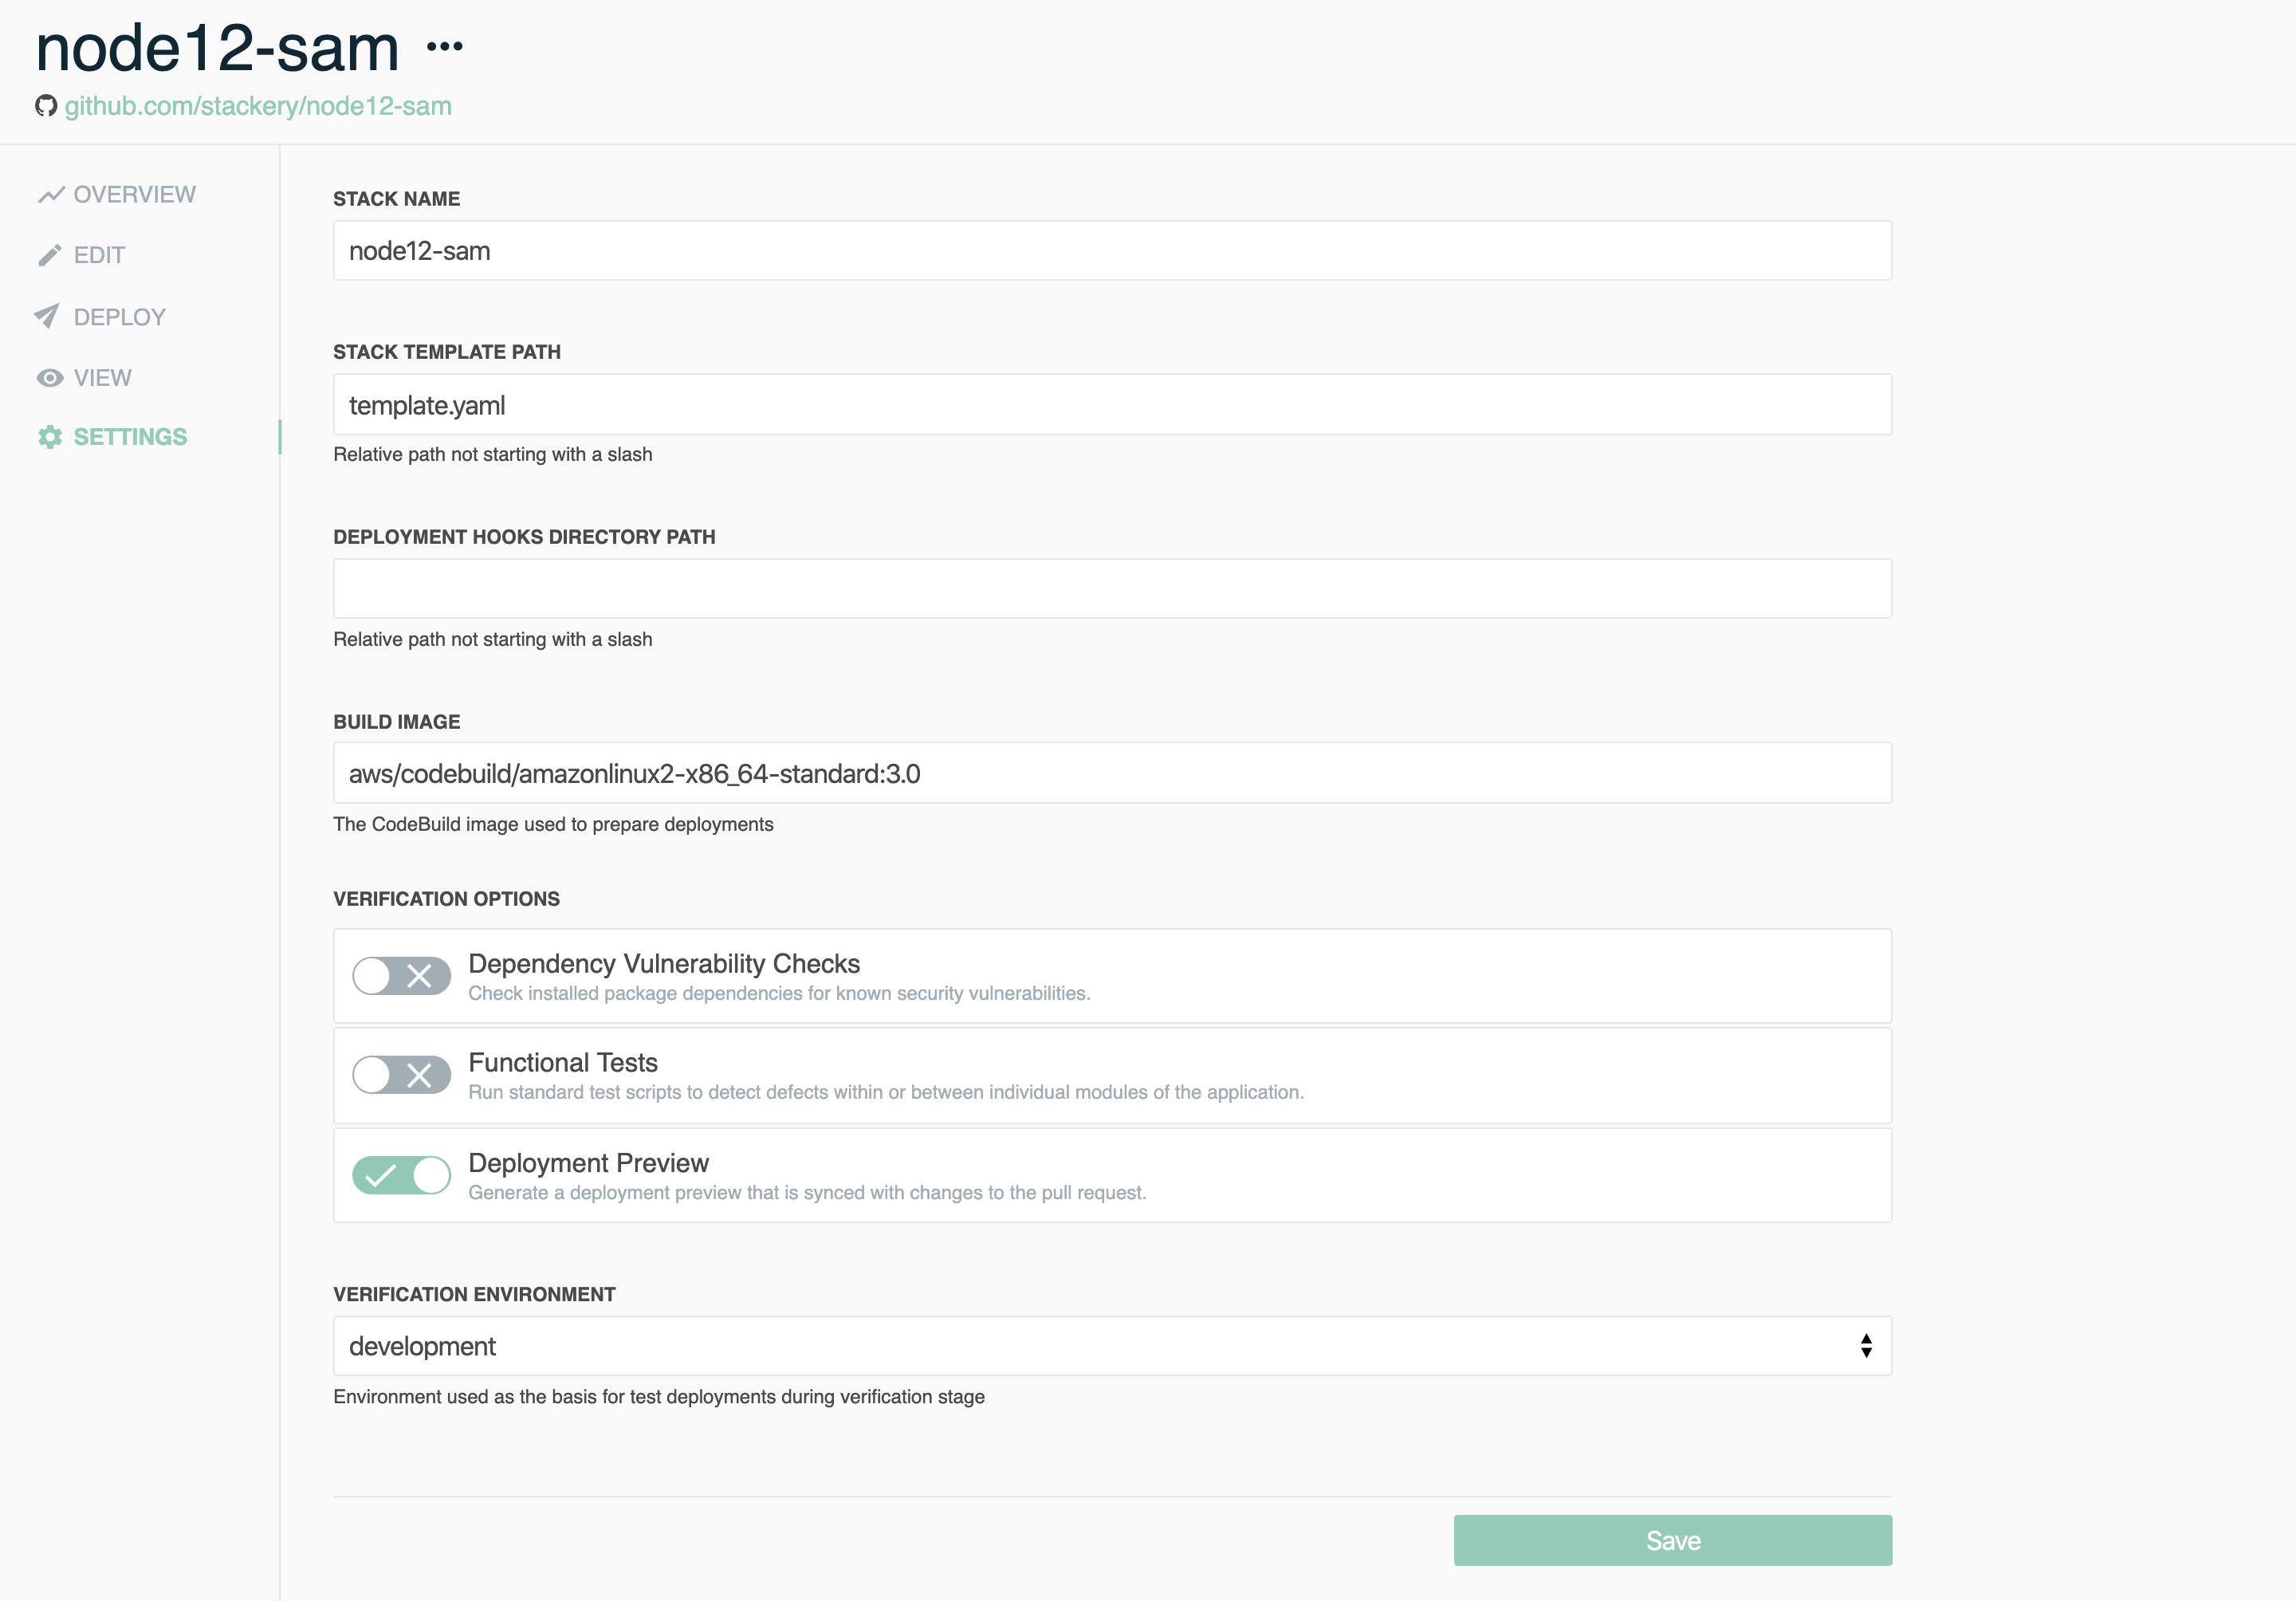
The Stack Settings page allows you to set configurations for each individual stack. This is where you can change your stack's name, set a template path (the default is your stack's root directory), choose which CodeBuild image to use for deployment (or change your deployment strategy if on a legacy stack), and set a directory path for deployment hooks.
The bottom section of the page allows users to set up a Verification Pipeline, including enabling or disabling Dependency Vulnerability Checks, Functional Tests, and Deployment Previews and specifying a verification environment for running tests and preview deployments.
In order to take advantage of Stackery's serverless continuous integration pipeline, you need to link an AWS account and enable the Stackery Deployer Role.
Environments
Stackery Environments can also be managed through the Stackery CLI. Read more about serverless environments.
List Environments
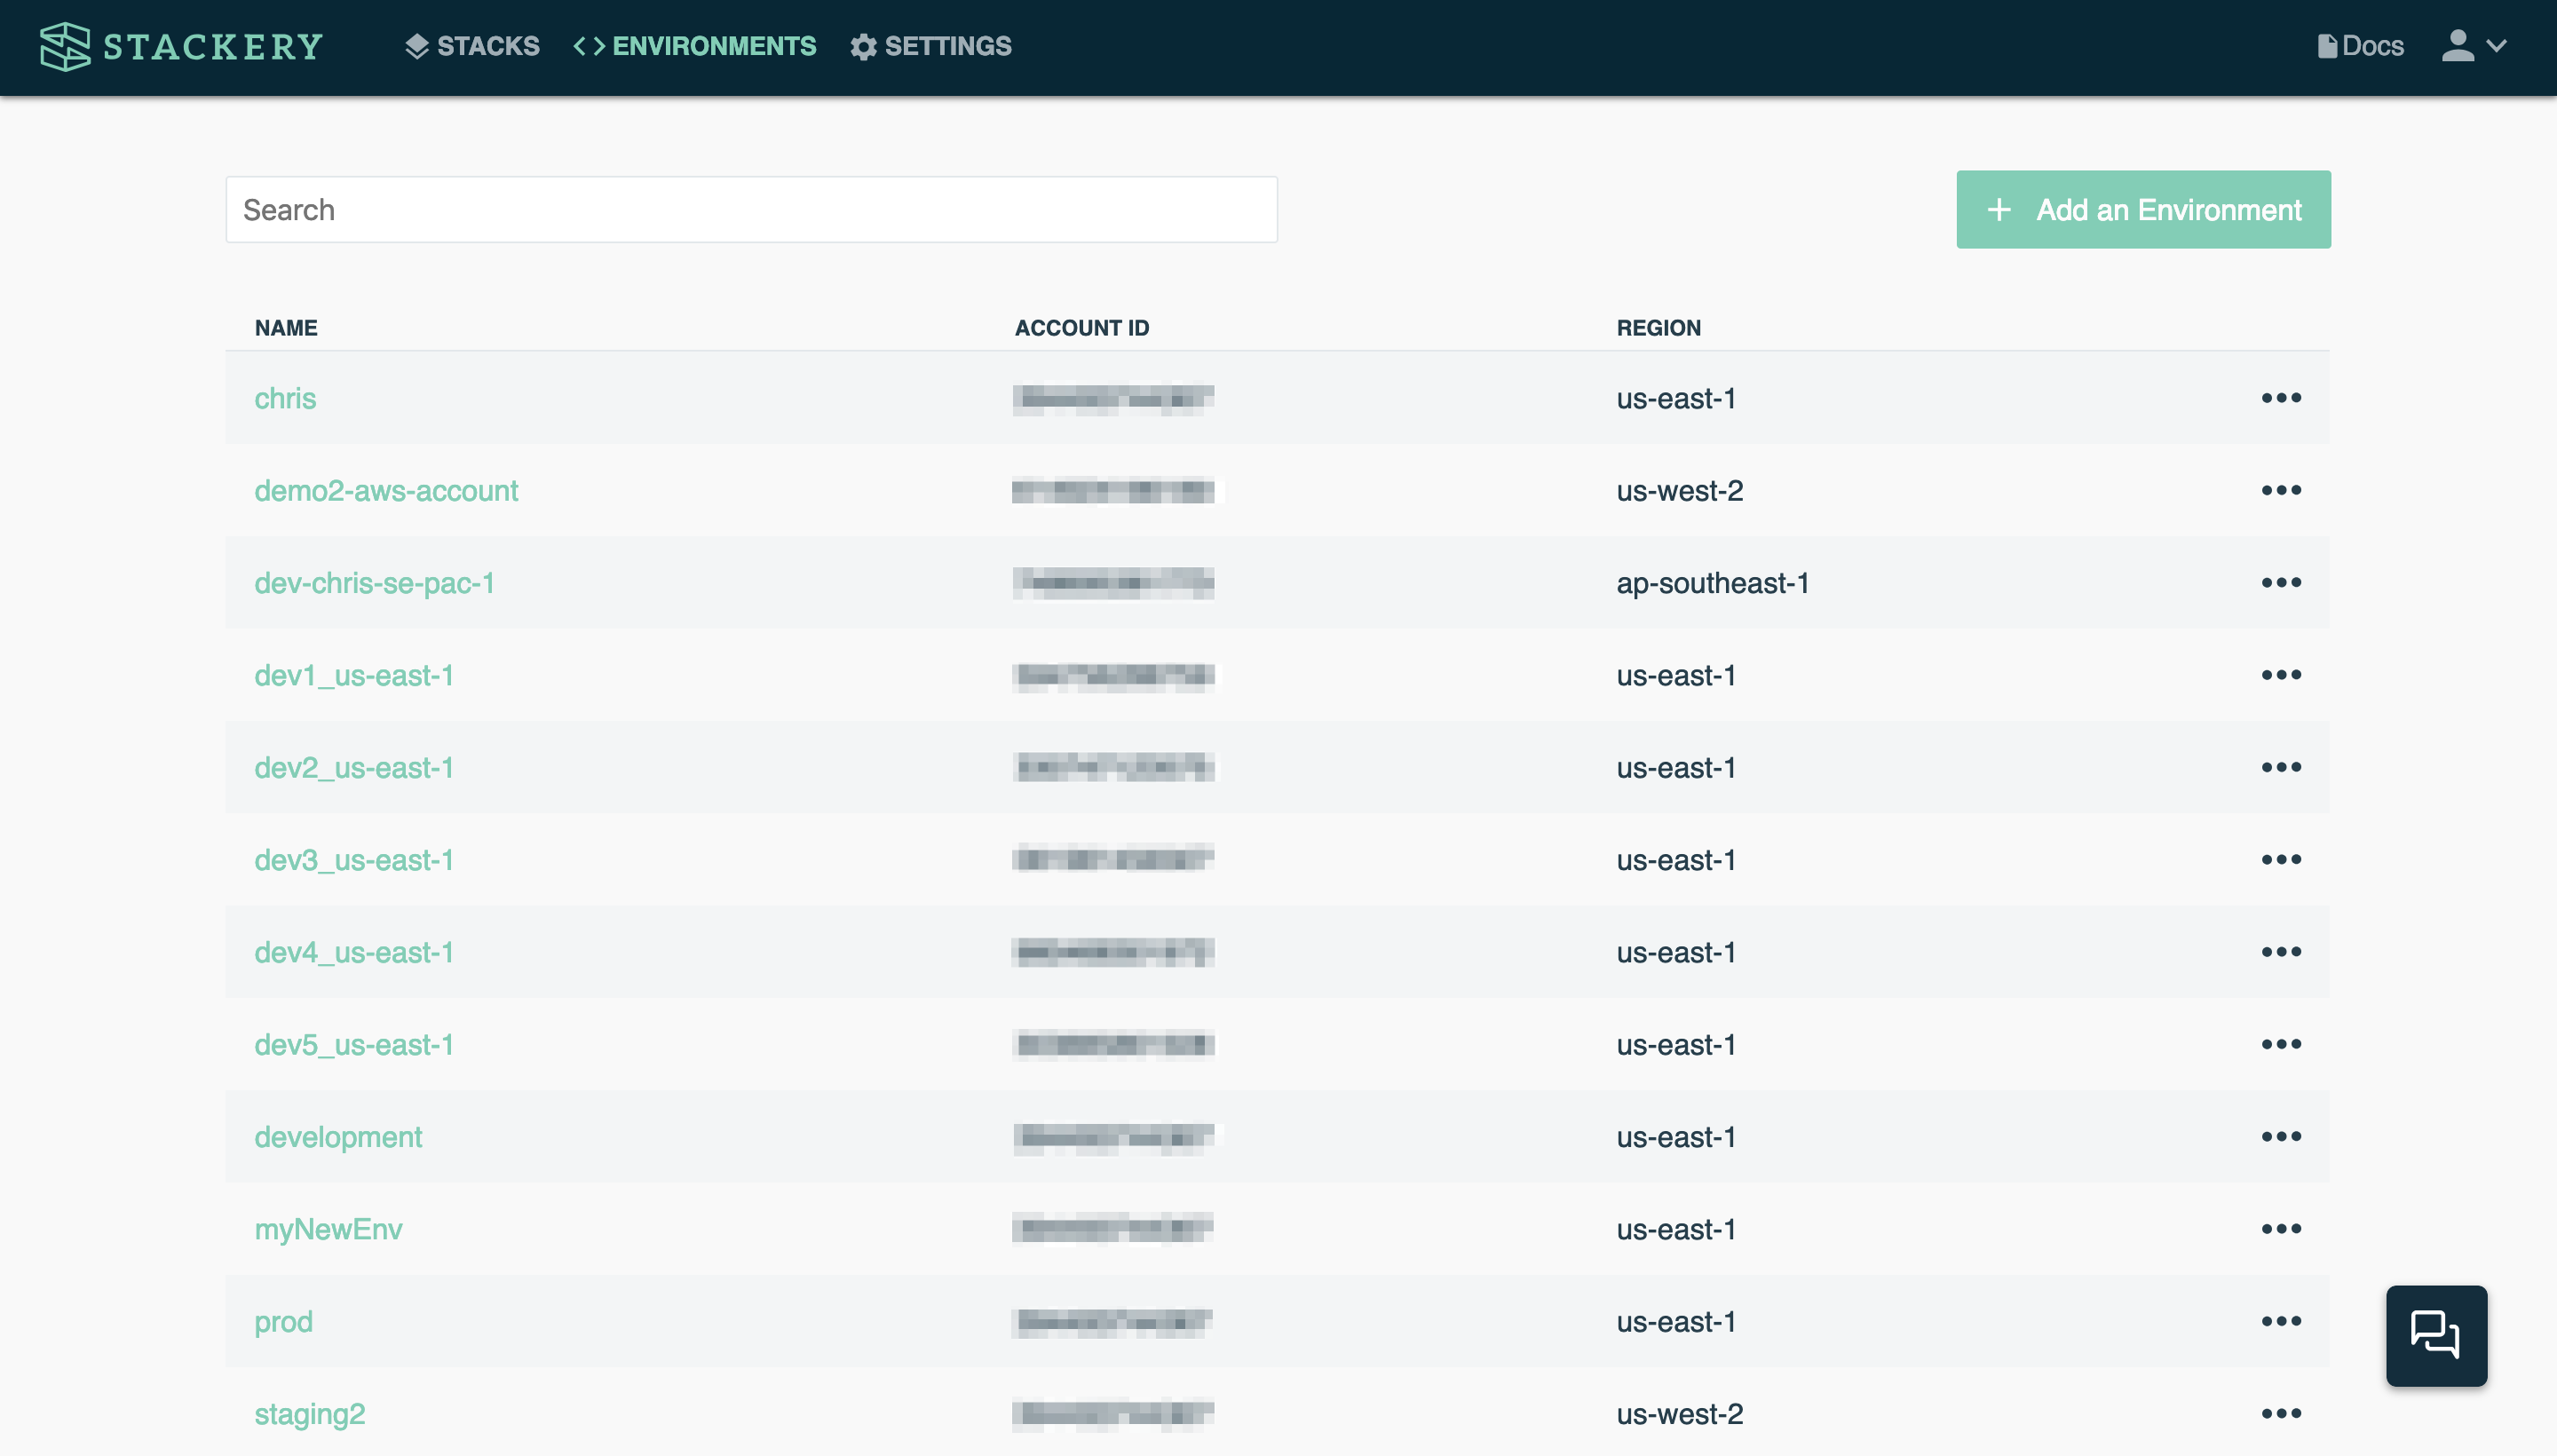
The Environments view lists each of your deployment environments. The default environment is development, but you can add as many as you'd like. In this view, you can edit or delete individual environments, or click on an environment's name to get a detailed view of its settings, region, associated AWS account, as well as its deployment history.
You can use environments to:
- Deploy across multiple AWS accounts
- Environments are associated with AWS accounts
- Staging and Prod can be in isolated accounts
- Environments are associated with AWS accounts
- Separate configuration from source code
- Environments contain a JSON configuration store
- Config values are mapped to Lambda Env Vars and cloud resource properties
- Environments contain a JSON configuration store
- Manage multi-region deployments
- Environments are associated with AWS regions
- Manage multi-region deployments through region specific environments
- Environments are associated with AWS regions
Create Environment
Click the Add an Environment button on the List Environment page. You will be prompted for:
- AWS Account - The account ID of the AWS account associated with that environment (you can choose Add New AWS Account to link your first or additional AWS accounts)
- AWS Region - The AWS (geographic) region when deploying to this account.
- Environment Name - A human readable name (e.g. production)
Environment Overview
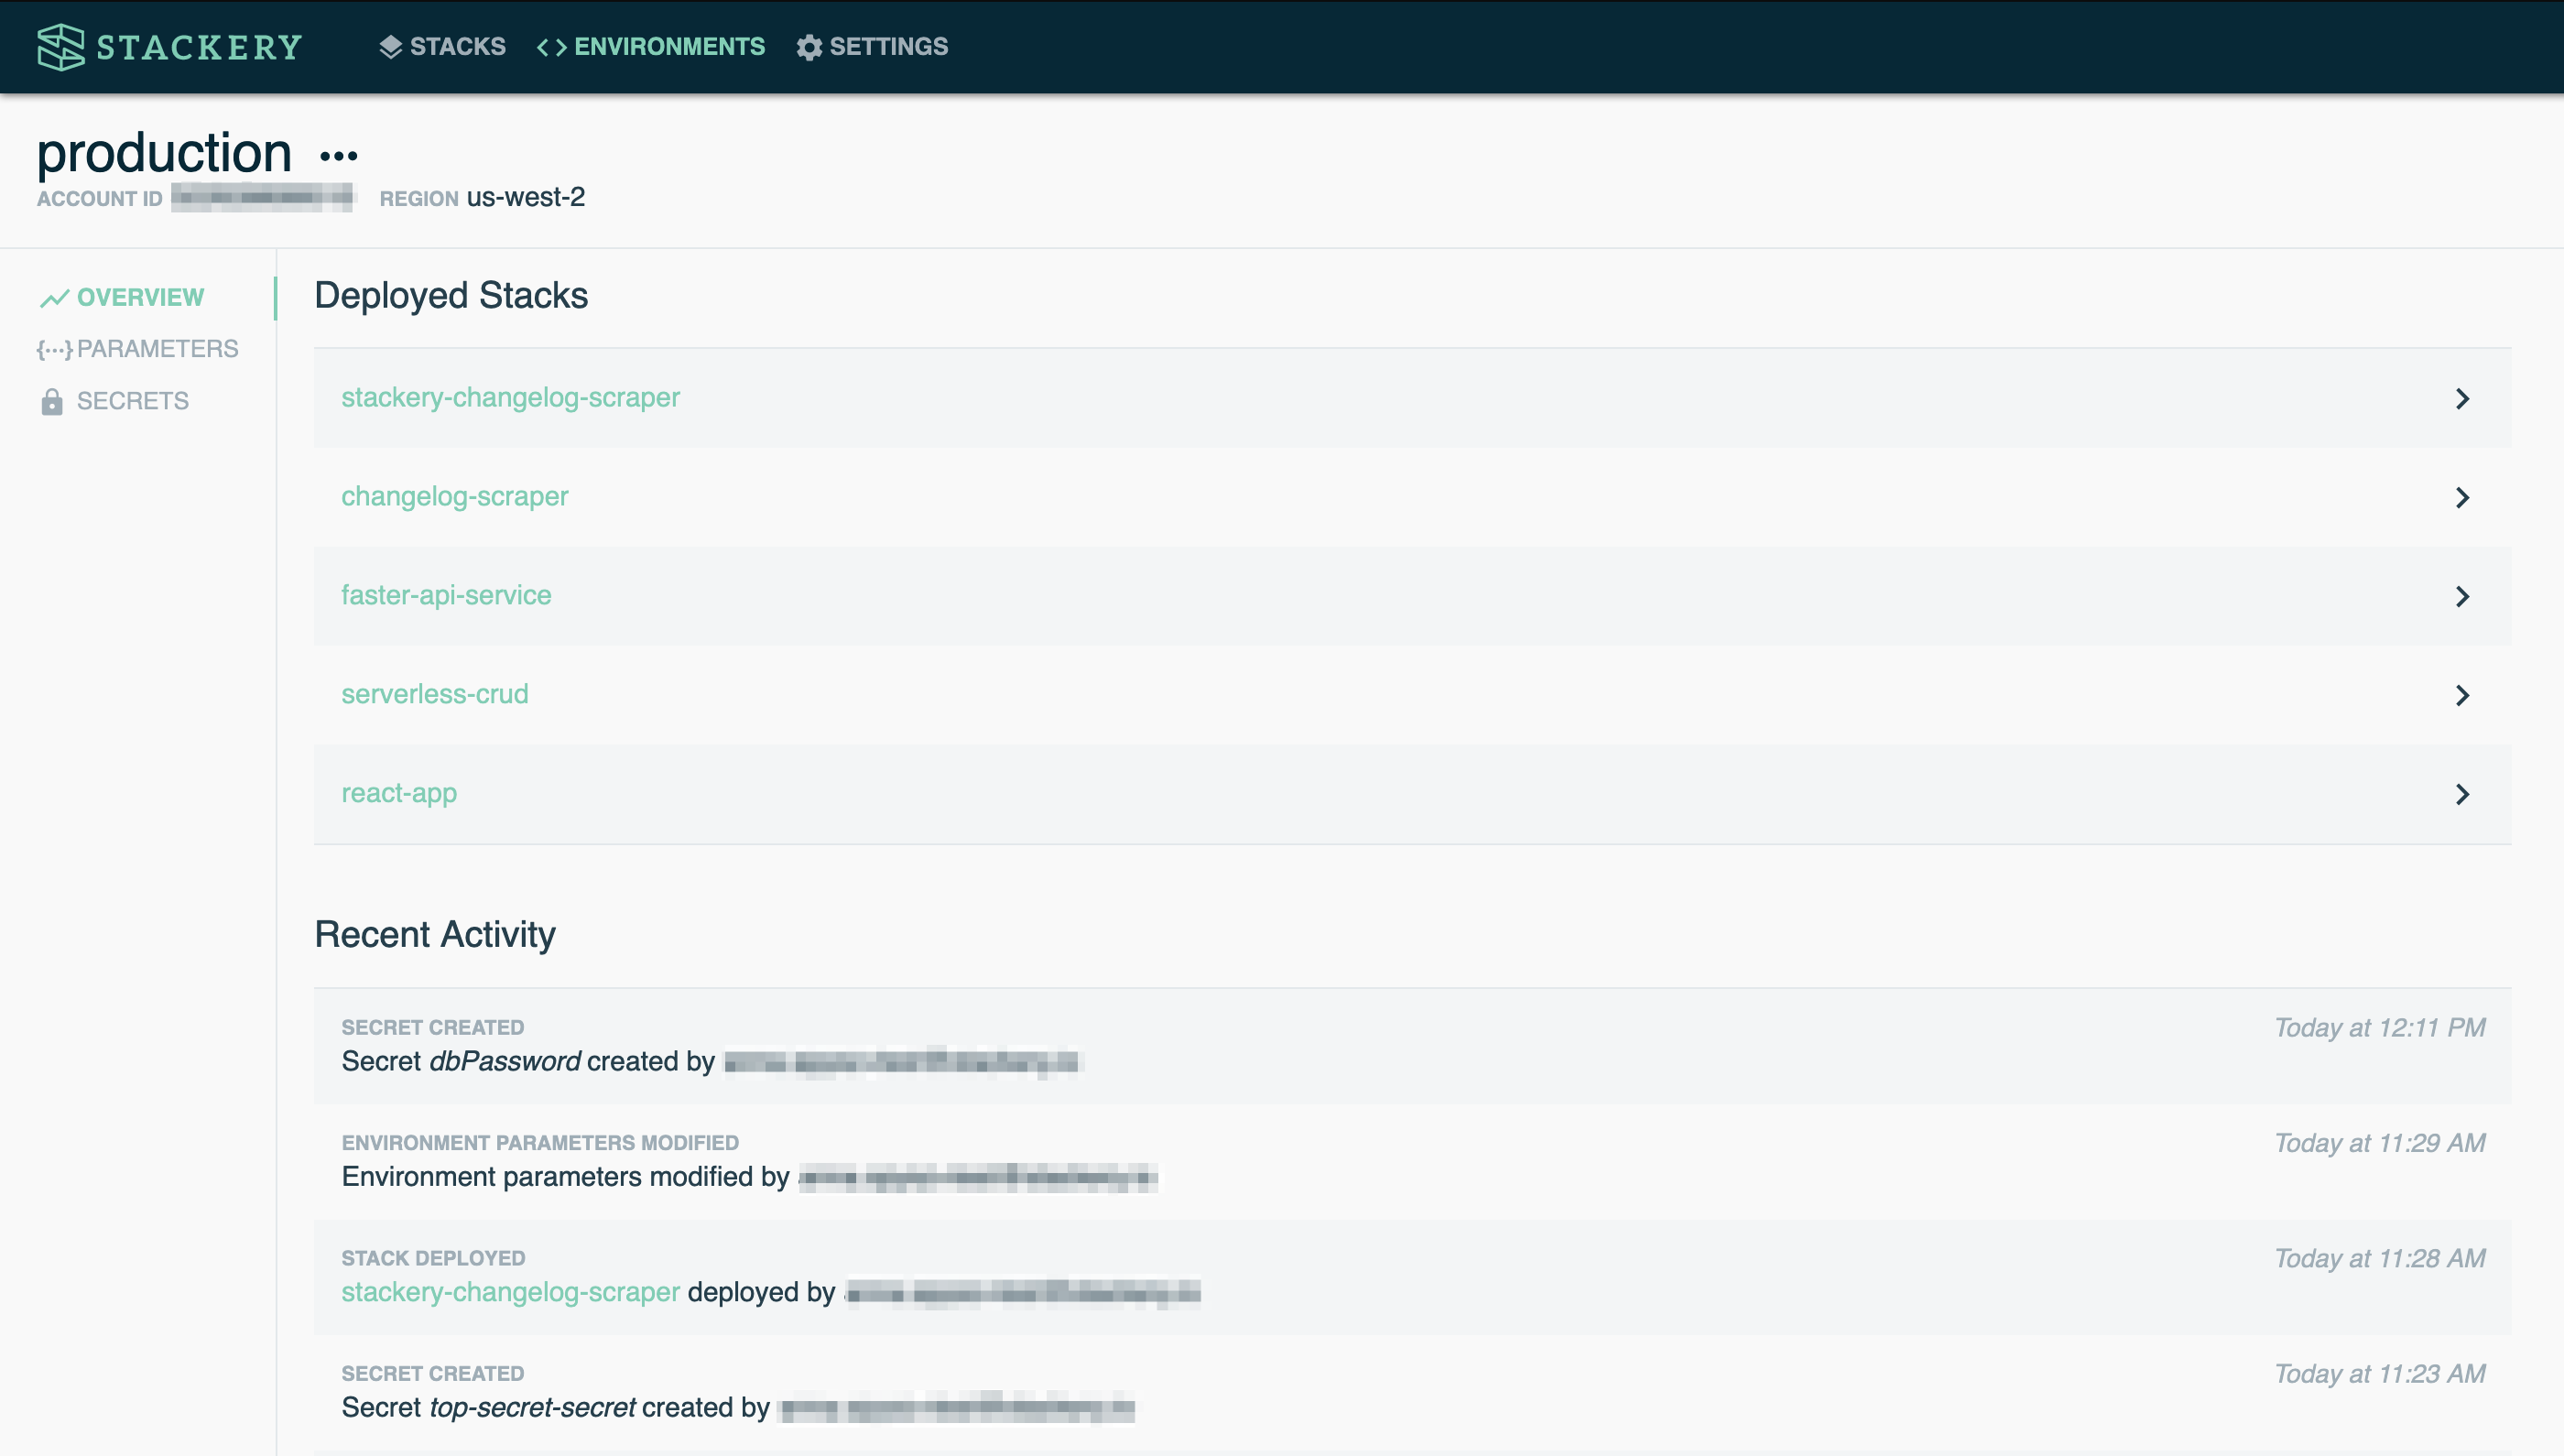
Clicking an environment's name from the List Environment page will take you to its overview. The Overview page contains a list of active deployments as well as a history of activity in that environment.
Environment Parameters
The Environment Parameters page allows you to modify the parameters of the selected environment. From within the editor you can make changes to the environment configuration store. The config store allows you to store JSON data (backed by AWS Parameter Store). This config data is injected into resource configuration and Lambda function environment variables during the CloudFormation deployment process.
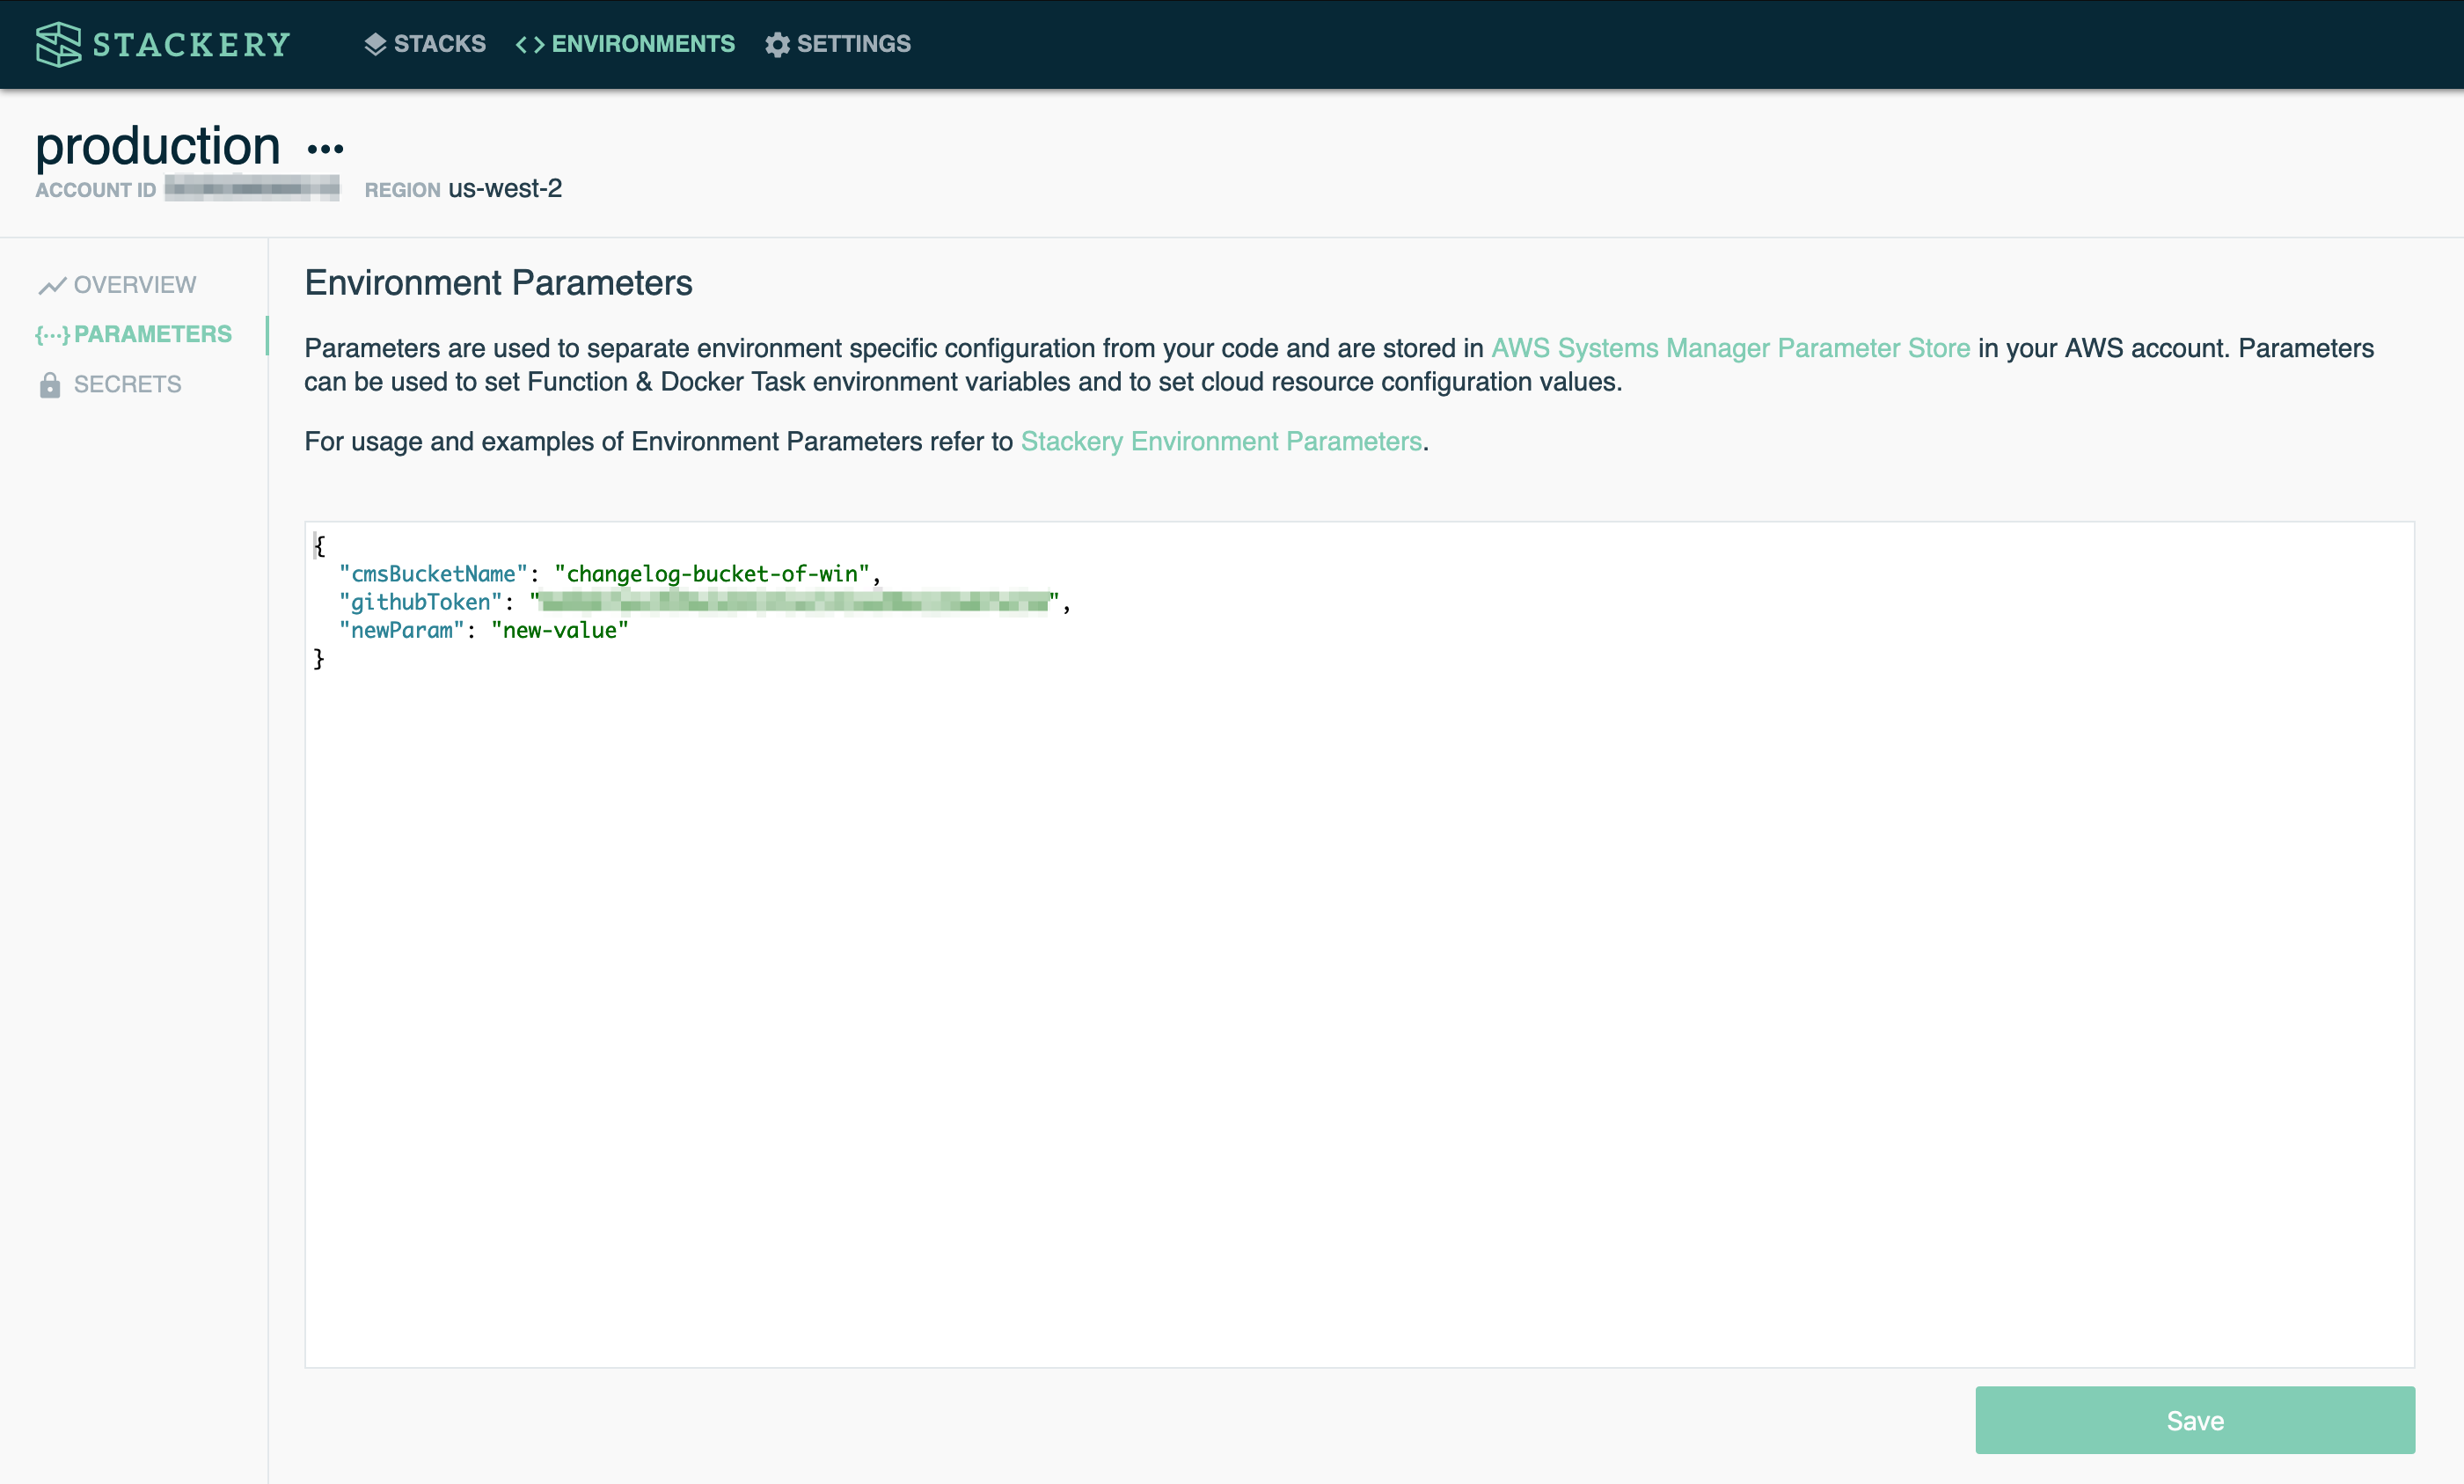
Environment Secrets
The Environment Secrets page allows you to create and manage your environment secrets.
Read more about using secrets in Stackery in our environment secrets documentation.

Delete Environment
Delete an environment by selecting delete from the context menu.
Deployments
The Deployments page shows all of the deployments for your organization, and allows you to enable and run Deployment Pipelines.
Deployment Pipeline
The Deployment Pipeline is Stackery's continuous delivery pipeline, which is triggered by a merge to the master branch of a chosen stack or stacks. It enables automated testing, preview deployments, and optional automated promotion between environments.
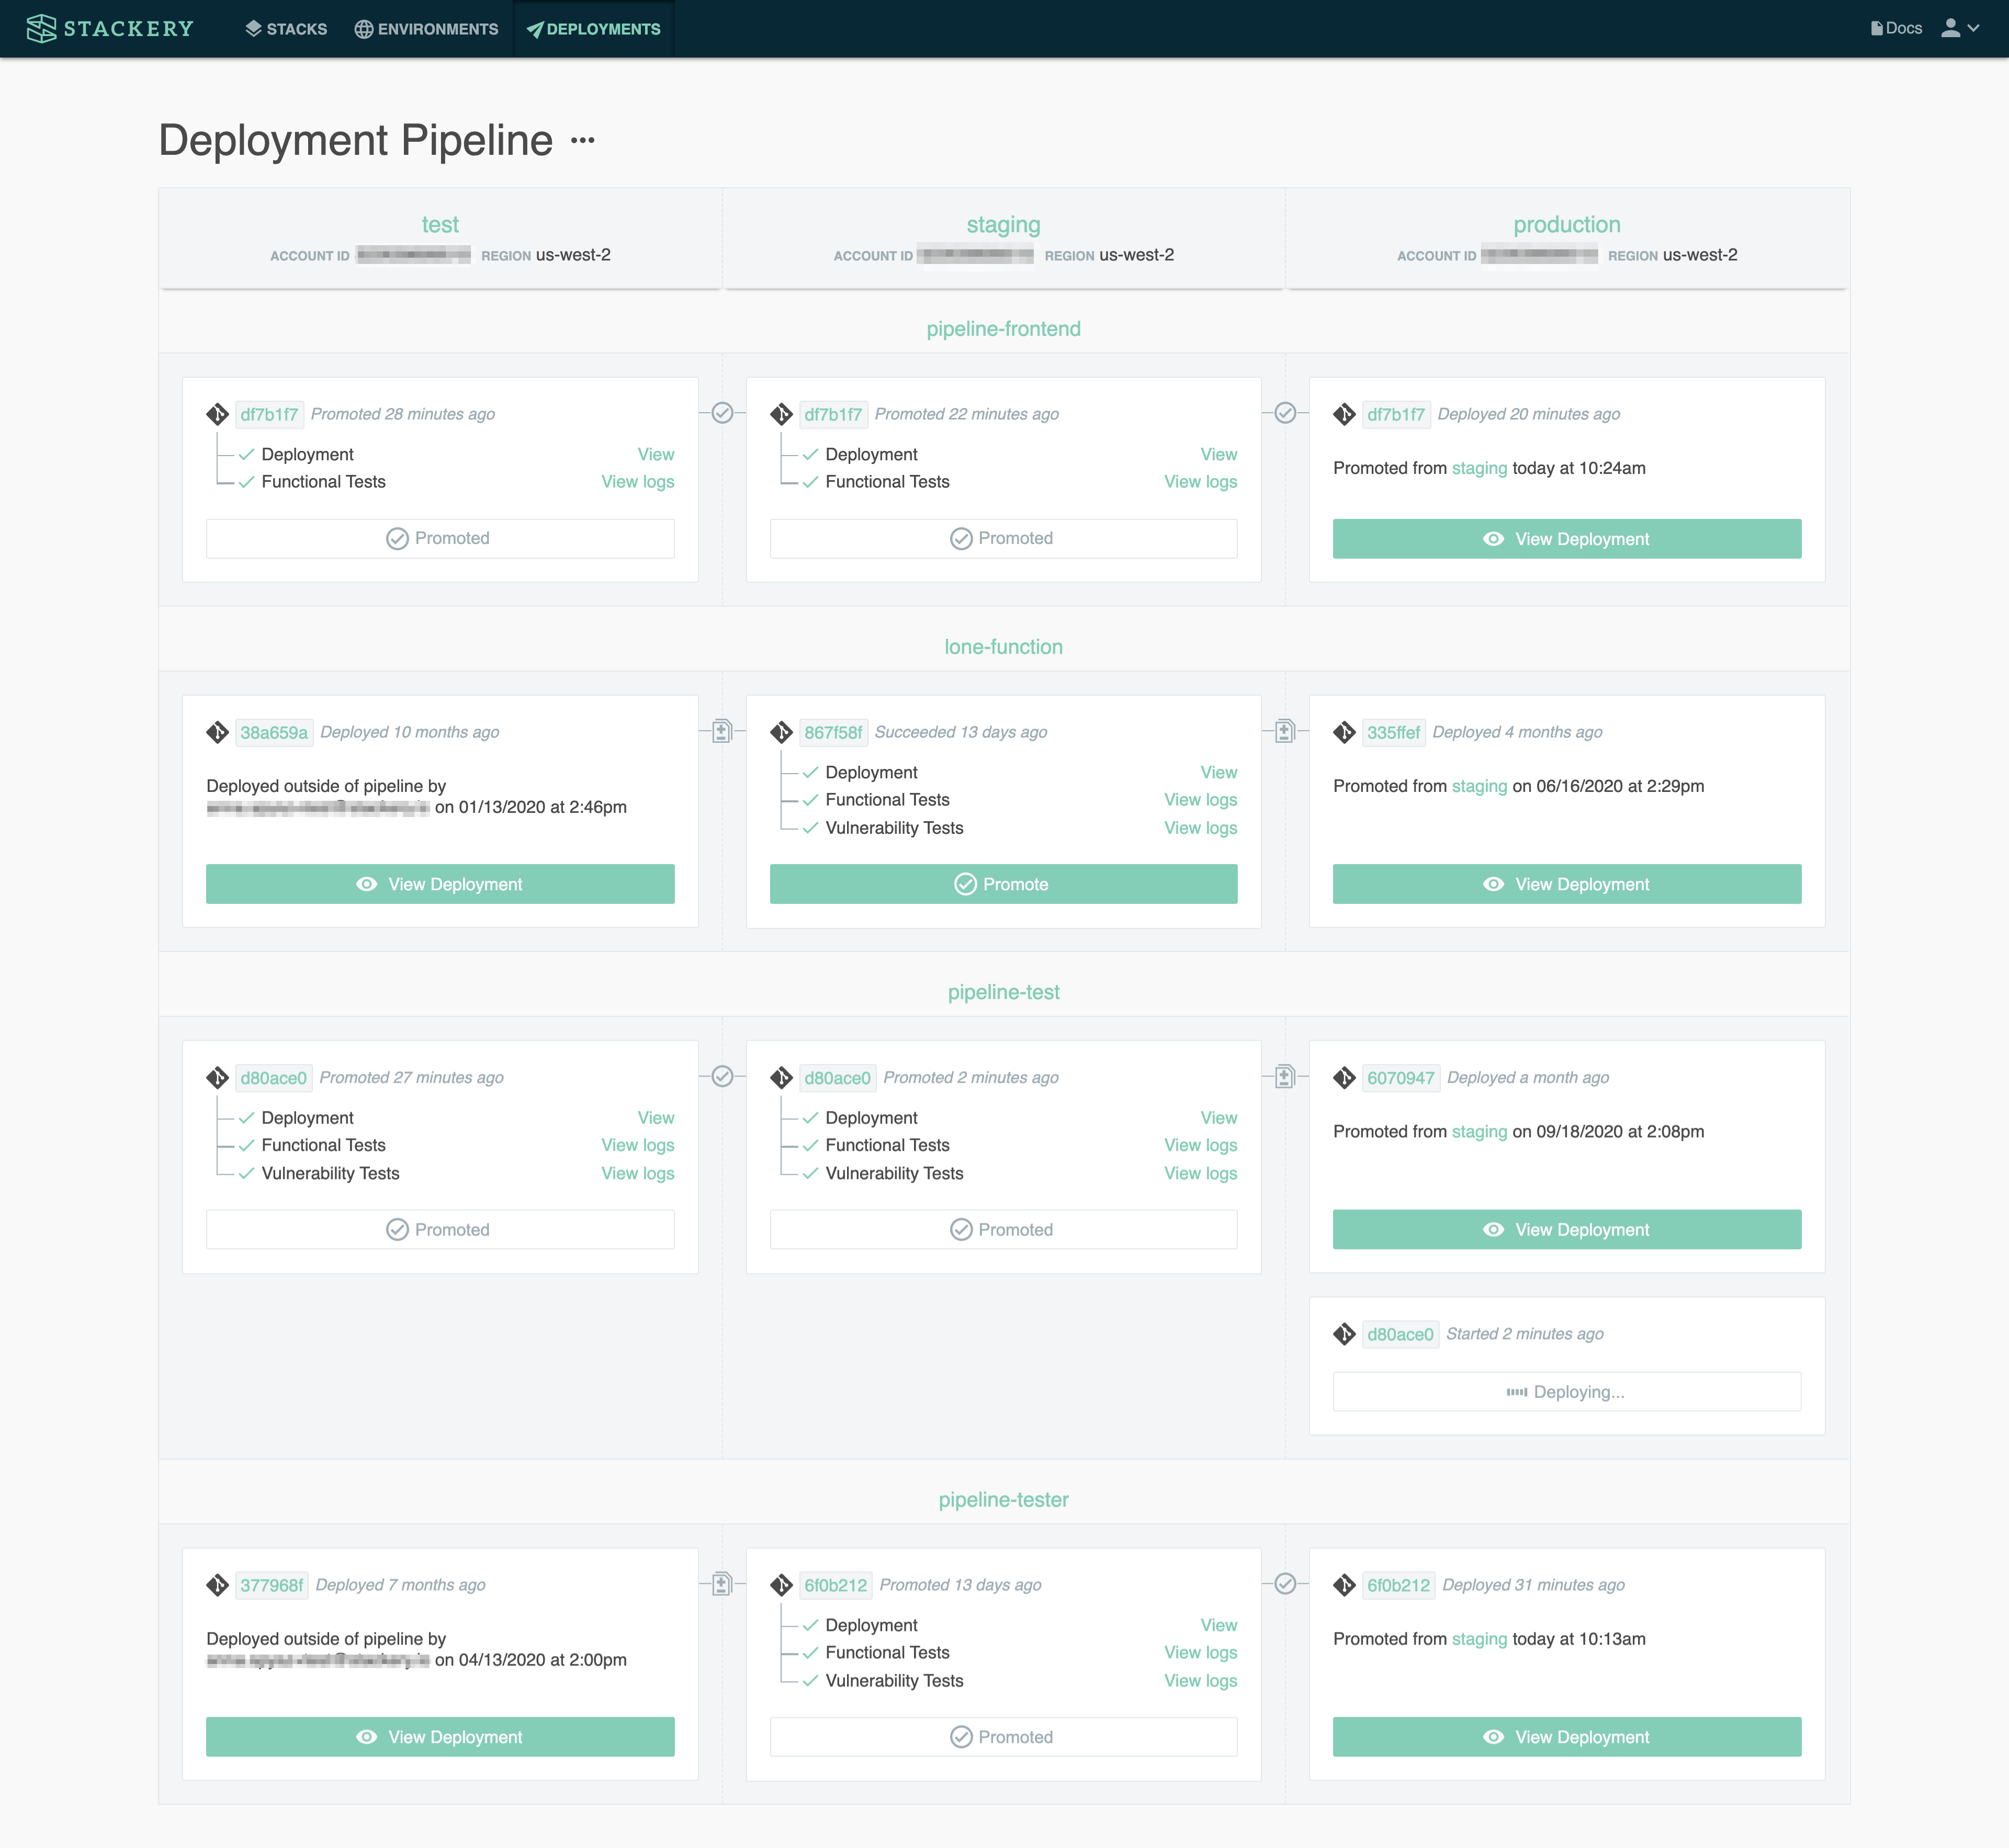
Add a Deployment Pipeline
To add a Deployment Pipeline, click on the add button on the Deployments page:
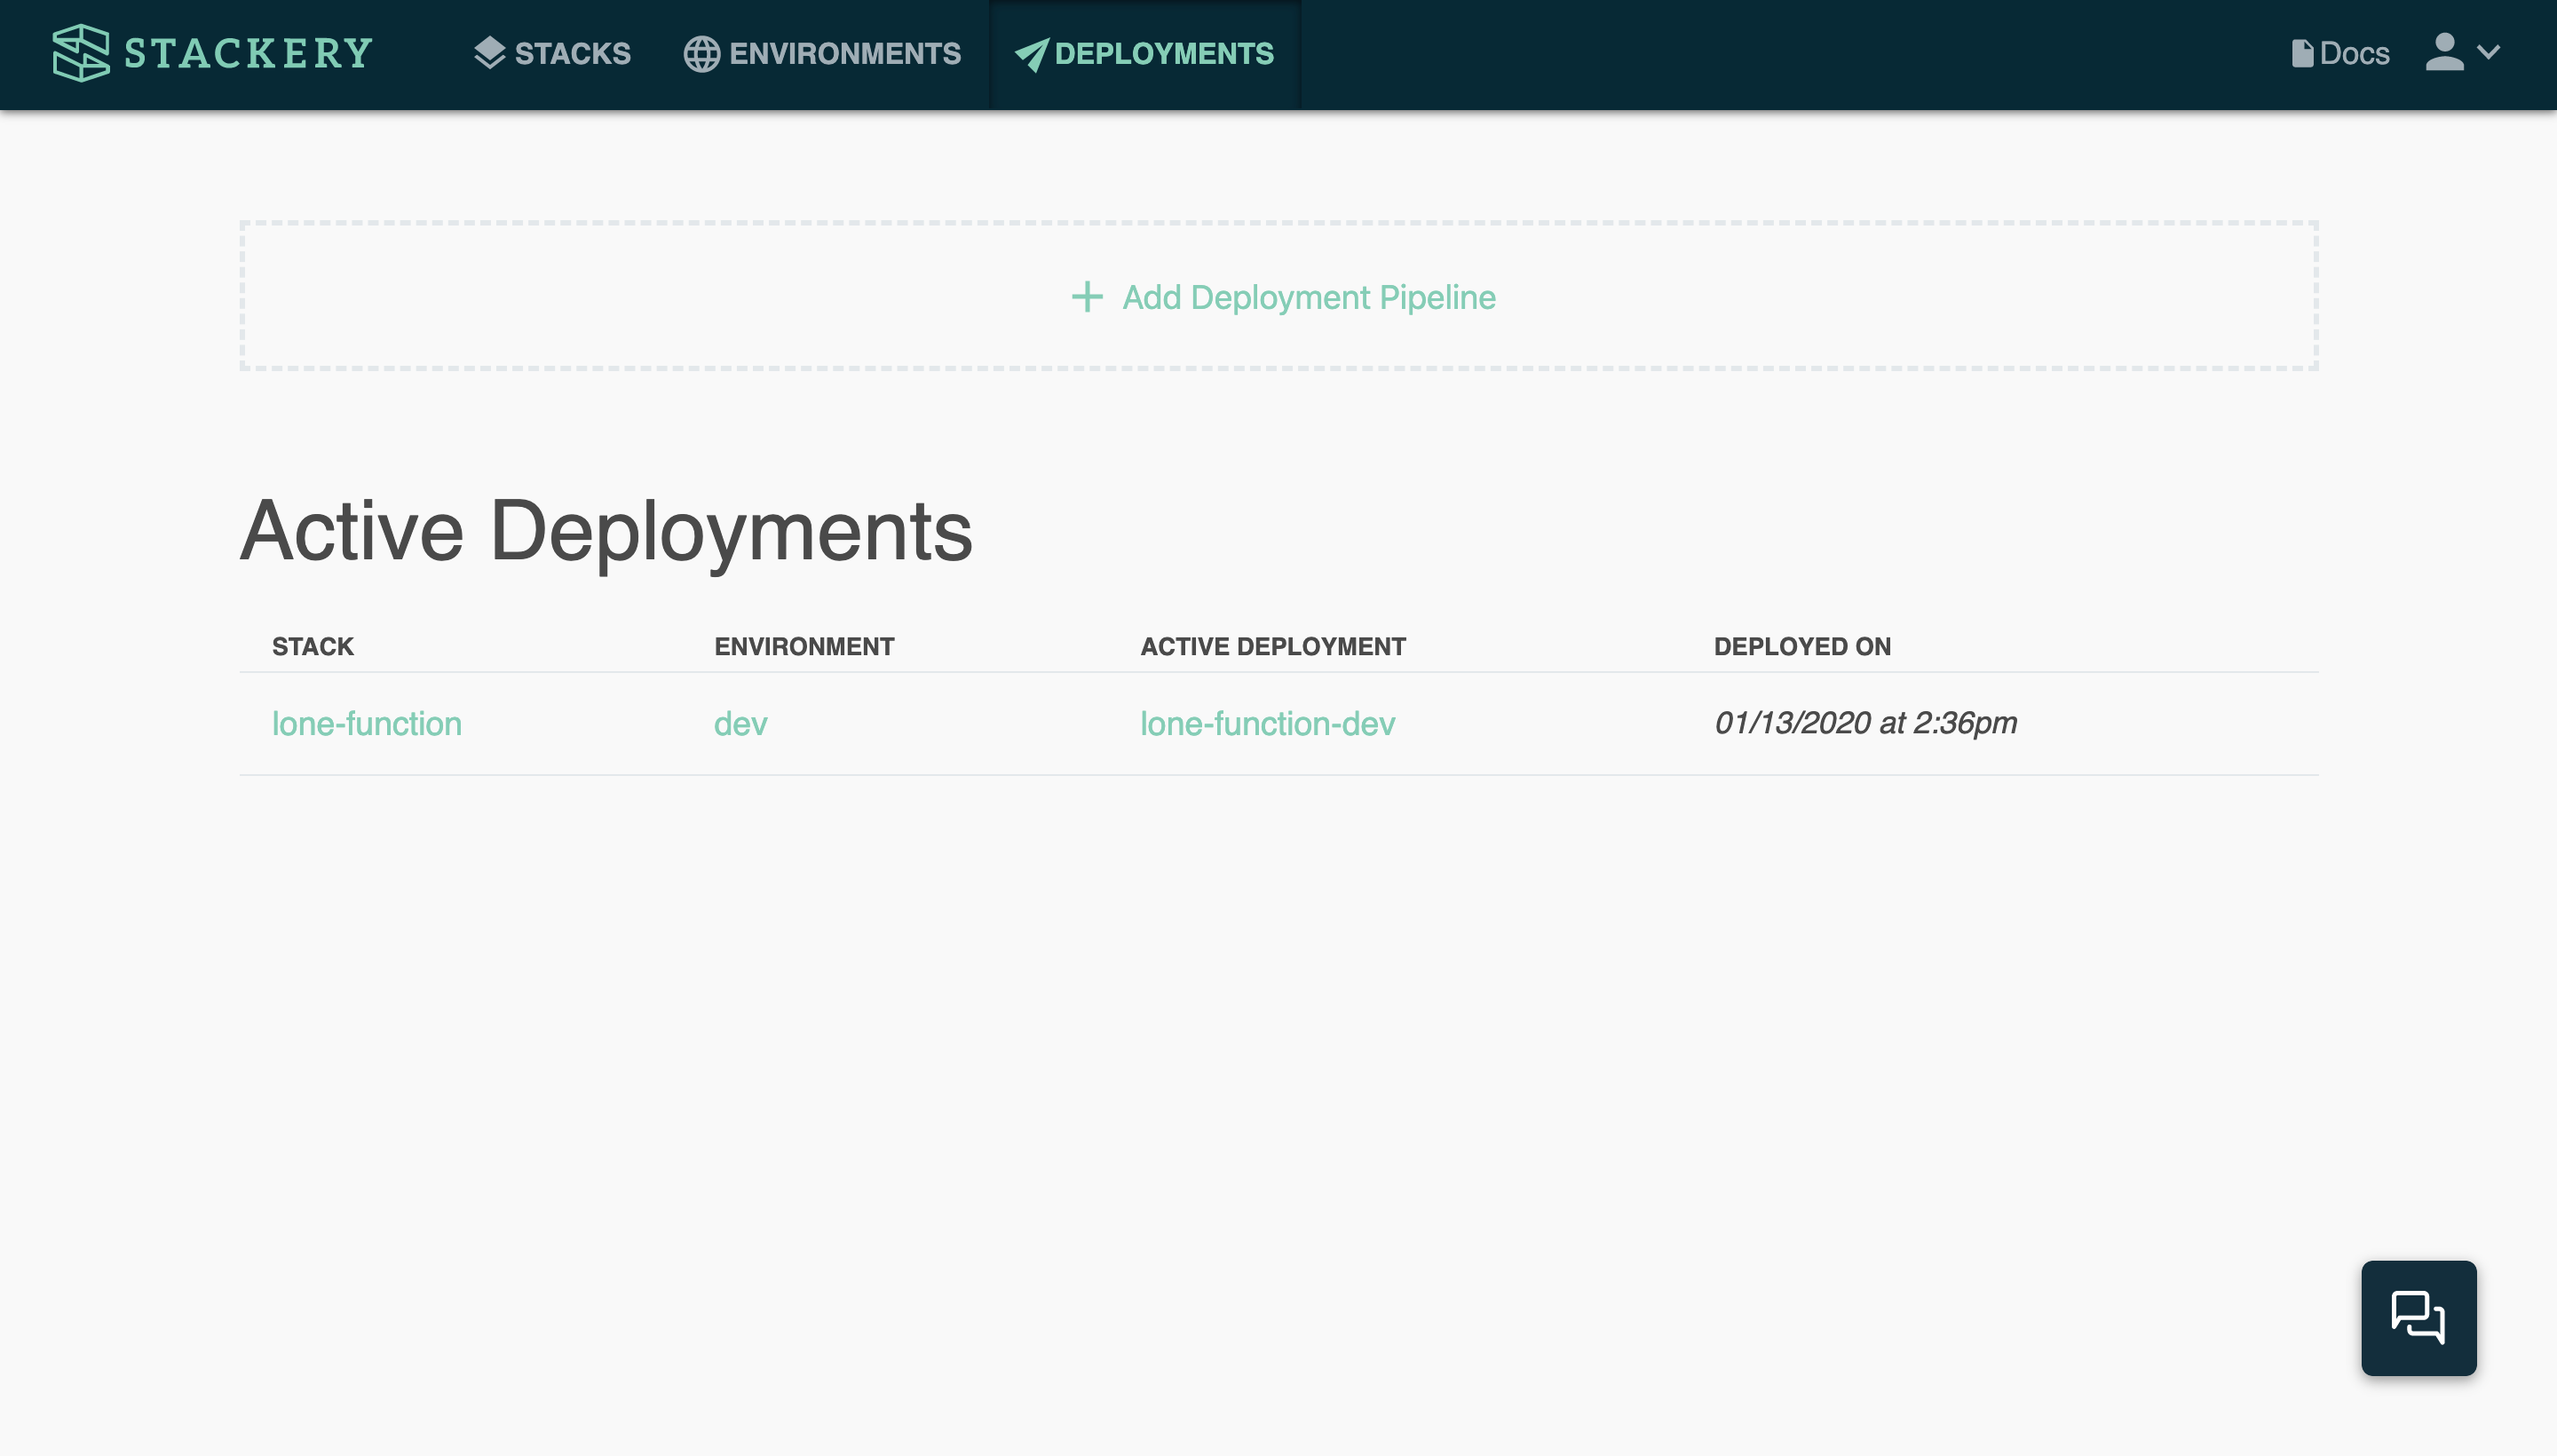
You will need to have at least two environments that have the Stackery deployer role enabled (you can link an AWS account and add an environment within the form if necessary).
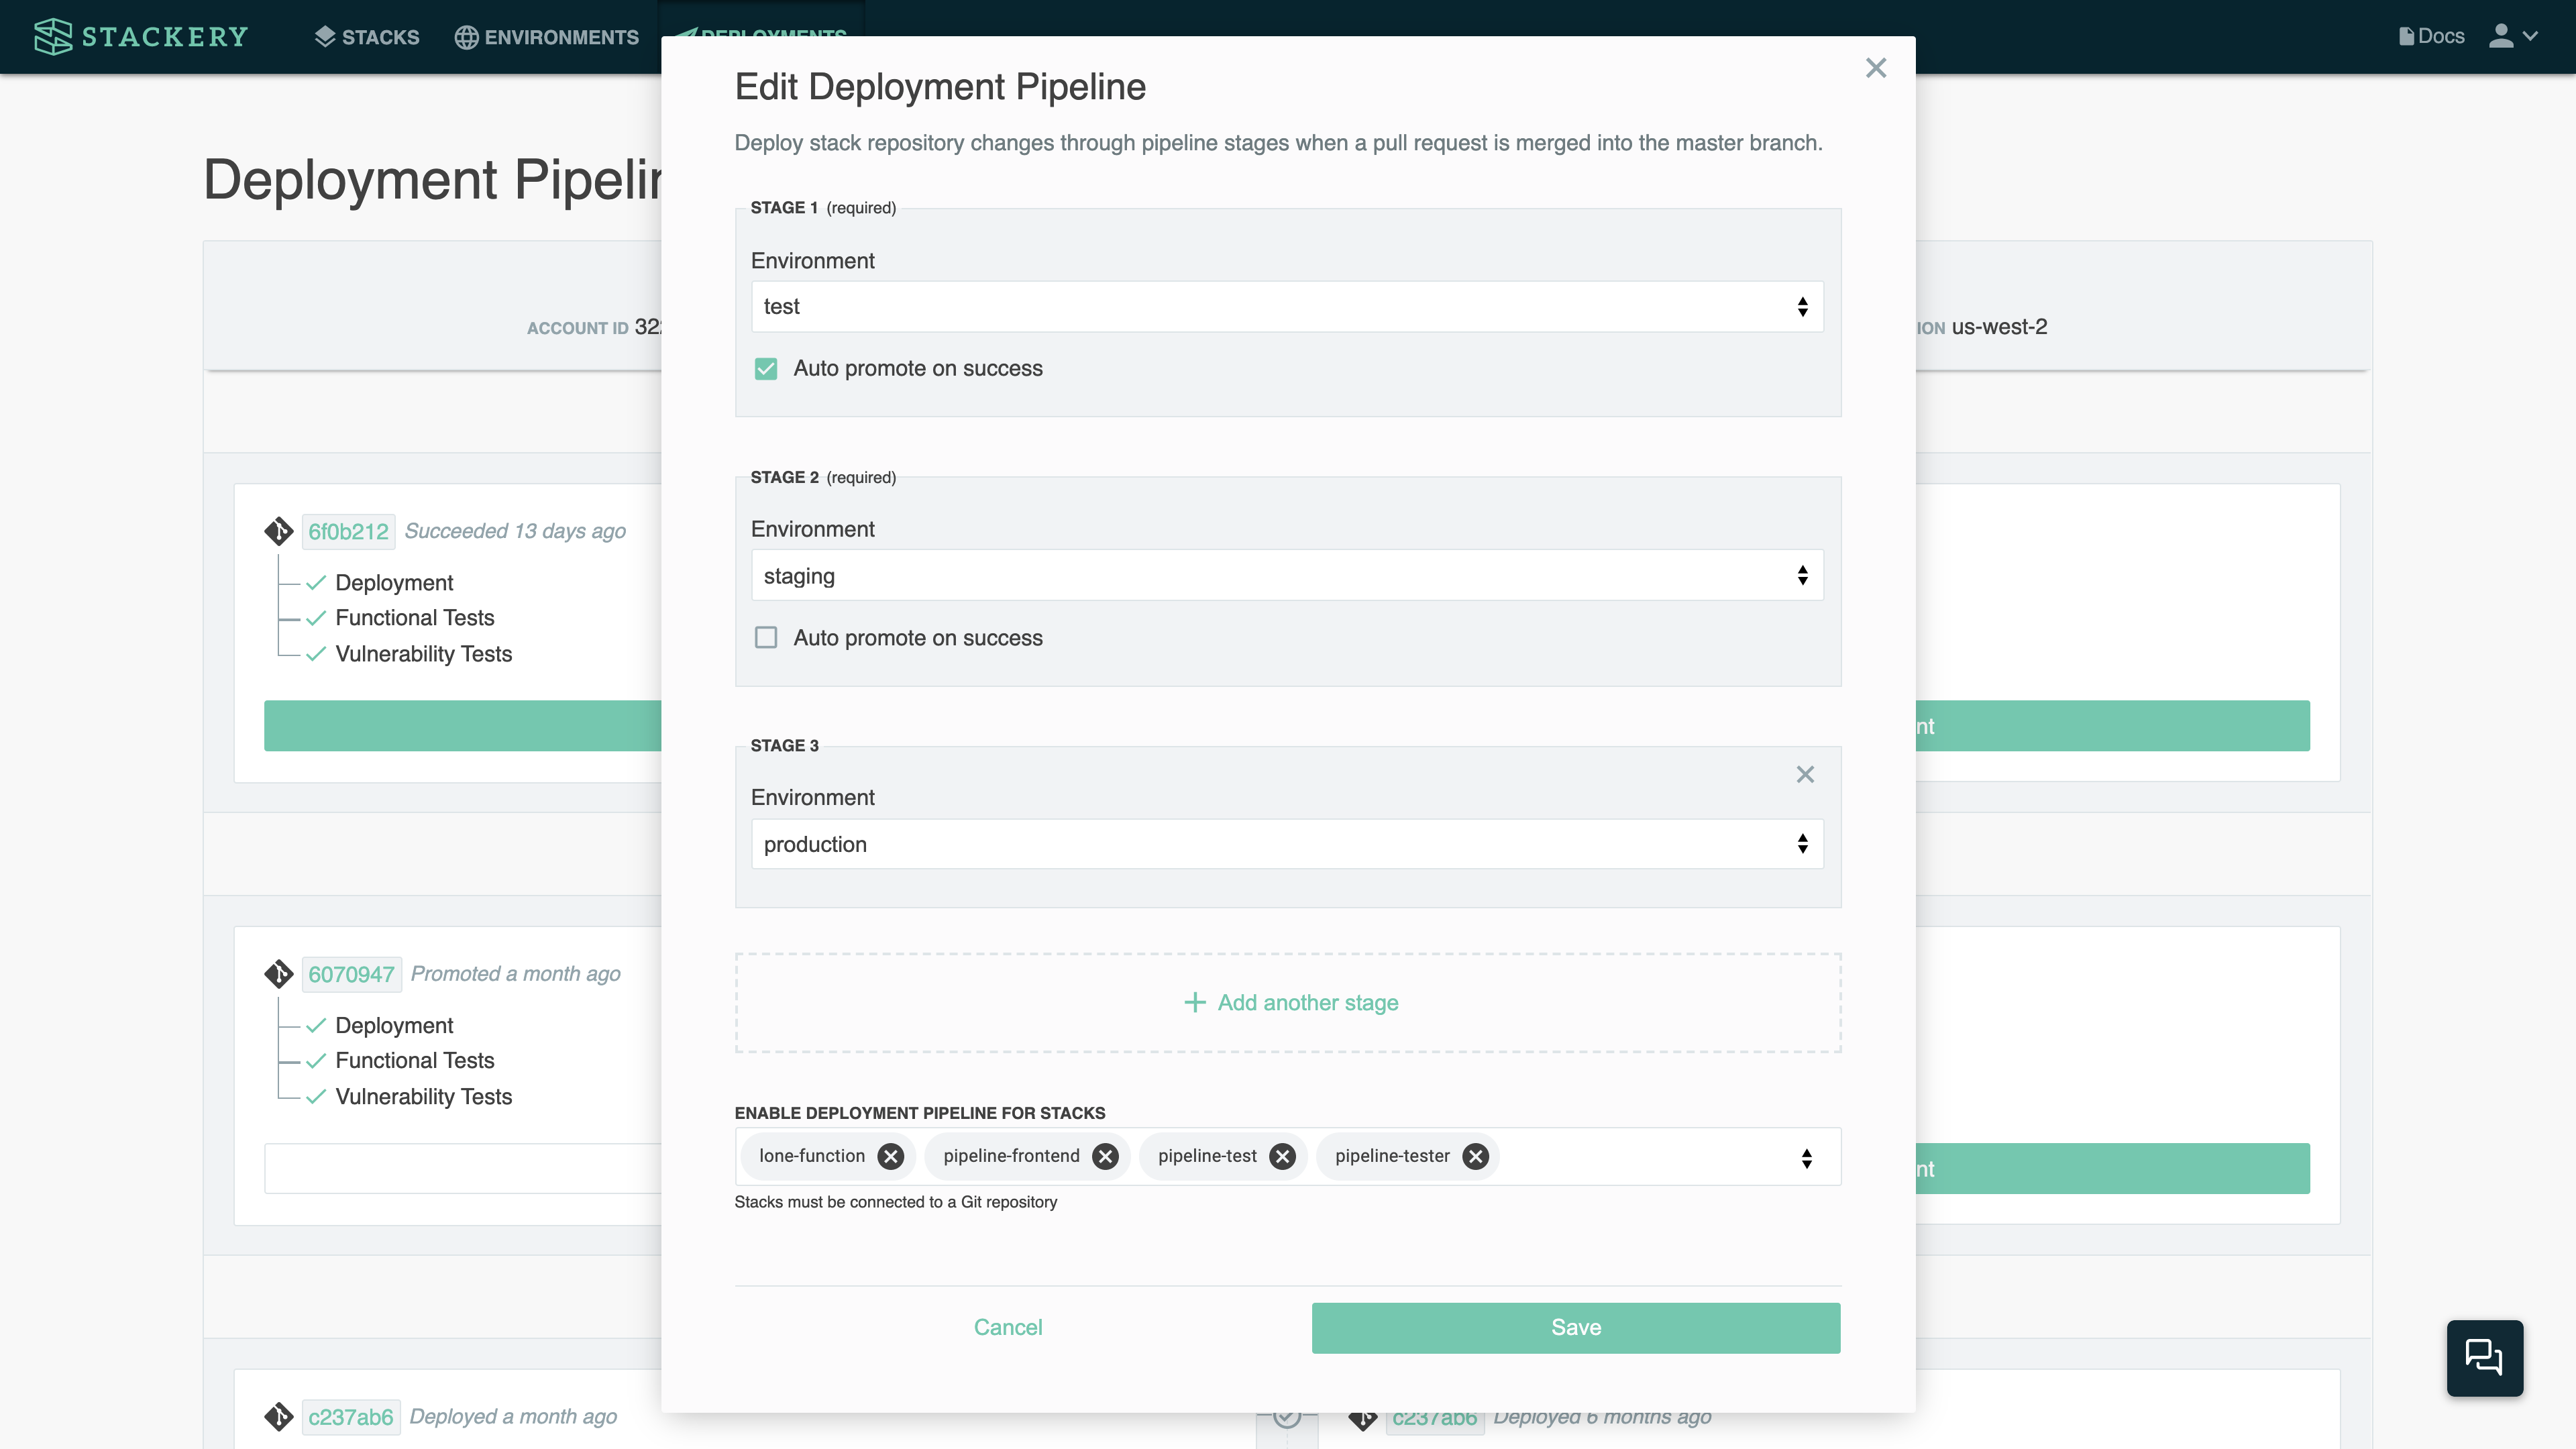
Select an environment for the first stage and the second stage (for example, you development and staging environments or your staging and production environments to have the pipeline deploy to your production account). If you click Auto promote on success, each chosen stack will automatically be deployed to the second stage environment if its designated tests pass. If the option is not selected, users have to manually promote the deployment to the next environment.
Next, choose which stack(s) will have the Deployment Pipeline enabled. You can then configure whether each stack has vulnerability scans, tests, and previews enabled on that stack's Stack Settings page.
Click the Save button to save your pipeline settings. You can always update them by choosing Edit from the context menu:

For more on setting up testing and continuous integration, please see the Serverless CI with Audits & Tests doc.
Active Deployments
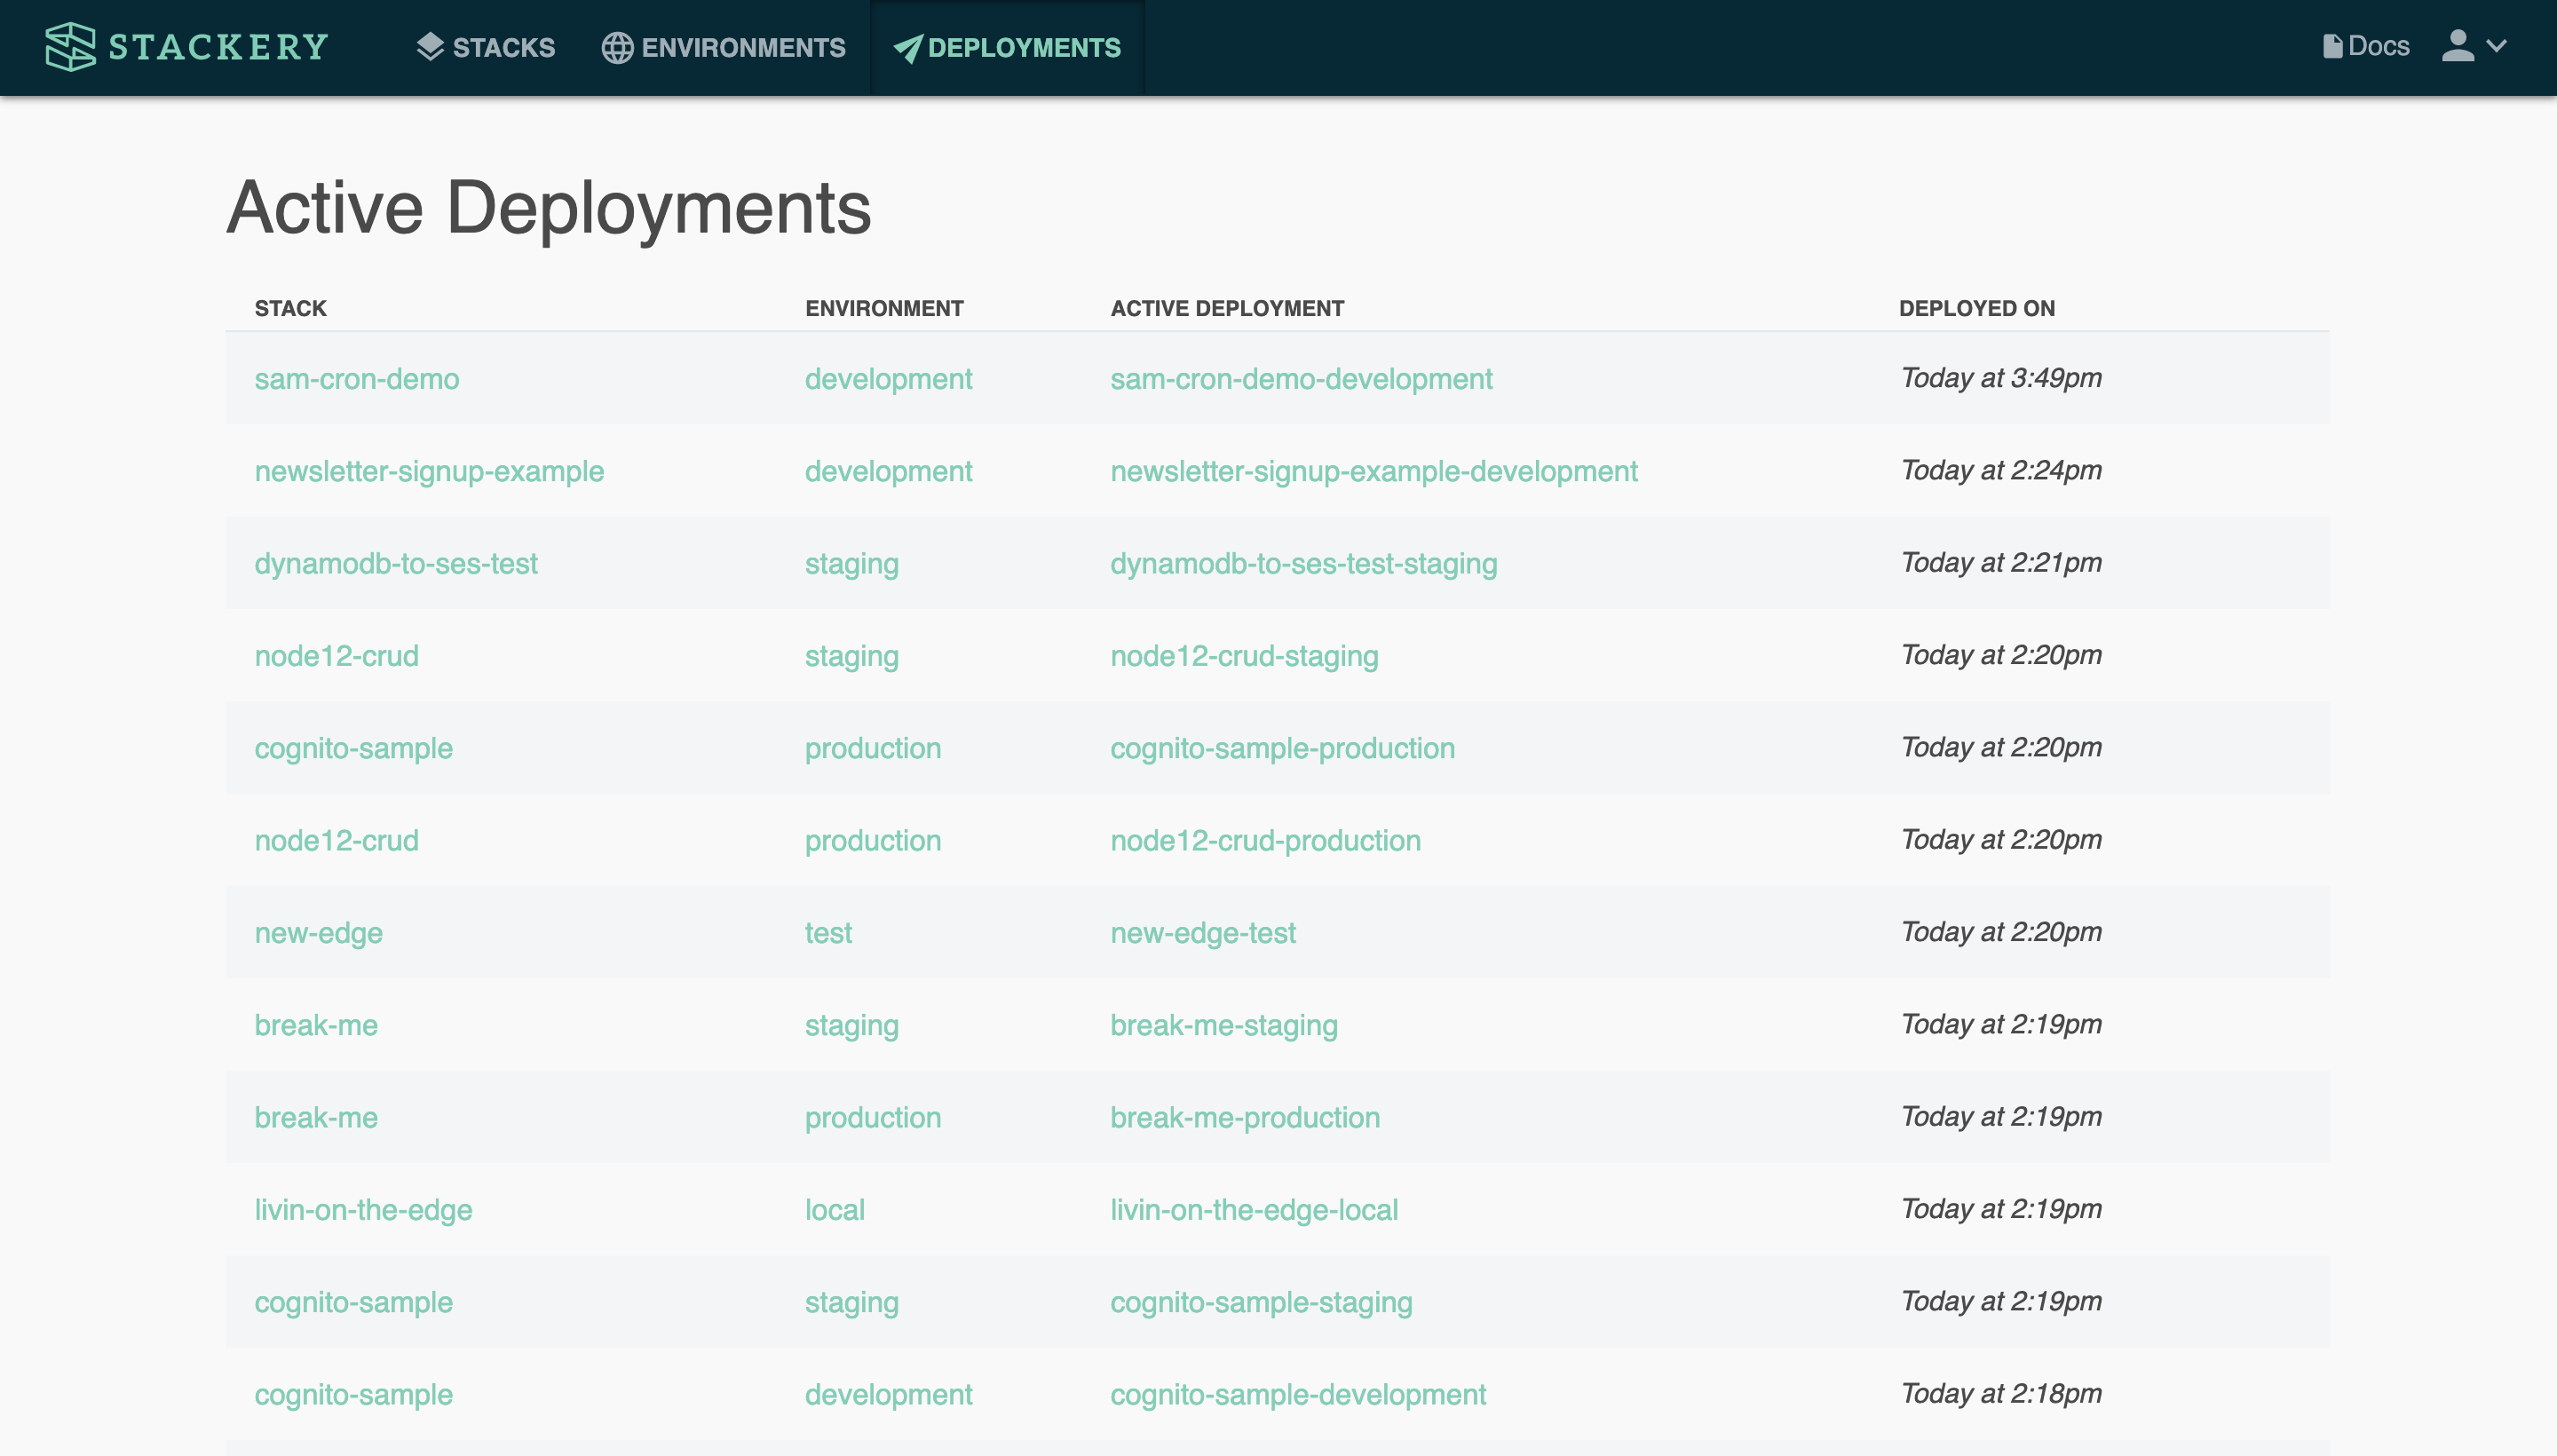
The Active Deployments table shows which stacks have been deployed or undeployed to which environments, ordered by most recent timestamp. Users can click on the links to easily access the stack, environment, or view the active deployment.
Settings
Finally, your app Settings, which are accessed through the user menu in the sidebar, include usage and billing details, AWS and other integrations, account users and admin settings, and the ability to change your account password.

Usage
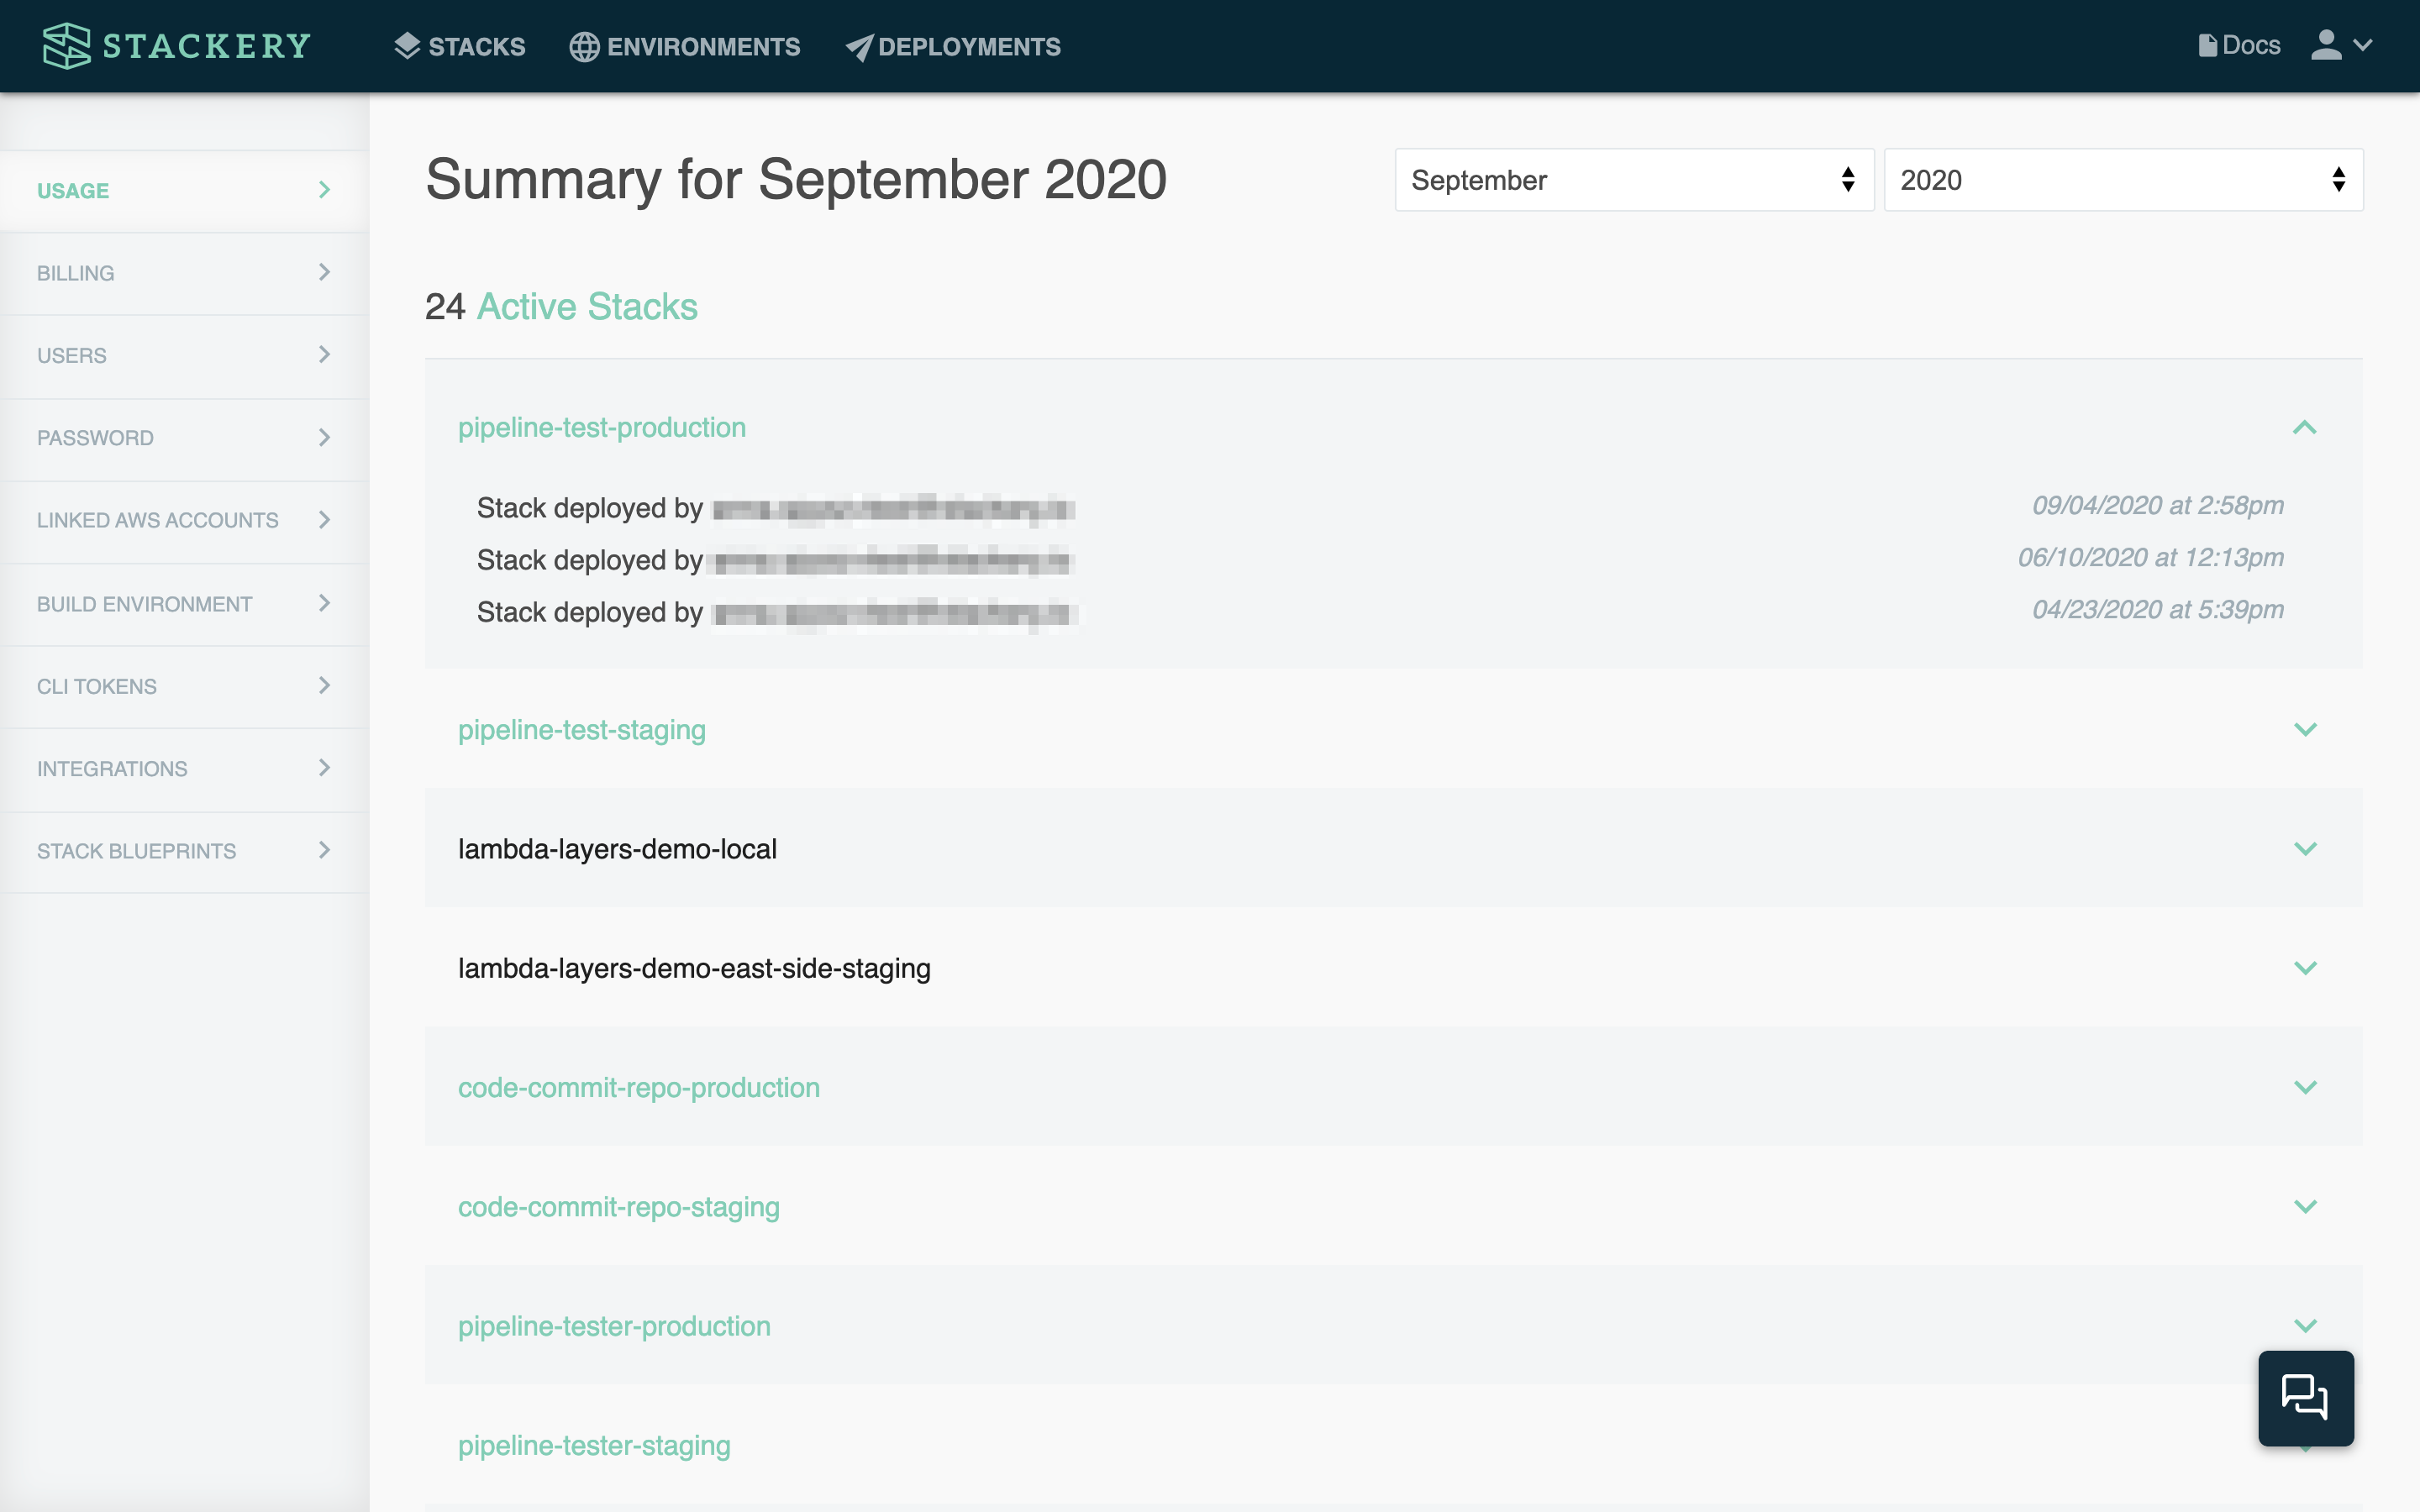
The Usage view gives you a summary of your Active Stacks, which are defined as a stack that has been actively deployed to an environment (i.e. has not been undeployed).
You can expand each stack name to see all of its activity in the selected month.
Billing
The Billing page is only visible to users who have been designated as account Admins.
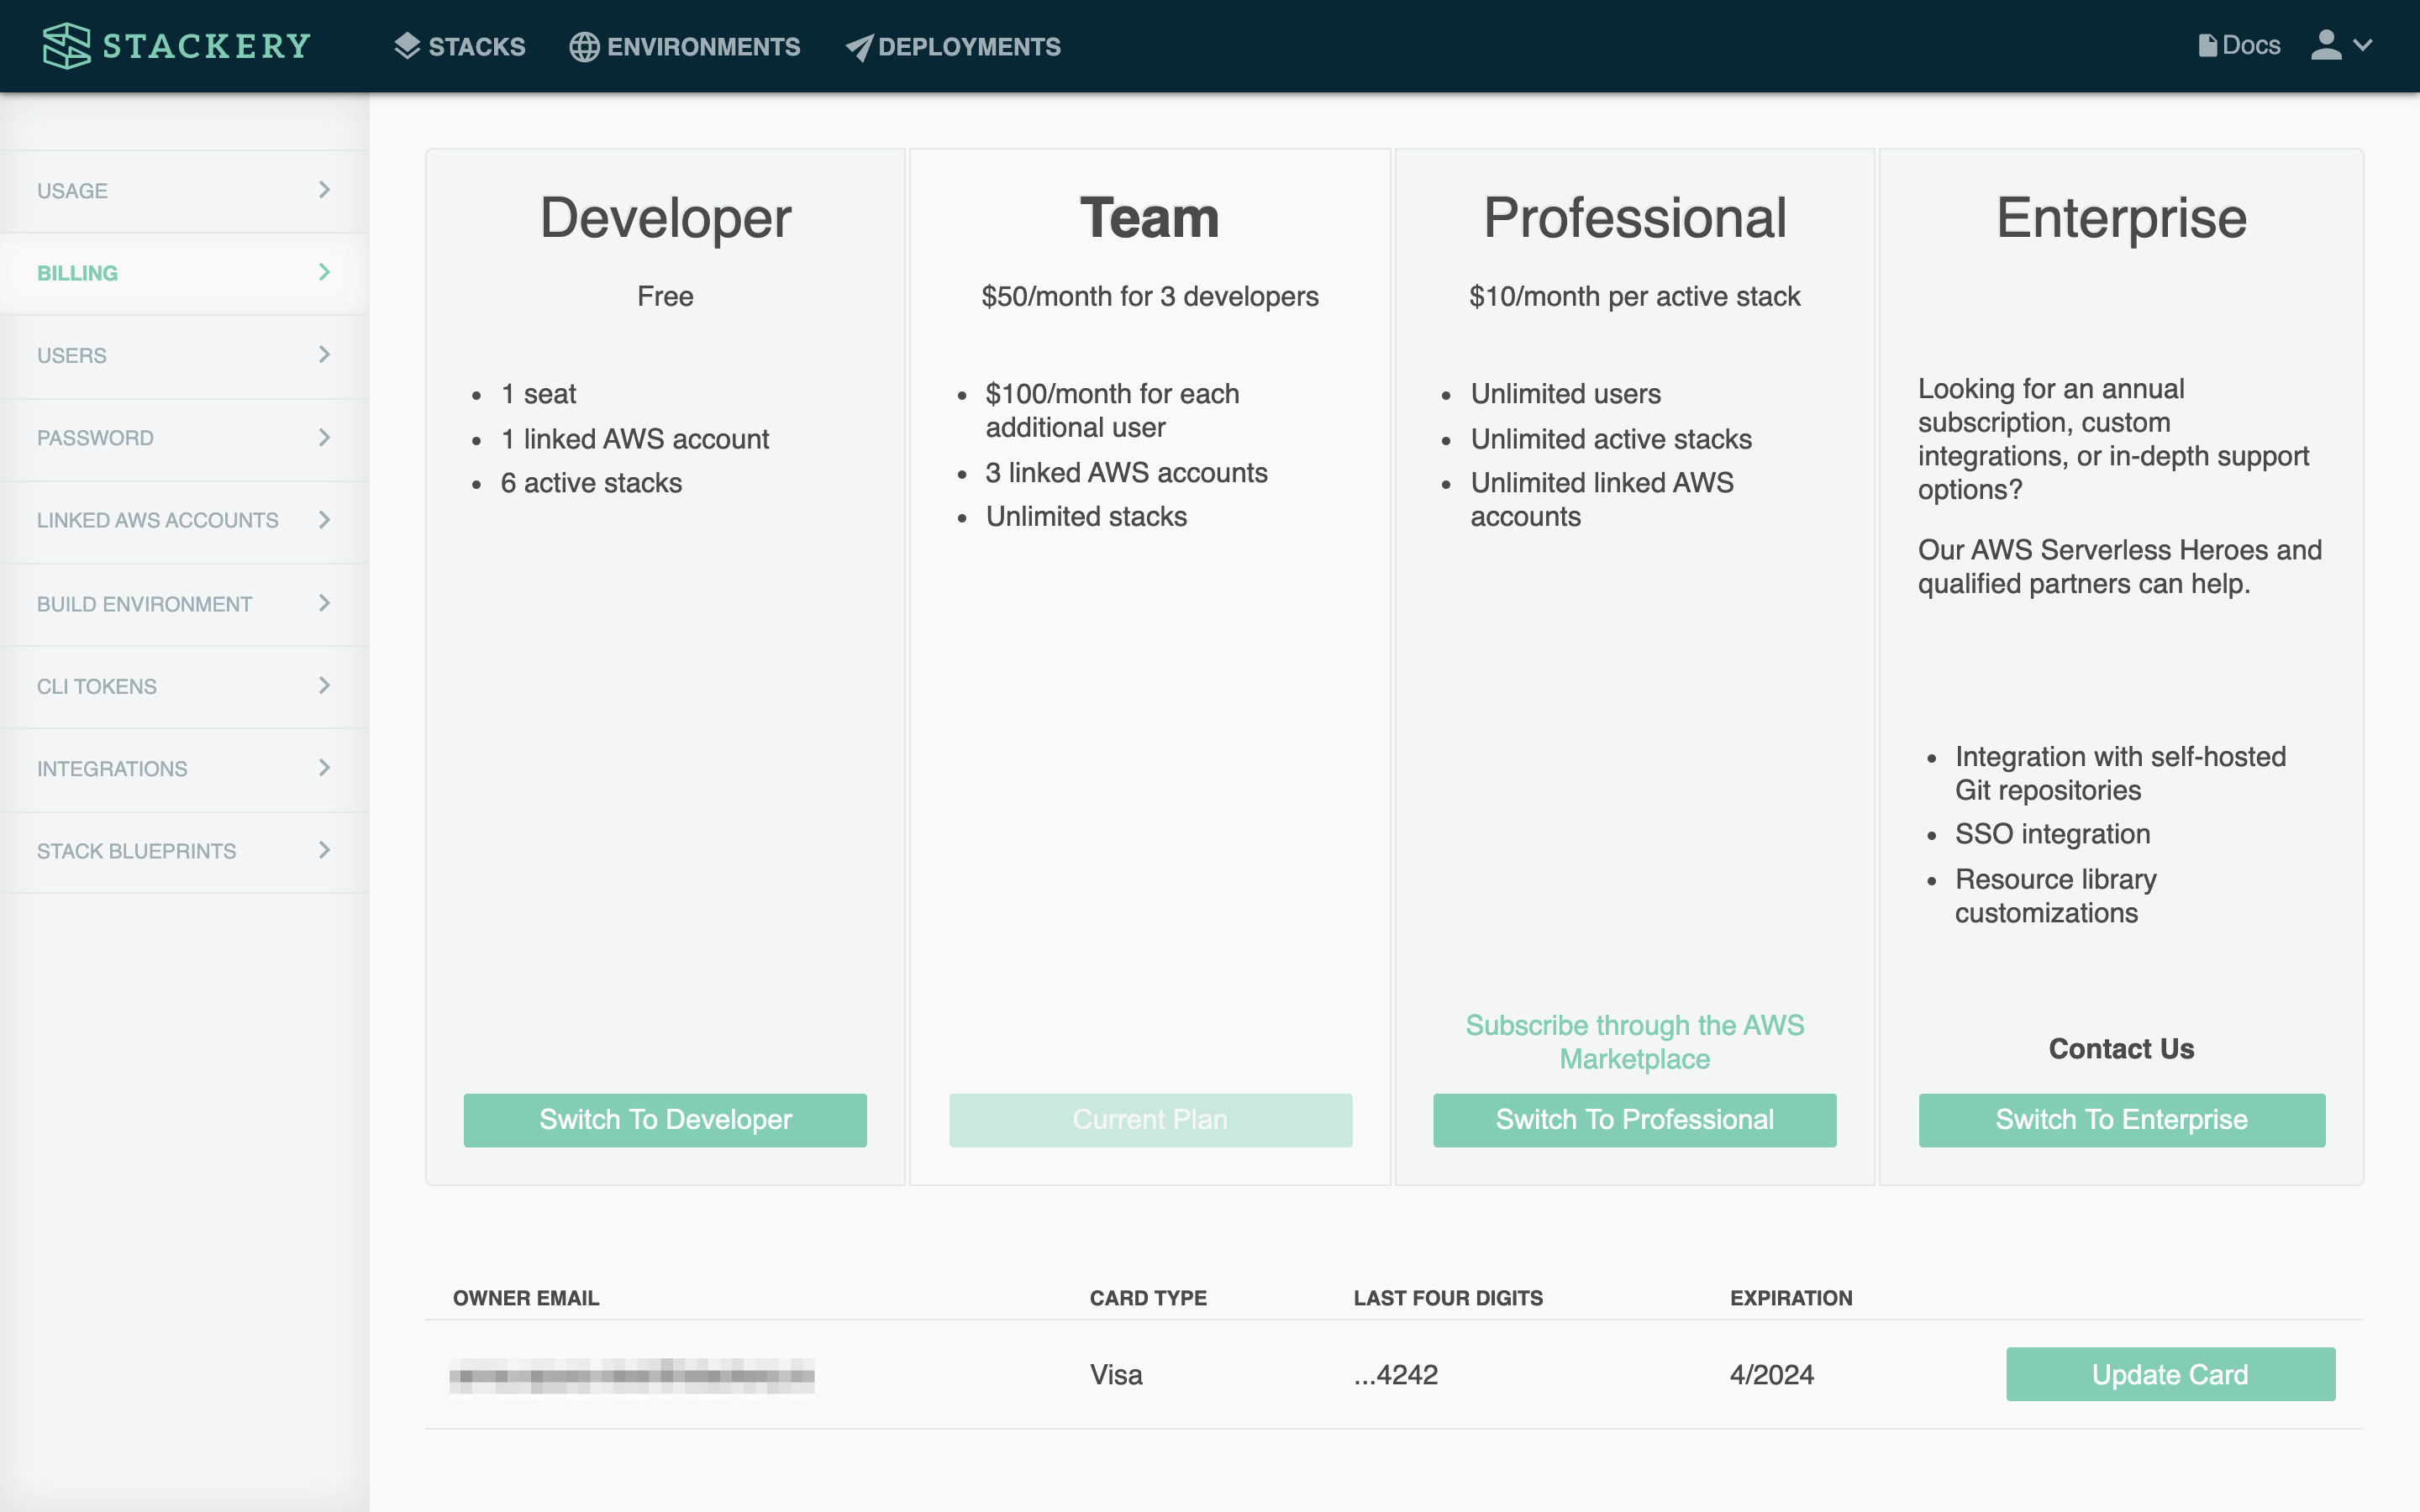
The Billing page allows account Admins to view and update the current plan, and to enter or change the credit card that will be charged for Professional and Team accounts. Stackery Developer accounts do not need to link a credit card.
Billing payments are securely handled through Stripe for standard plans, or AWS for Marketplace plans.
Users
All users who created accounts prior to September 2019 have automatically been designated as Admins.
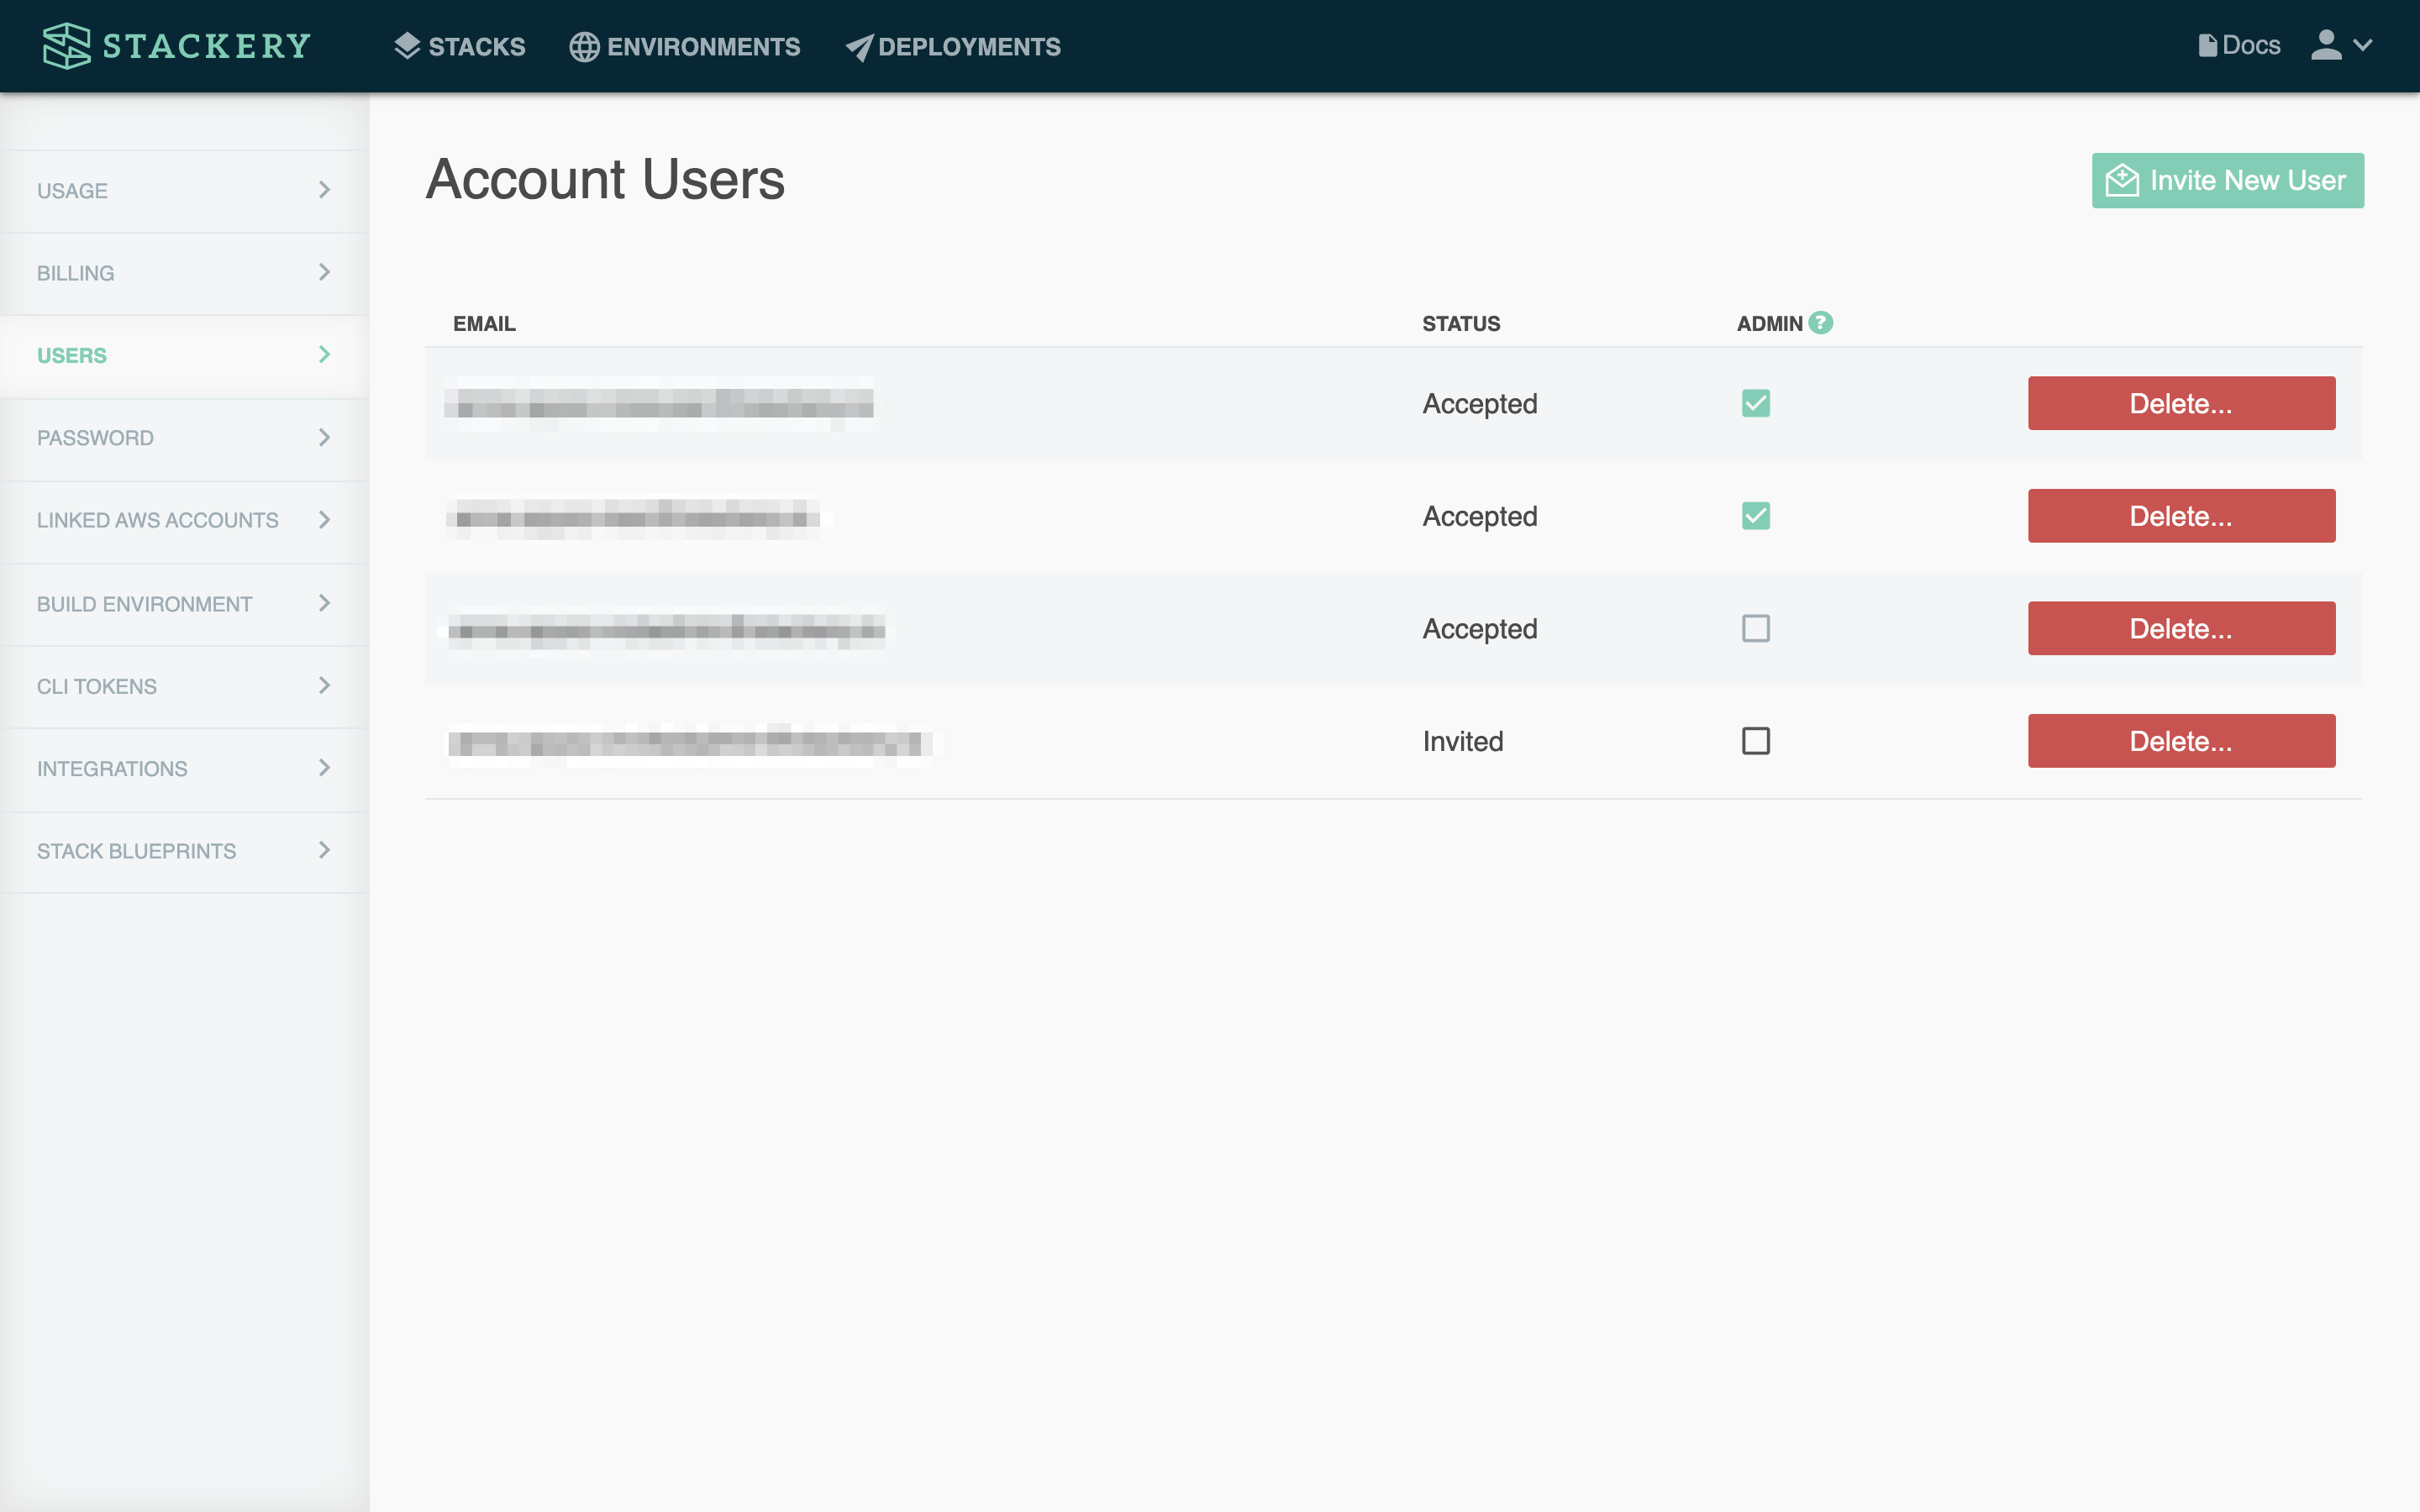
The Account Users section is where you manage your team on Stackery. Users who are designated as account Admins can delete other users, or designate them as Admins or not.
To onboard a new team member, click the Invite New User button and enter their email address. If you are an Admin, you can also choose whether to designate them as an Admin during this stage. This will send them an email link to create a Stackery account in your organization.
Password
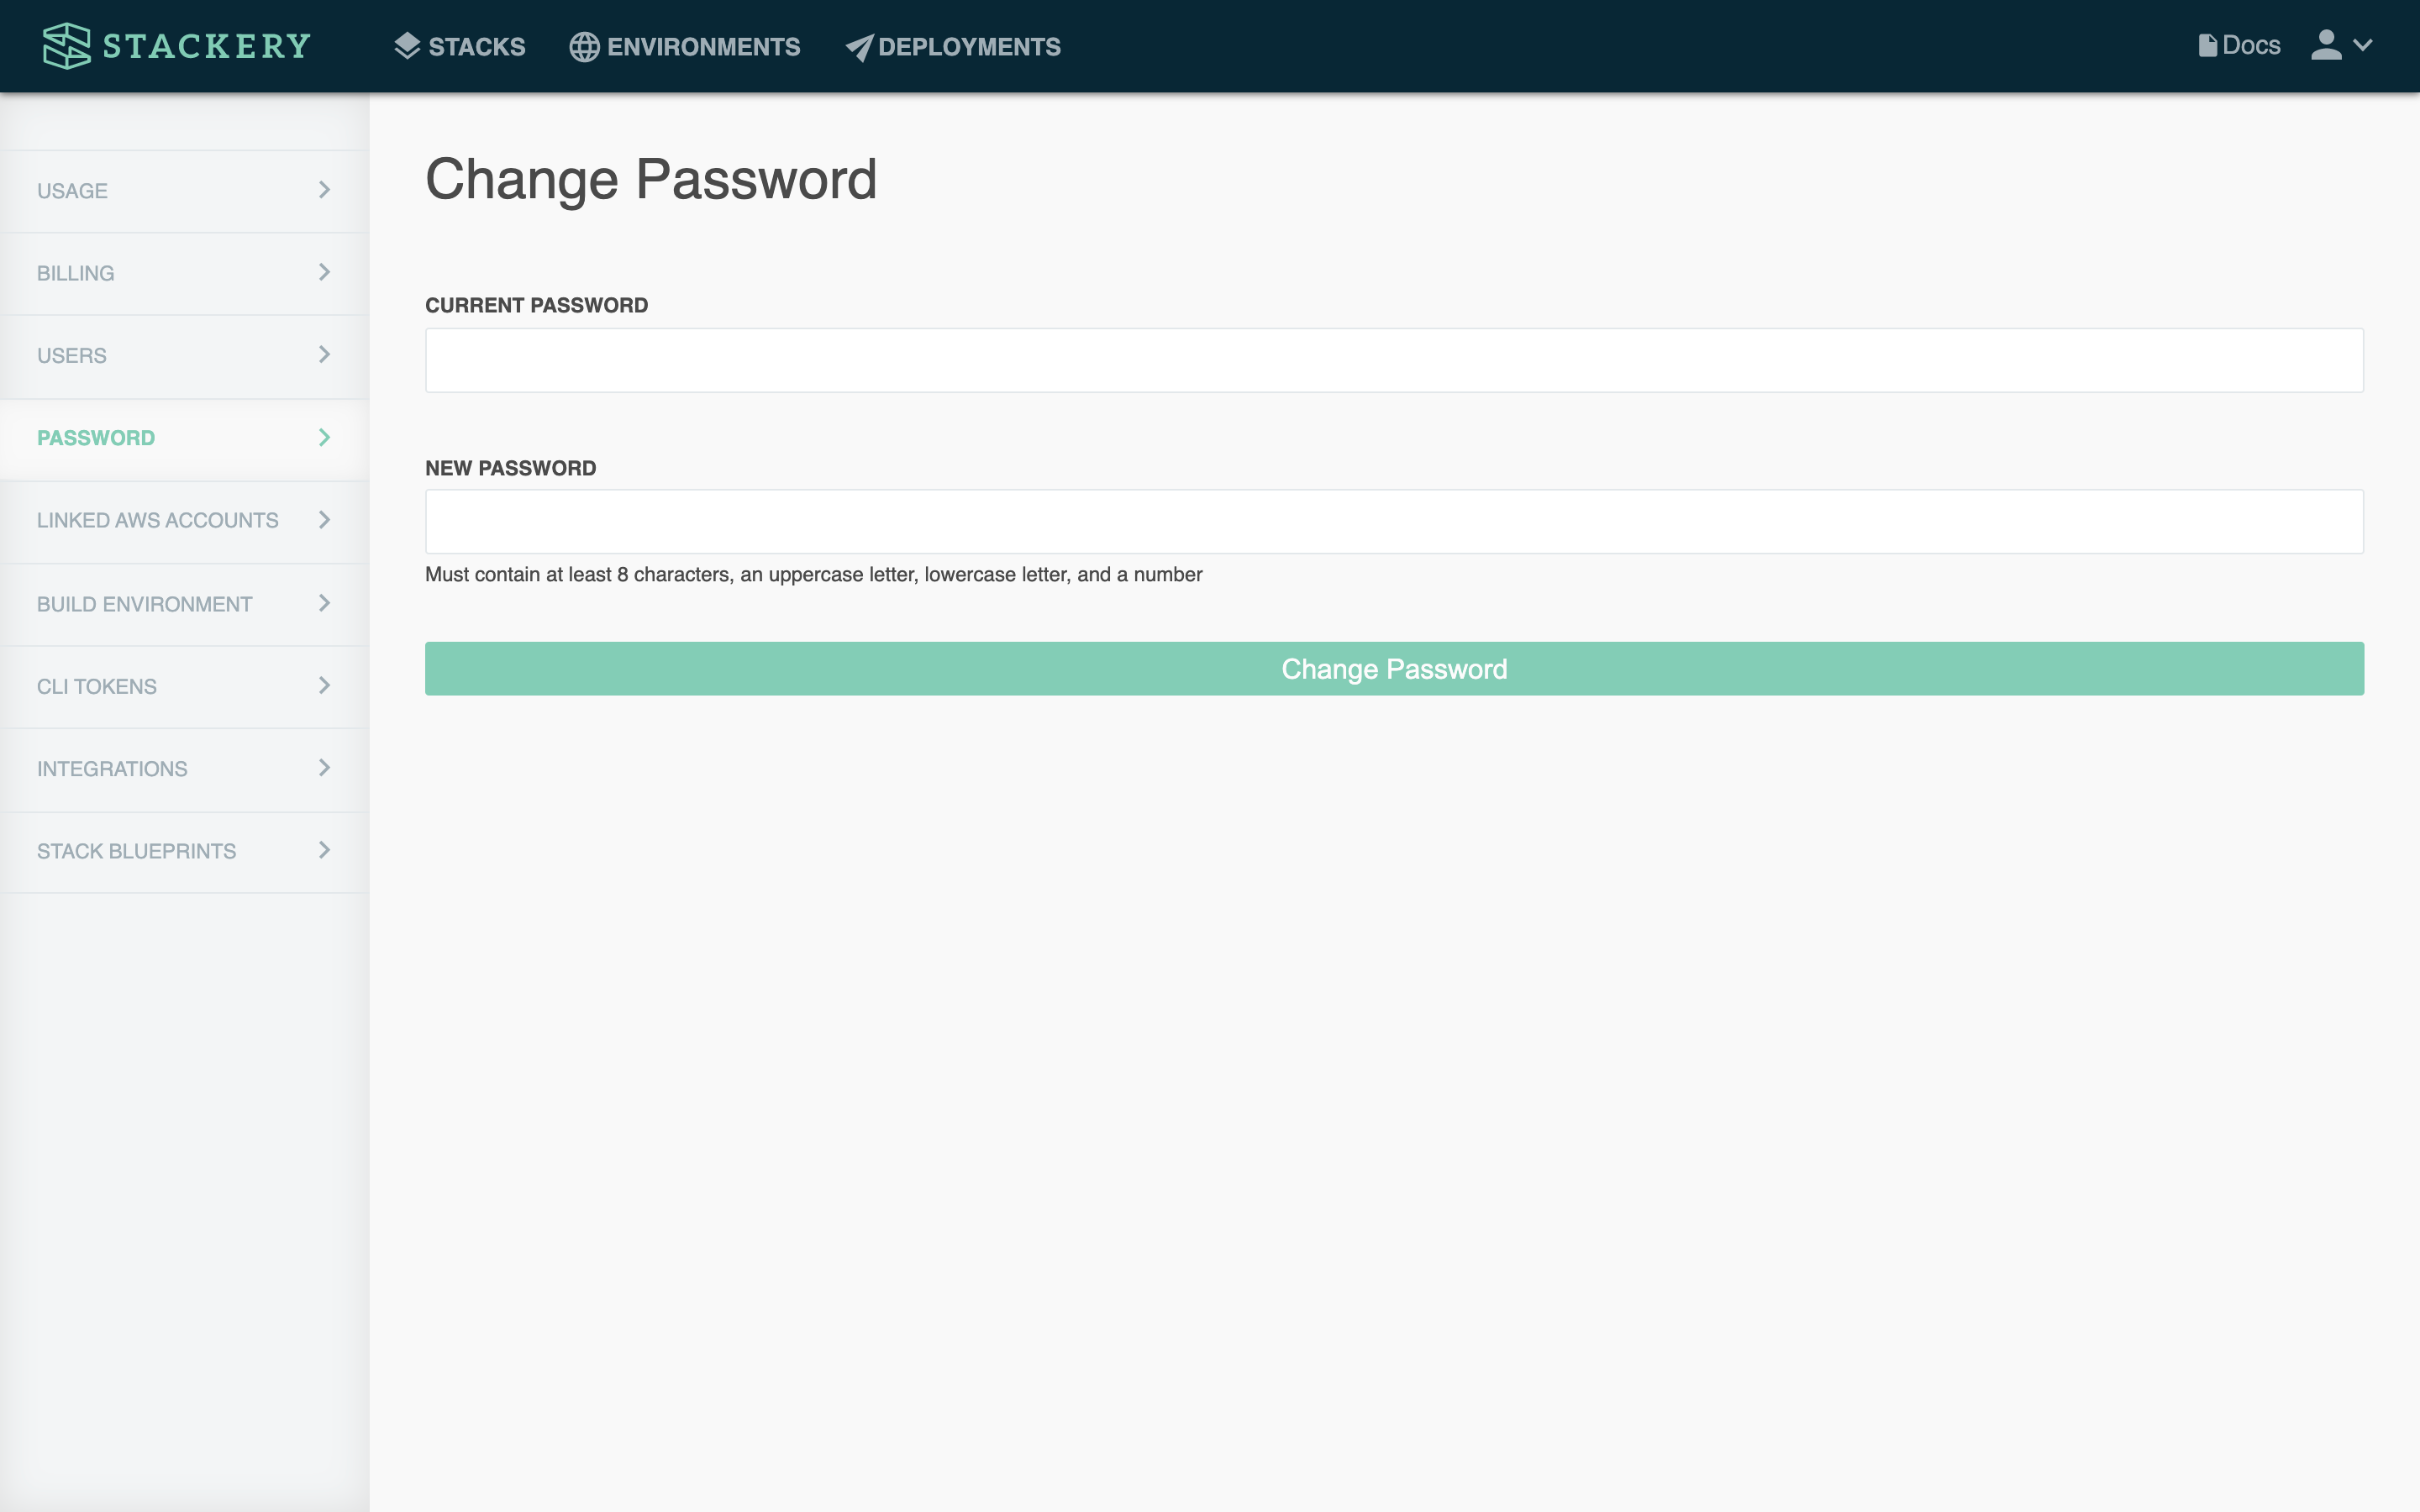
The Password section allows you to change your current password.
Linked AWS Accounts
The Linked AWS Accounts page lets you manage and update the AWS accounts you have integrated with your Stackery account, which includes the Stackery Role. It also allows you to link additional AWS accounts that can be configured with your Environments.
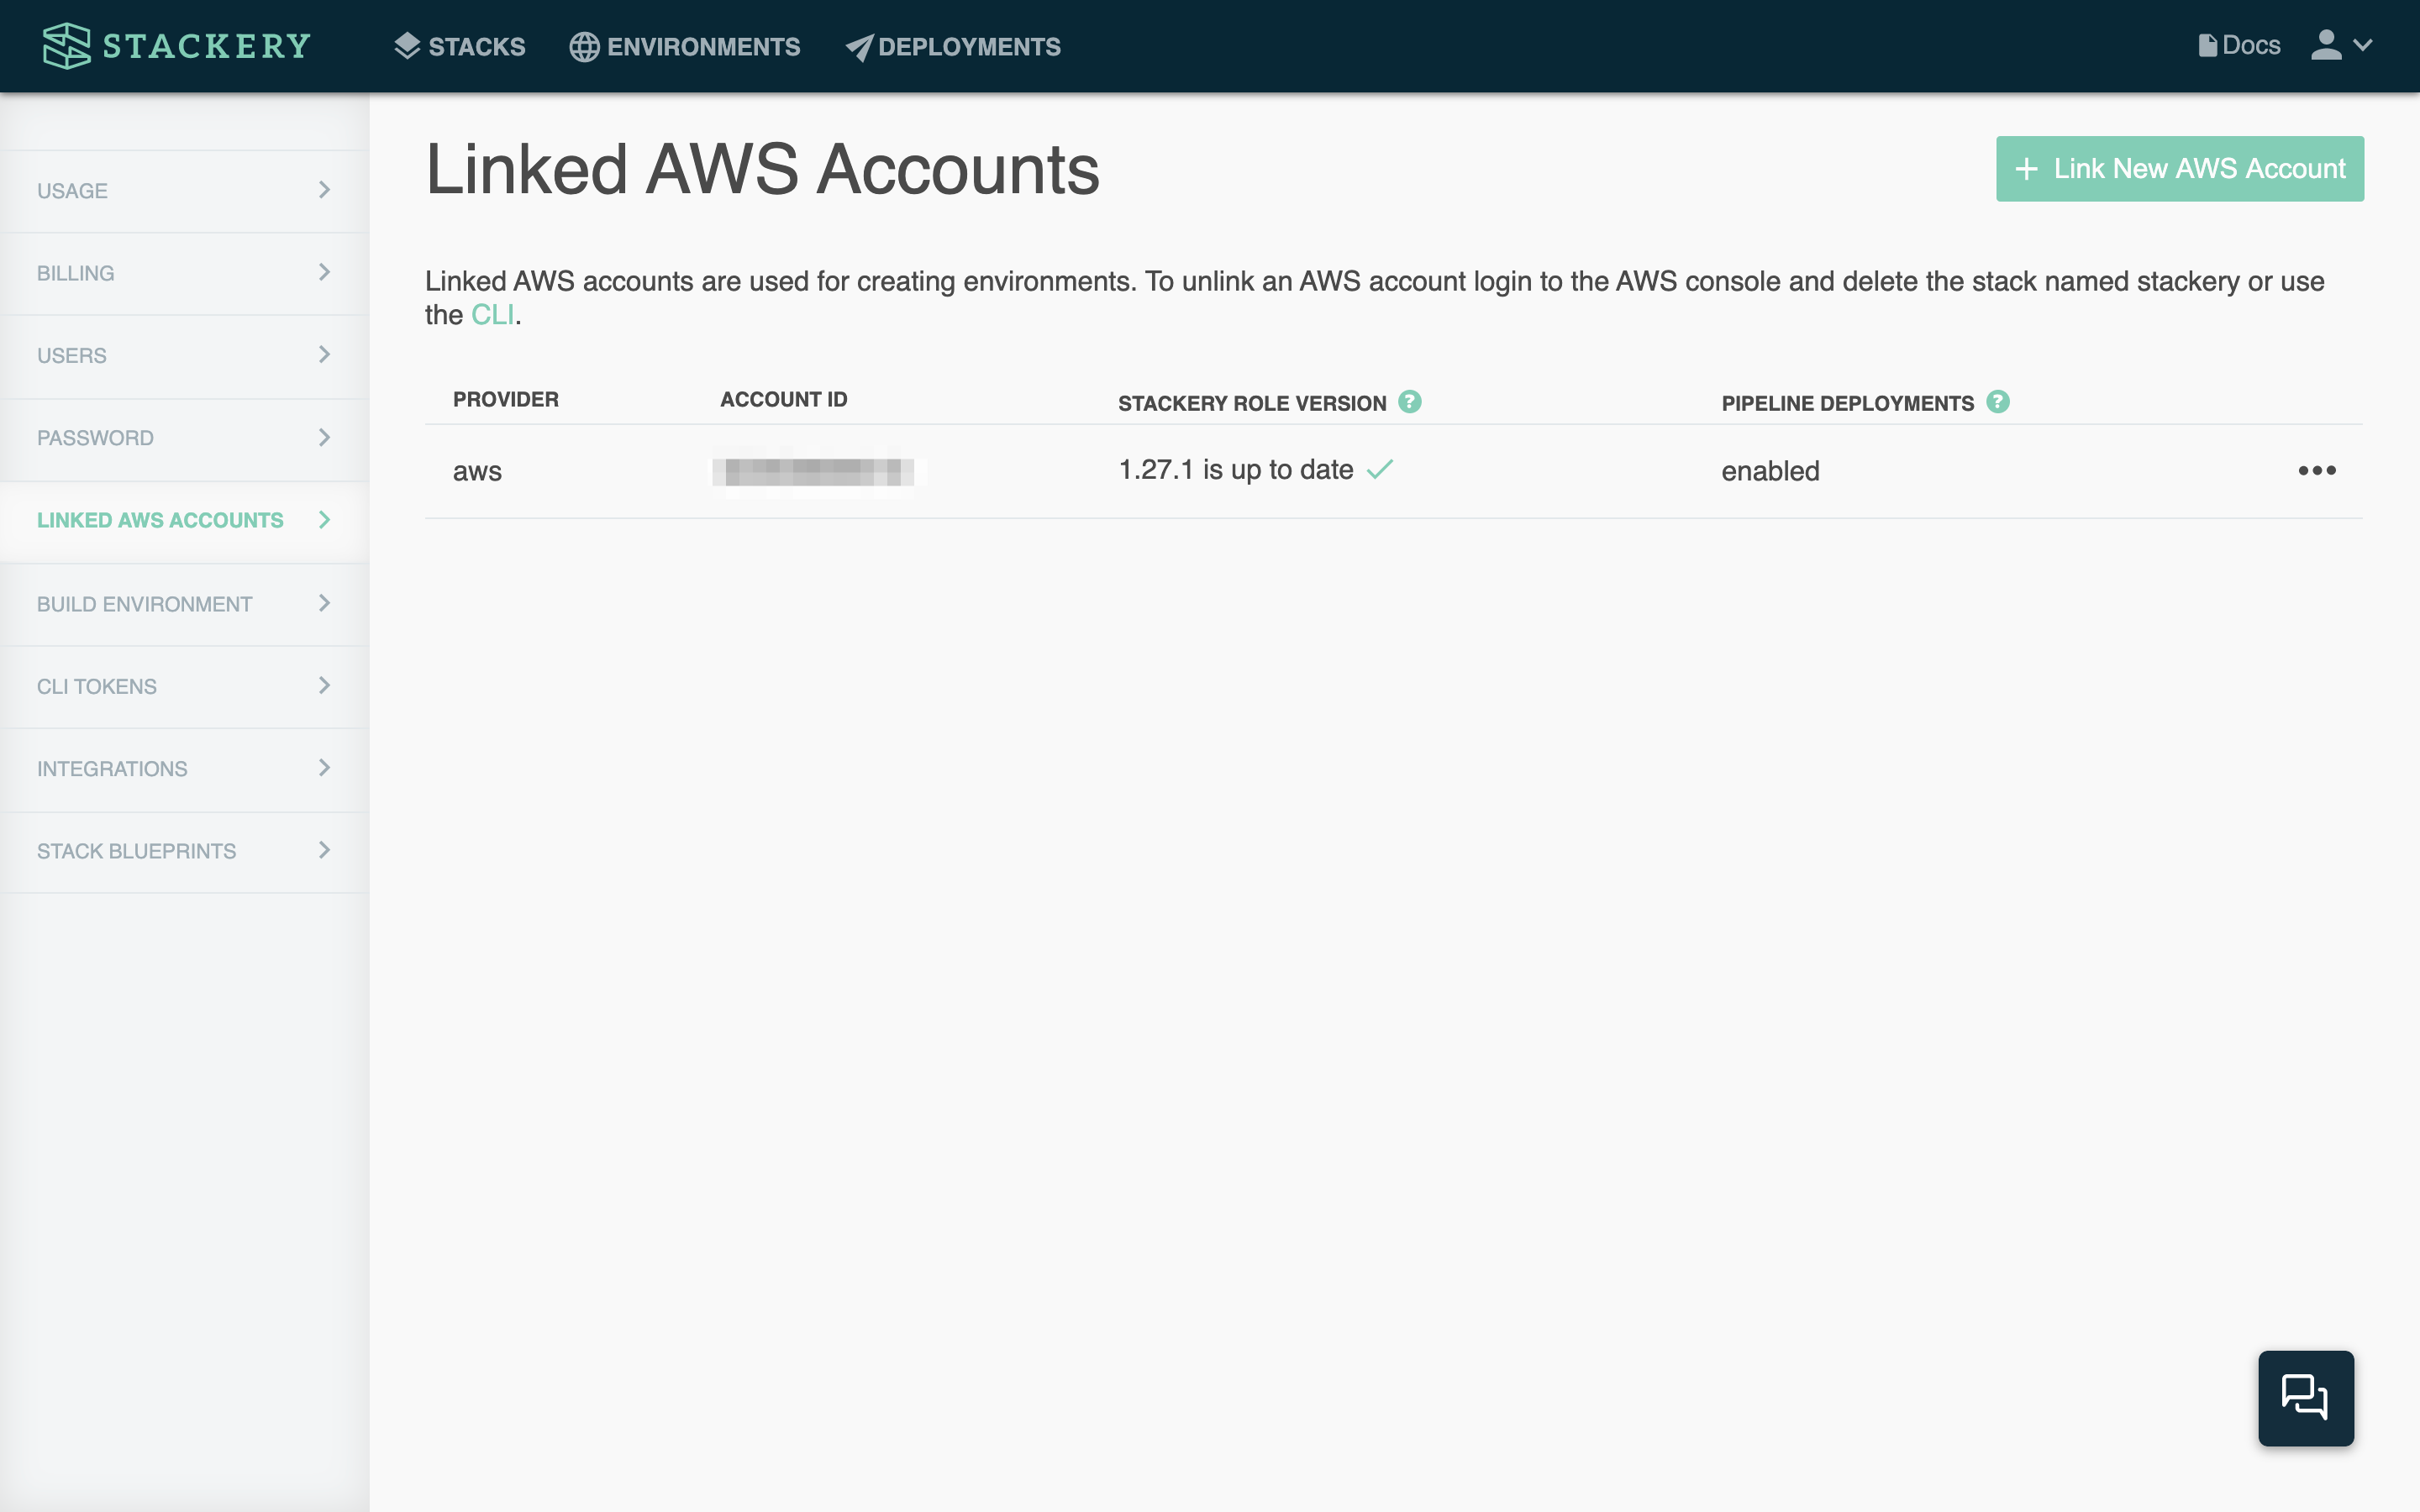
When your current version of Stackery is out of date, you will see the following message:

Click the Update button, which will take you to the AWS Console. You can leave all of the settings as they are, and click next through several pages.
This can also be done in the Stackery CLI with the command
stackery aws update-role.

On the last page, be sure to check the "I acknowledge" statement and then click Update stack to update your Stackery Role.

After a refresh, your Linked Accounts page should now show you're up to date.

Build Environment
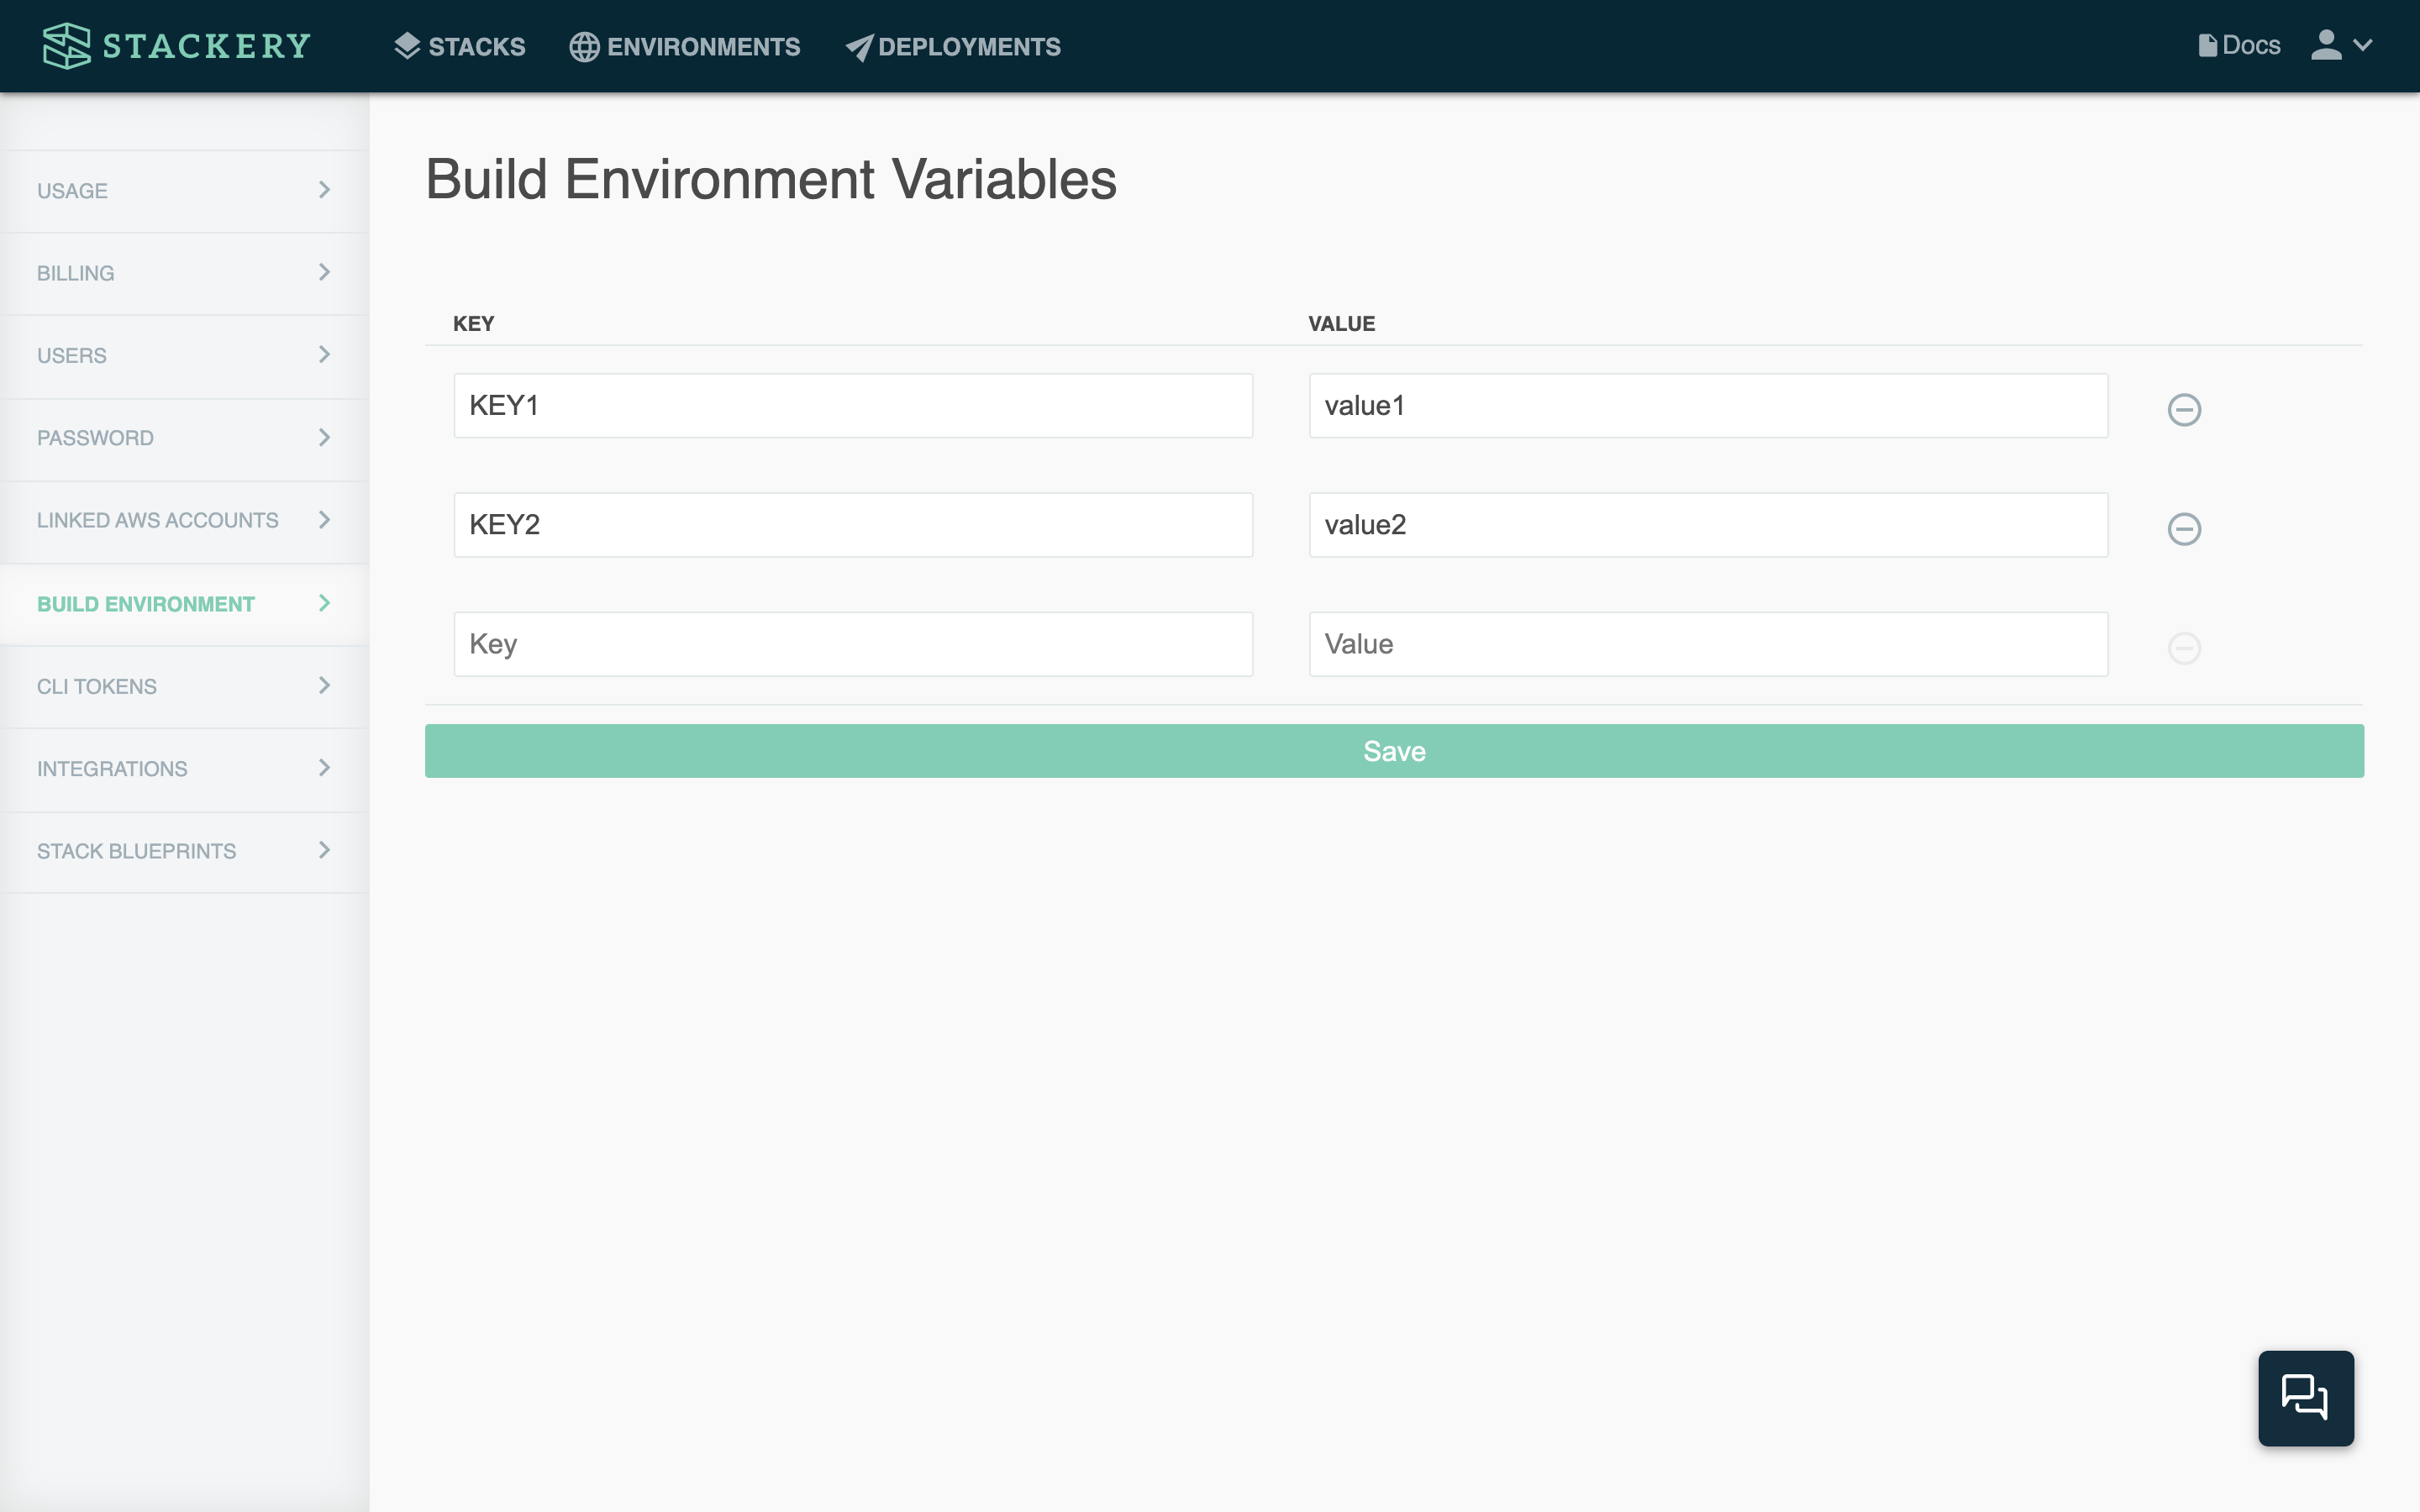
The Build Environment section lets you set environment variables on an organization-wide basis (as opposed to per stack or function). During a deployment, the Stackery CLI accesses these variables and adds them to the build environment.
CLI Tokens
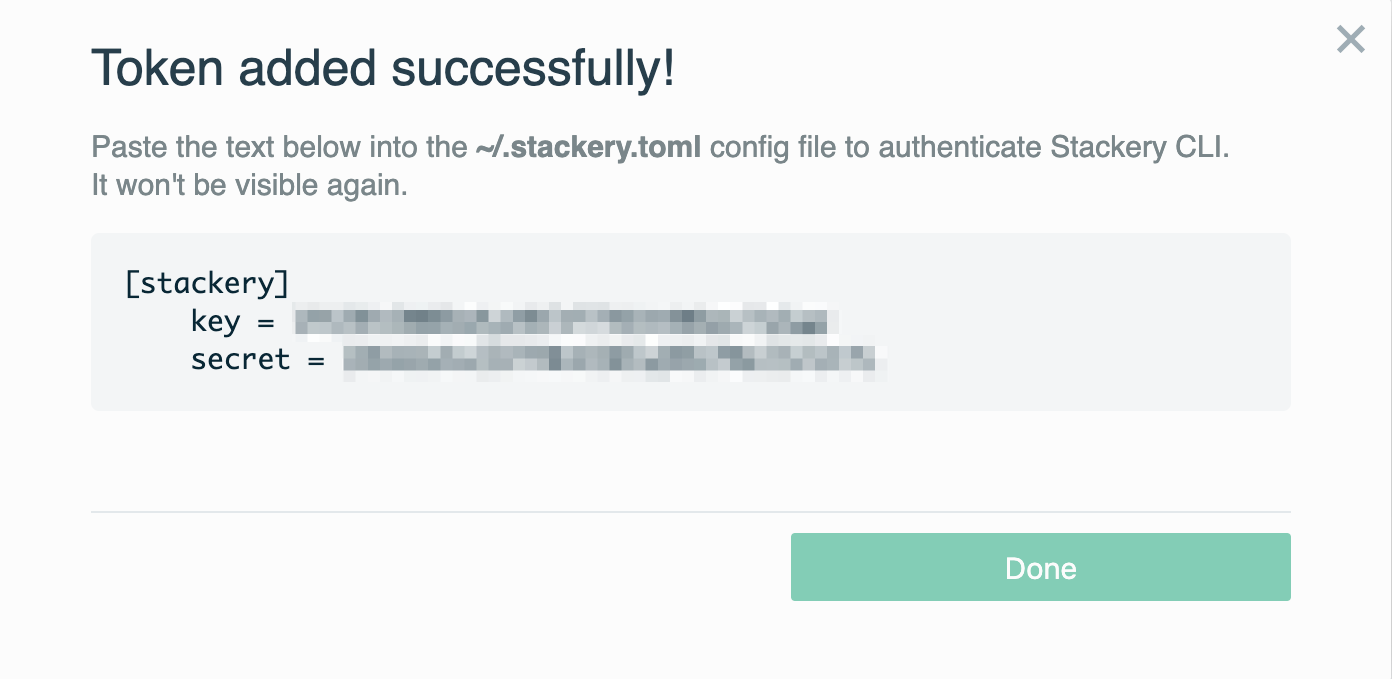
The CLI Tokens page allows users to generate Stackery tokens in the Dashboard. For most users, this is automatically done with the stackery login command when initially running the Stackery CLI, but in the case of users who need two-factor authentication or other custom features, this allows for the manual creation of tokens.
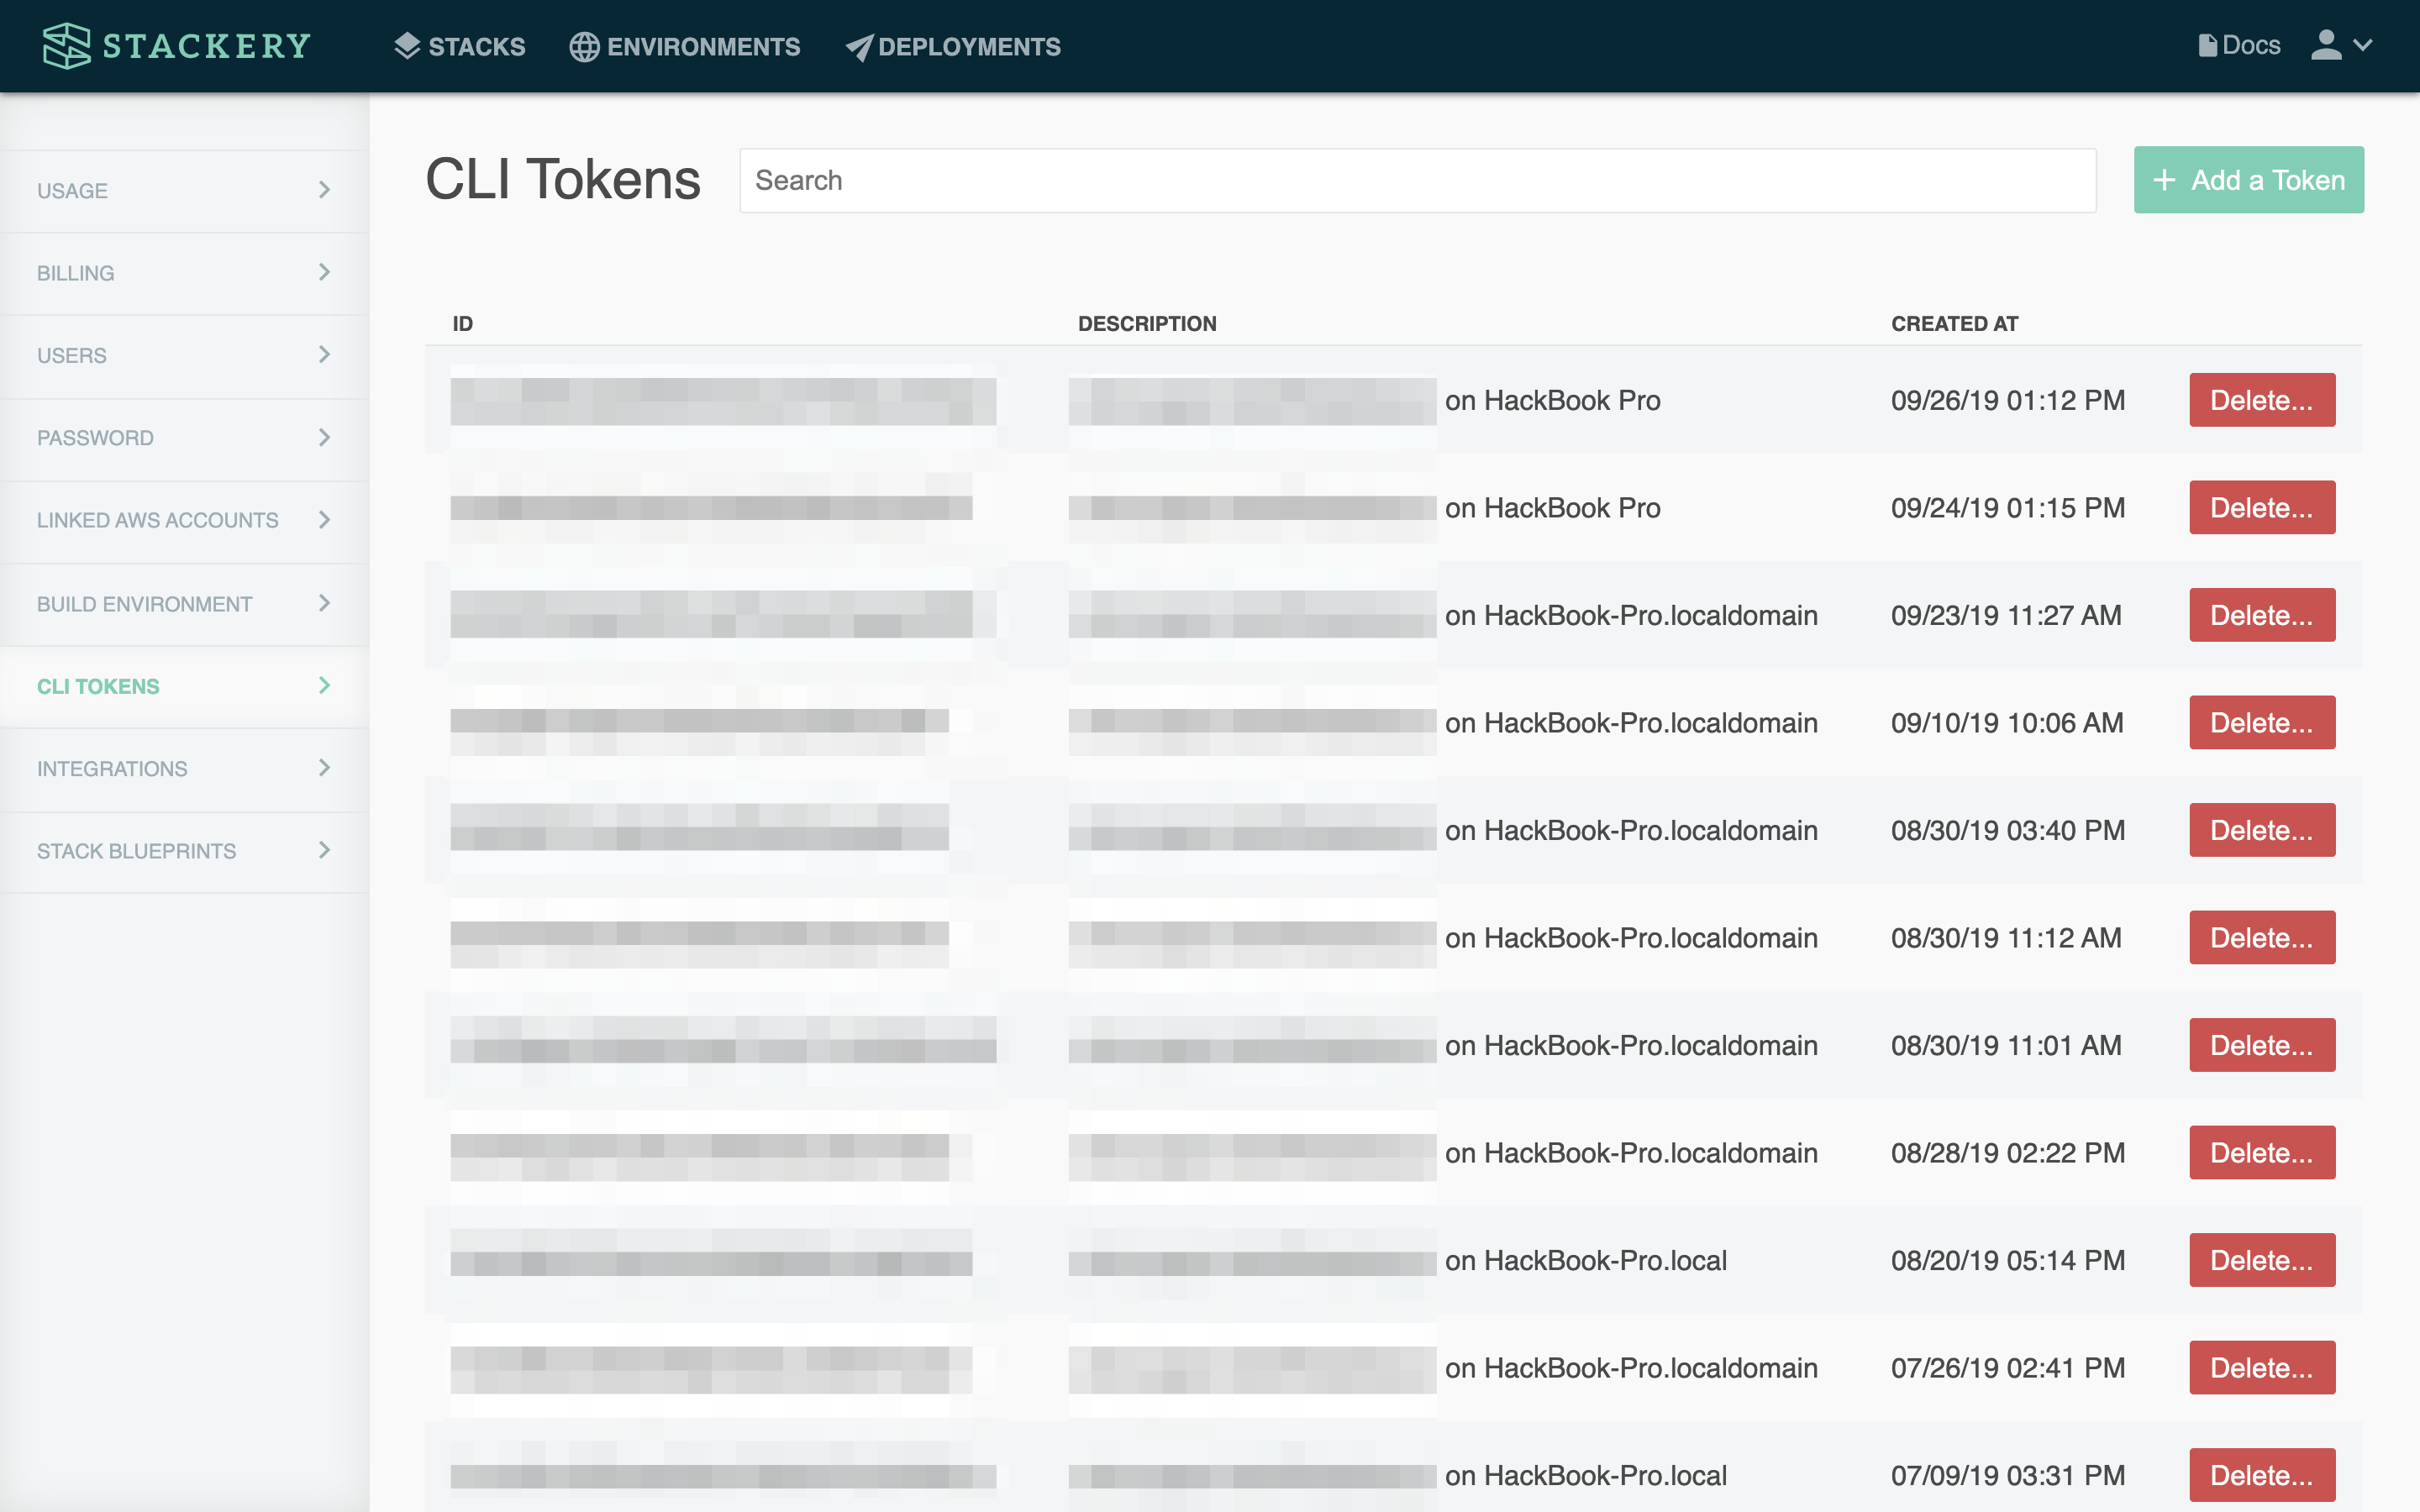
To generate a new token, click Add a Token and copy the configuration to a .stackery.toml config file wherever you need it. It will be generated in the following format:
[stackery]
  key = { Key }
  secret = { Secret }
Integrations
The Integrations page allows you to add integrations to outside applications. At the moment, Stackery supports integrations with:

Stack Blueprints
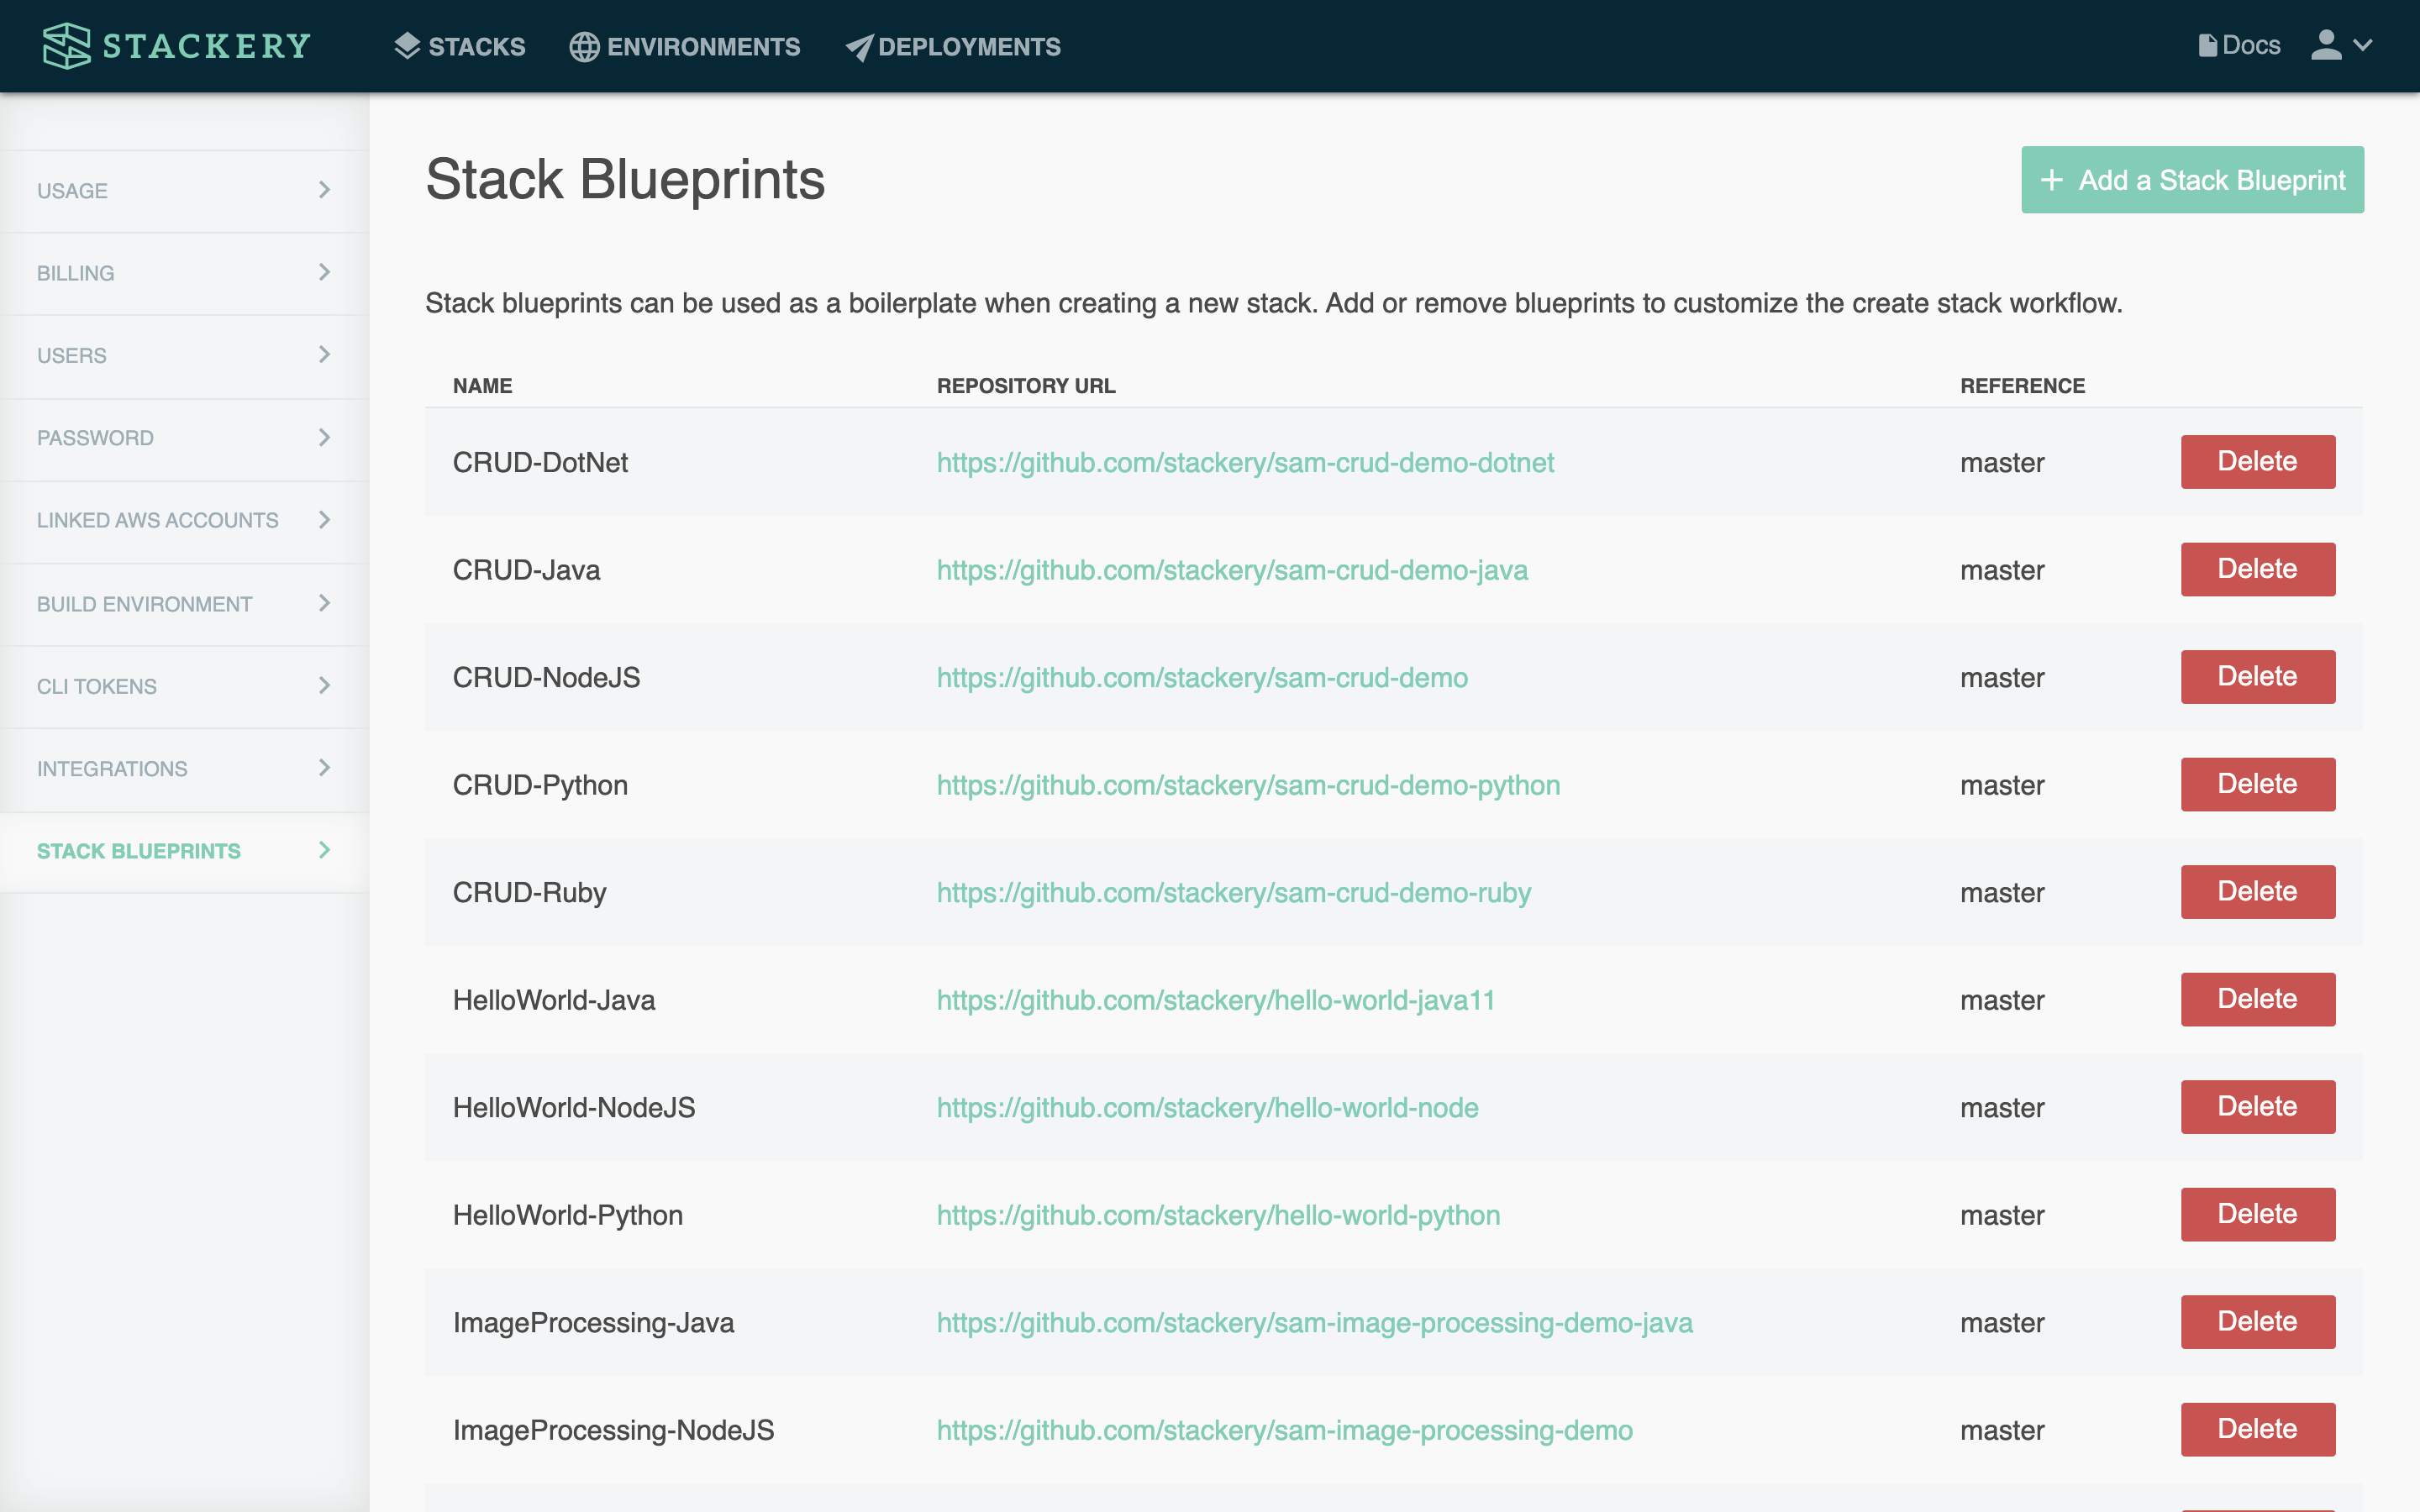
The Stack Blueprints page allows you to view, create and delete Stack Blueprints.
Creating and saving blueprints
Saving custom application blueprints for future use is easy in Stackery. You can create and save a blueprint based on any repository that contains a valid AWS SAM or Serverless Framework template, and then use that blueprint when creating new projects.
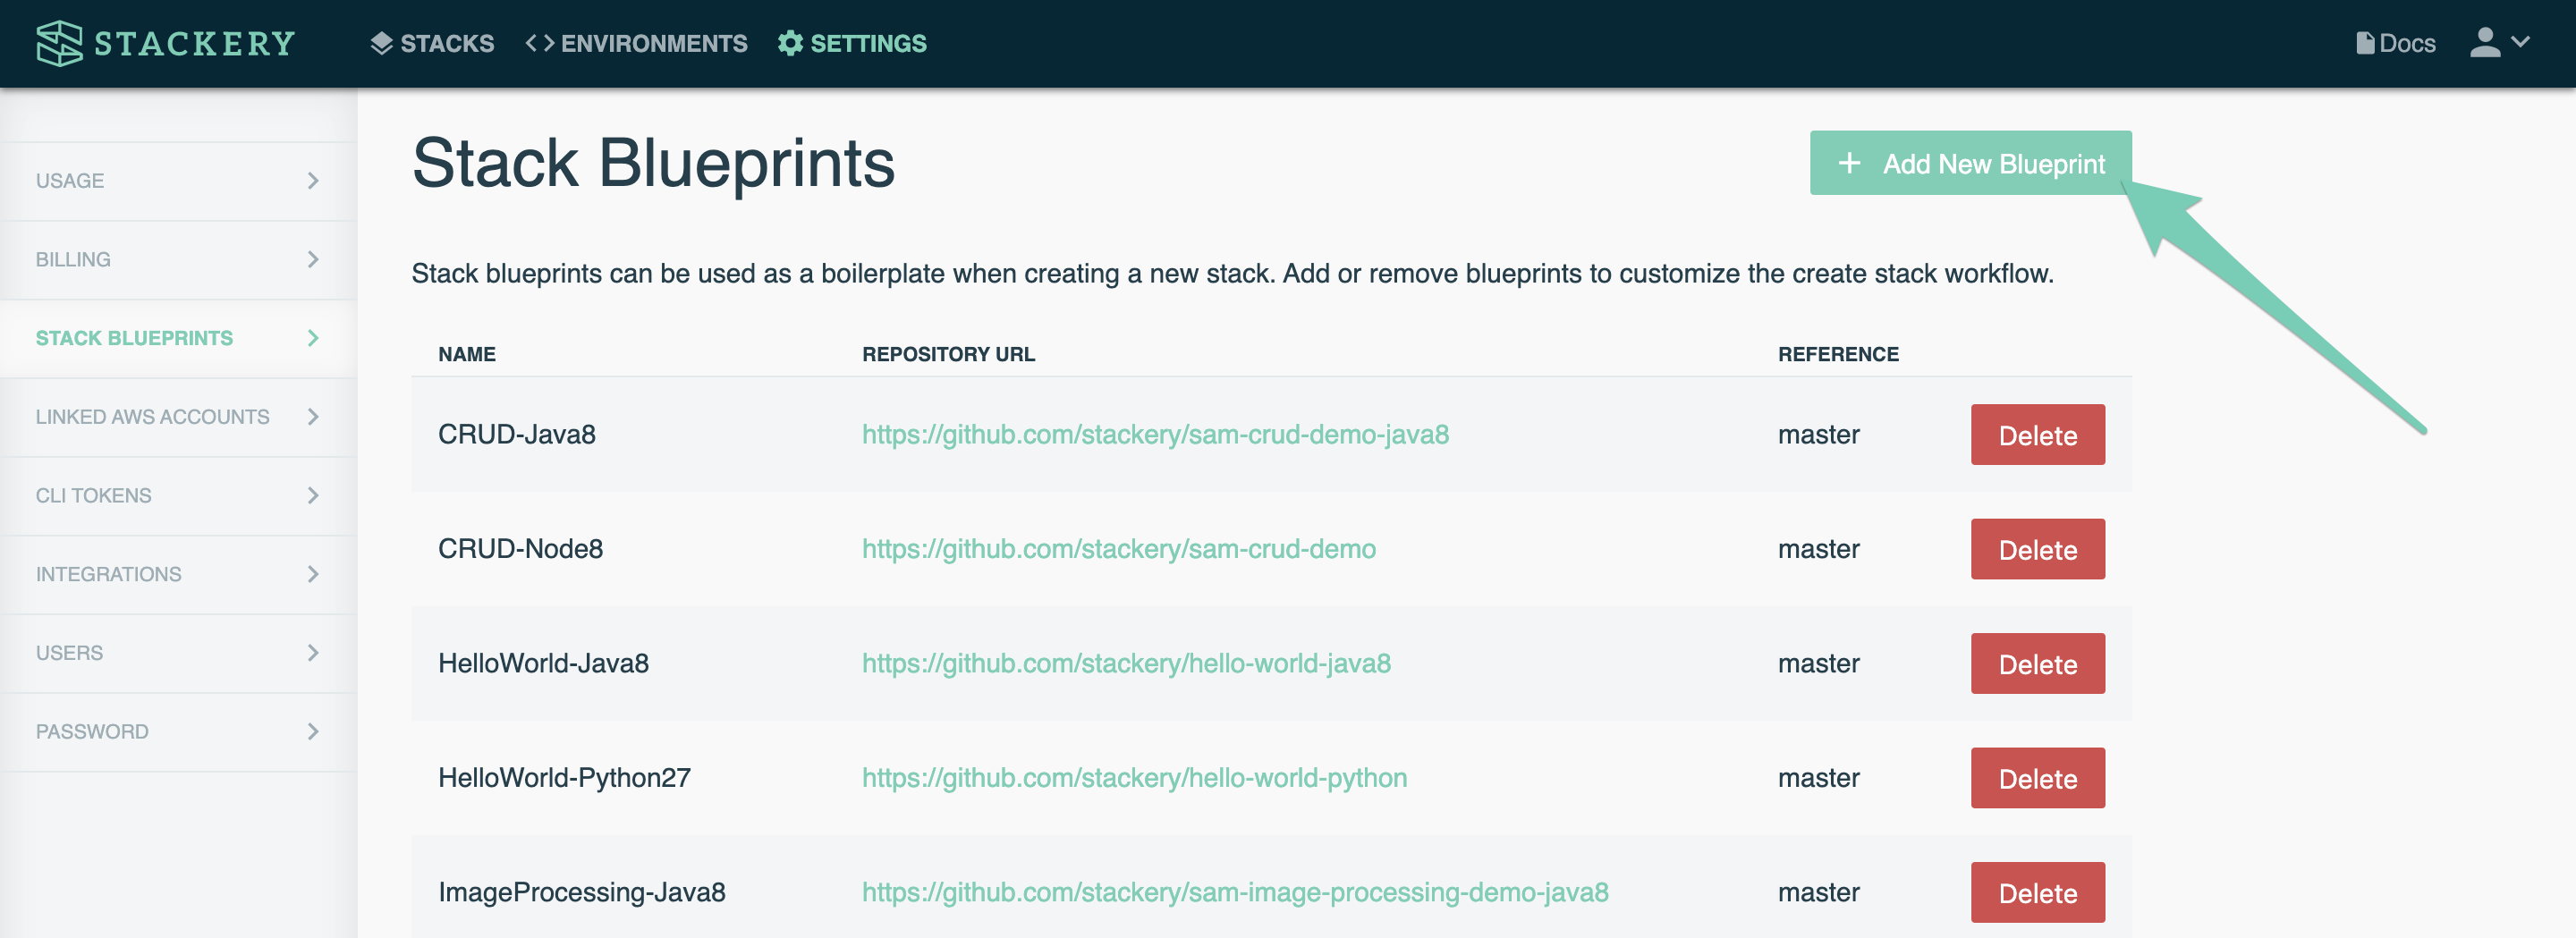
To create a new Blueprint, choose Add New Blueprint.
In the modal that appears, you can name your blueprint, and then specify the repository URL as well as which branch you want to use.
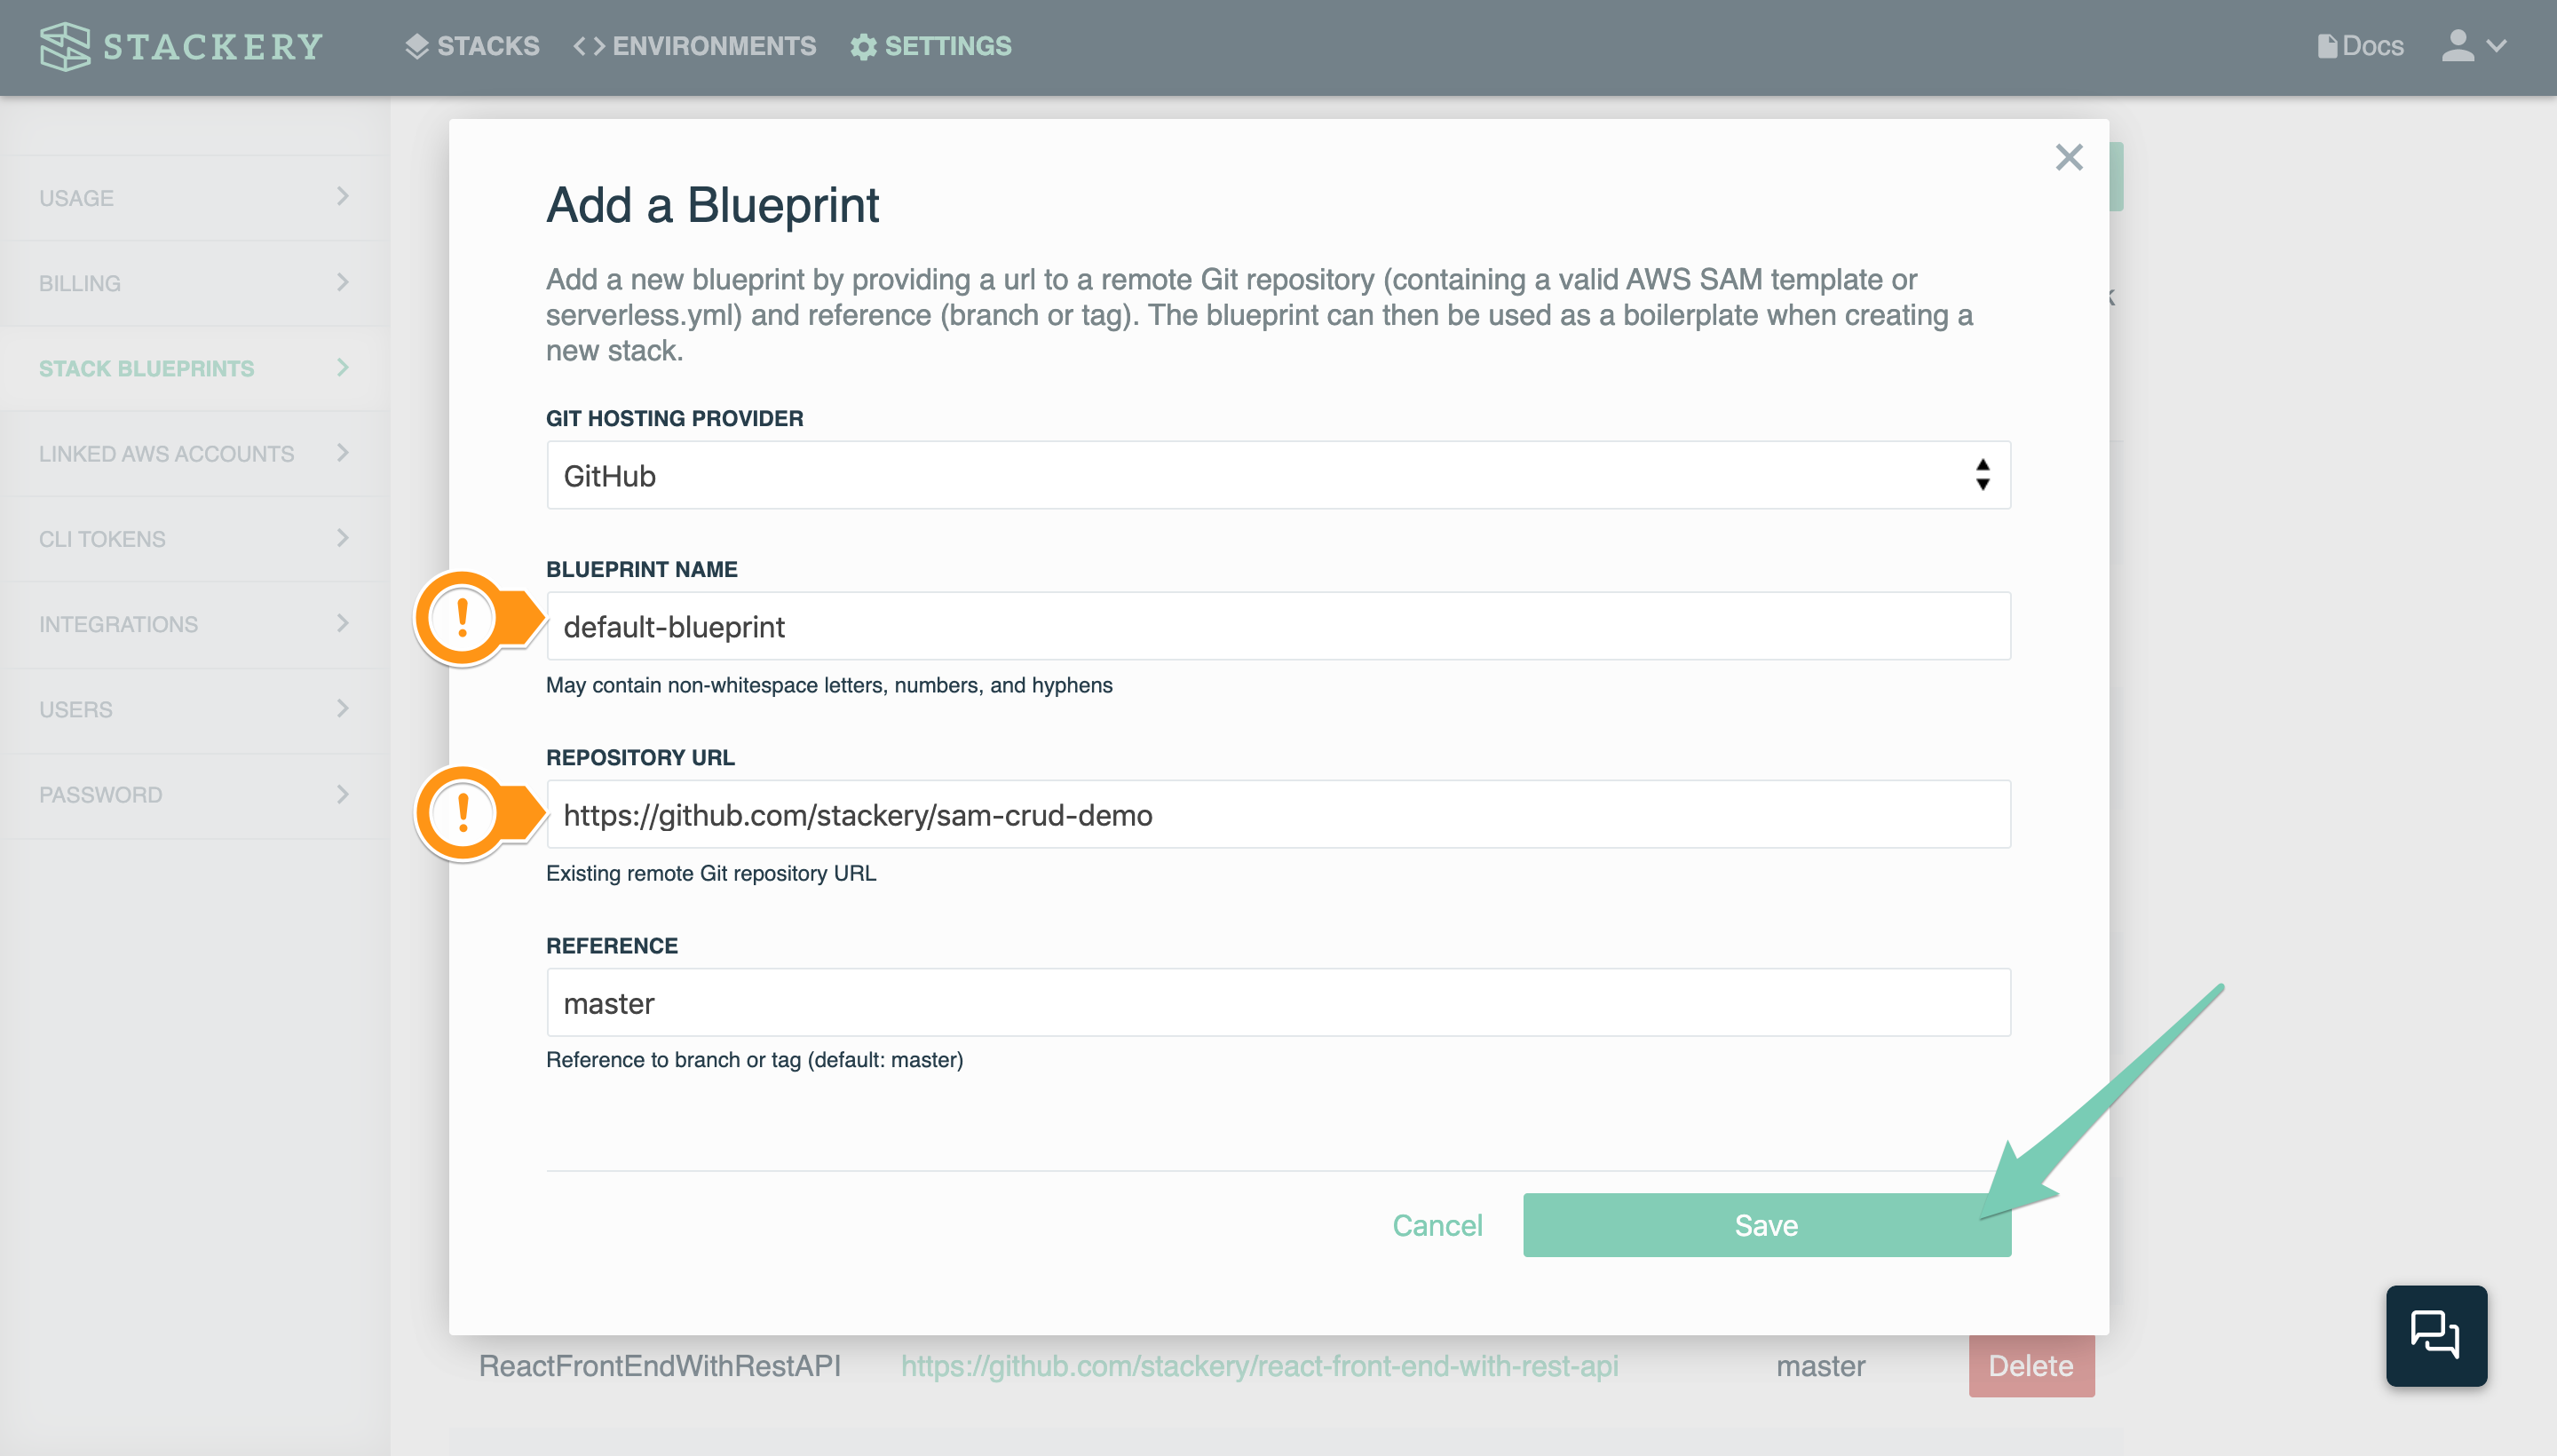
Click Save to save your blueprint. You will now see it when creating a new stack with the option Use existing blueprint.
Next steps
That's it for the Stackery Dashboard! You can read about each of the cloud resources in the API documentation, or follow the Quickstart guide to get up and running in no time.
