Serverless Cron Job
This tutorial will show you how to trigger a Lambda function to run regularly on a schedule.
By the end of the tutorial, you will have deployed into your AWS account:
- A CloudWatch Timer Event which triggers a Lambda function on a schedule
- An AWS Lambda function that implements your background job
Each step of the tutorial includes:
- A step-by-step video guide
- Transcript of the step-by-step video with code examples
Tutorial Updates
As we continue to develop Stackery, there may be improvements made to the design of the application. You may notice some differences between current versions and versions used to record our video guides. Rest assured, the overall functionality of Stackery remains the same.
For the most up-to-date visuals and instructions, please refer to the transcribed versions of the tutorial available below each video guide.
Setup
Project Repositories
The GitHub repository used in this tutorial is available in 4 languages:
Node.js
https://github.com/stackery/sam-cron-demo
Python
https://github.com/stackery/sam-cron-demo-python27
C#/.NET
https://github.com/stackery/sam-cron-demo-dotnet
Java 8
https://github.com/stackery/sam-cron-demo-java8
Deploy Sample App
You can deploy the completed example into your own AWS account using these two Stackery CLI commands:
stackery create will initialize a new repo in your GitHub account, initializing it with the contents of the referenced blueprint repository.
stackery create --stack-name 'cron-job-example' \
--git-provider 'github' \
--blueprint-git-url 'https://github.com/stackery/sam-cron-demo'
stackery deploy will deploy the newly created stack into your AWS account.
stackery deploy --stack-name 'cron-job-example' \
--env-name 'development' \
--git-ref 'master'
1. What We're Building (2 min)
Cron jobs are often the night shift of our web applications. Some tasks just don't make sense to do in real time or during peak usage, and need to be scheduled to happen periodically. Cron jobs have three notorious problems:
- Relatively opaque configuration - like Regex or SQL, cron has a compact and consistent syntax that, if you don't know it, is almost impossible to read
- Observability - once your team has multiple jobs scheduled across multiple servers, it can be very difficult to make sure that everyone knows which cron jobs need to be run, where they are, and how to move them to new systems
- Challenges managing many jobs owned by many teams and engineers.
This tutorial will show you how to schedule a Lambda function to run periodically, moving your scheduled tasks to serverless. You can use this technique to kick off DB maintenance, run nightly tasks, or send regular reports to your team.
Resources used
The following are descriptions of the Stackery resources we'll be working with:
Function : An AWS Lambda function that will run a task.
Timer : A CloudWatch Events Rule that self-triggers on an automated schedule in CloudWatch Events using cron or rate expressions.
Create a new stack
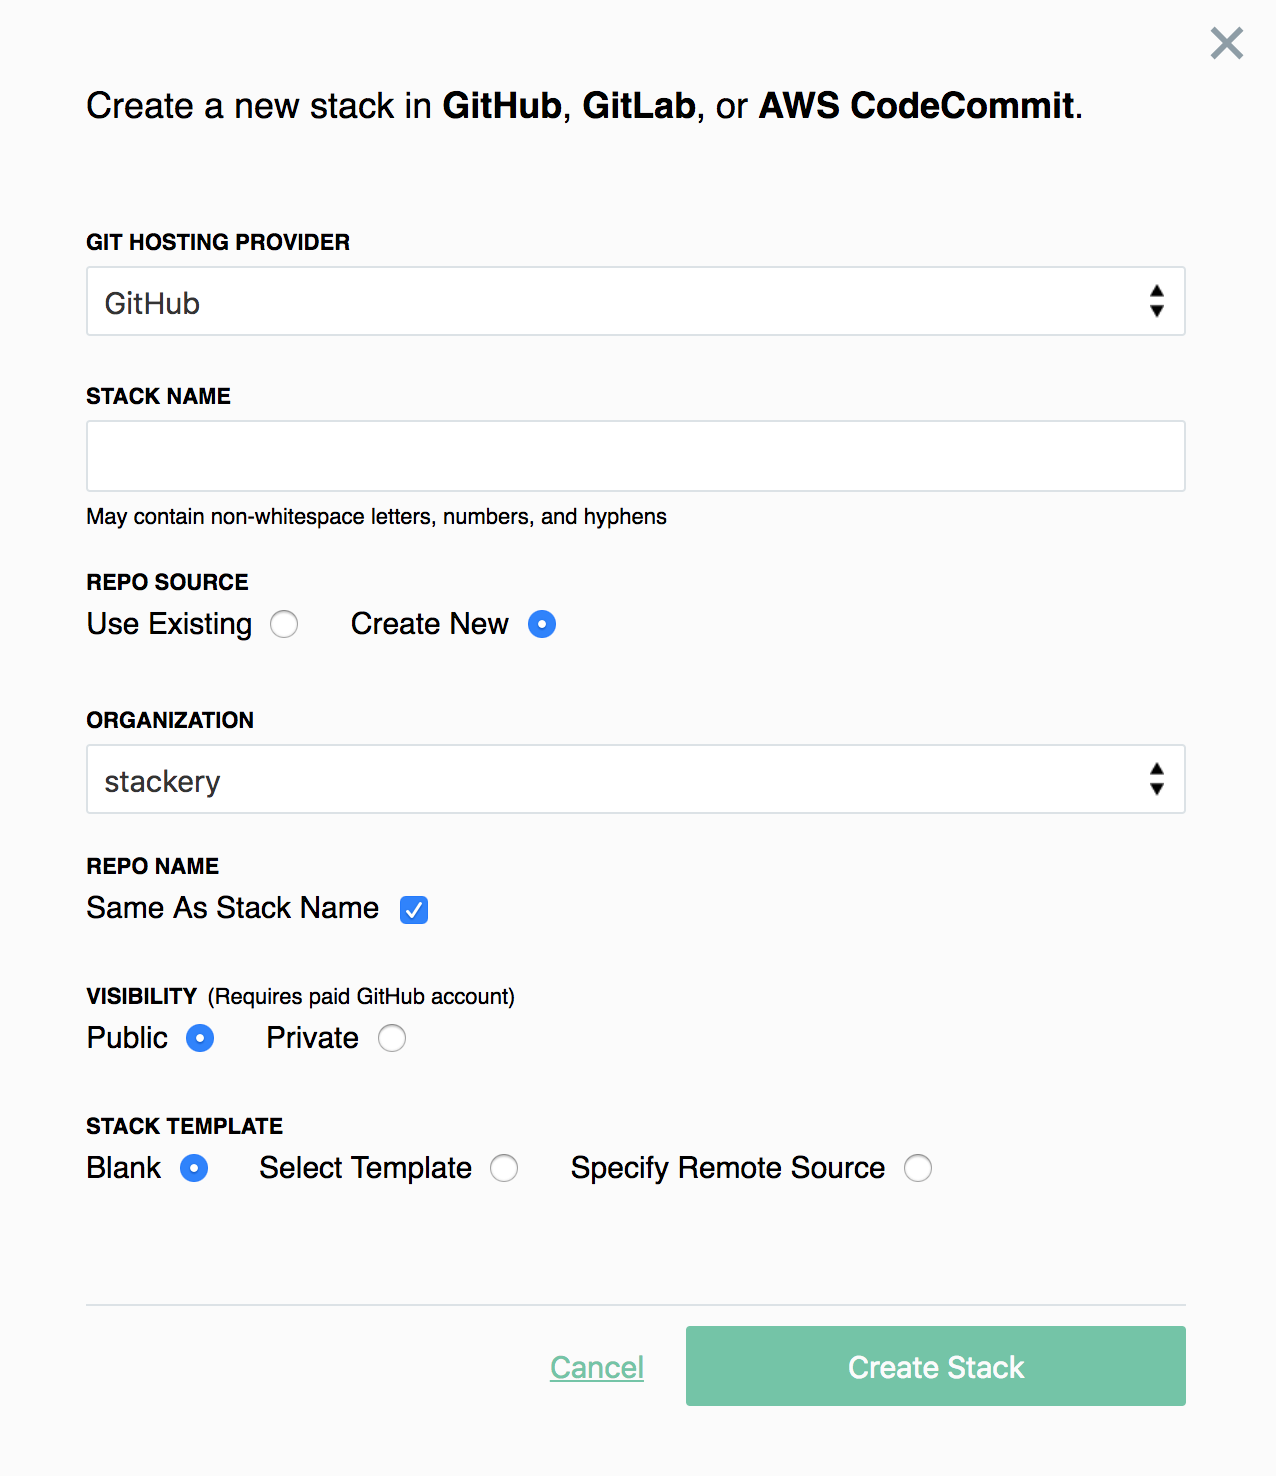
We will start by creating a new stack in Stackery. The configuration of a new stack has a few steps.
- Navigate to Stacks
- Select Add a Stack in the top right corner
- Choose your Git Hosting Provider
- Enter
cron-jobor whatever you'd like for Stack Name - Select Create New Repo for the Repo Source
- For Organization, select the Git account you want this repository in
- Keep the Repo Name the same as Stack Name
- Select Public for your repository's visibility (Private repositories require a paid GitHub account)
- For Stack Blueprint choose 'Blank'
- Click Add Stack to create our empty stack
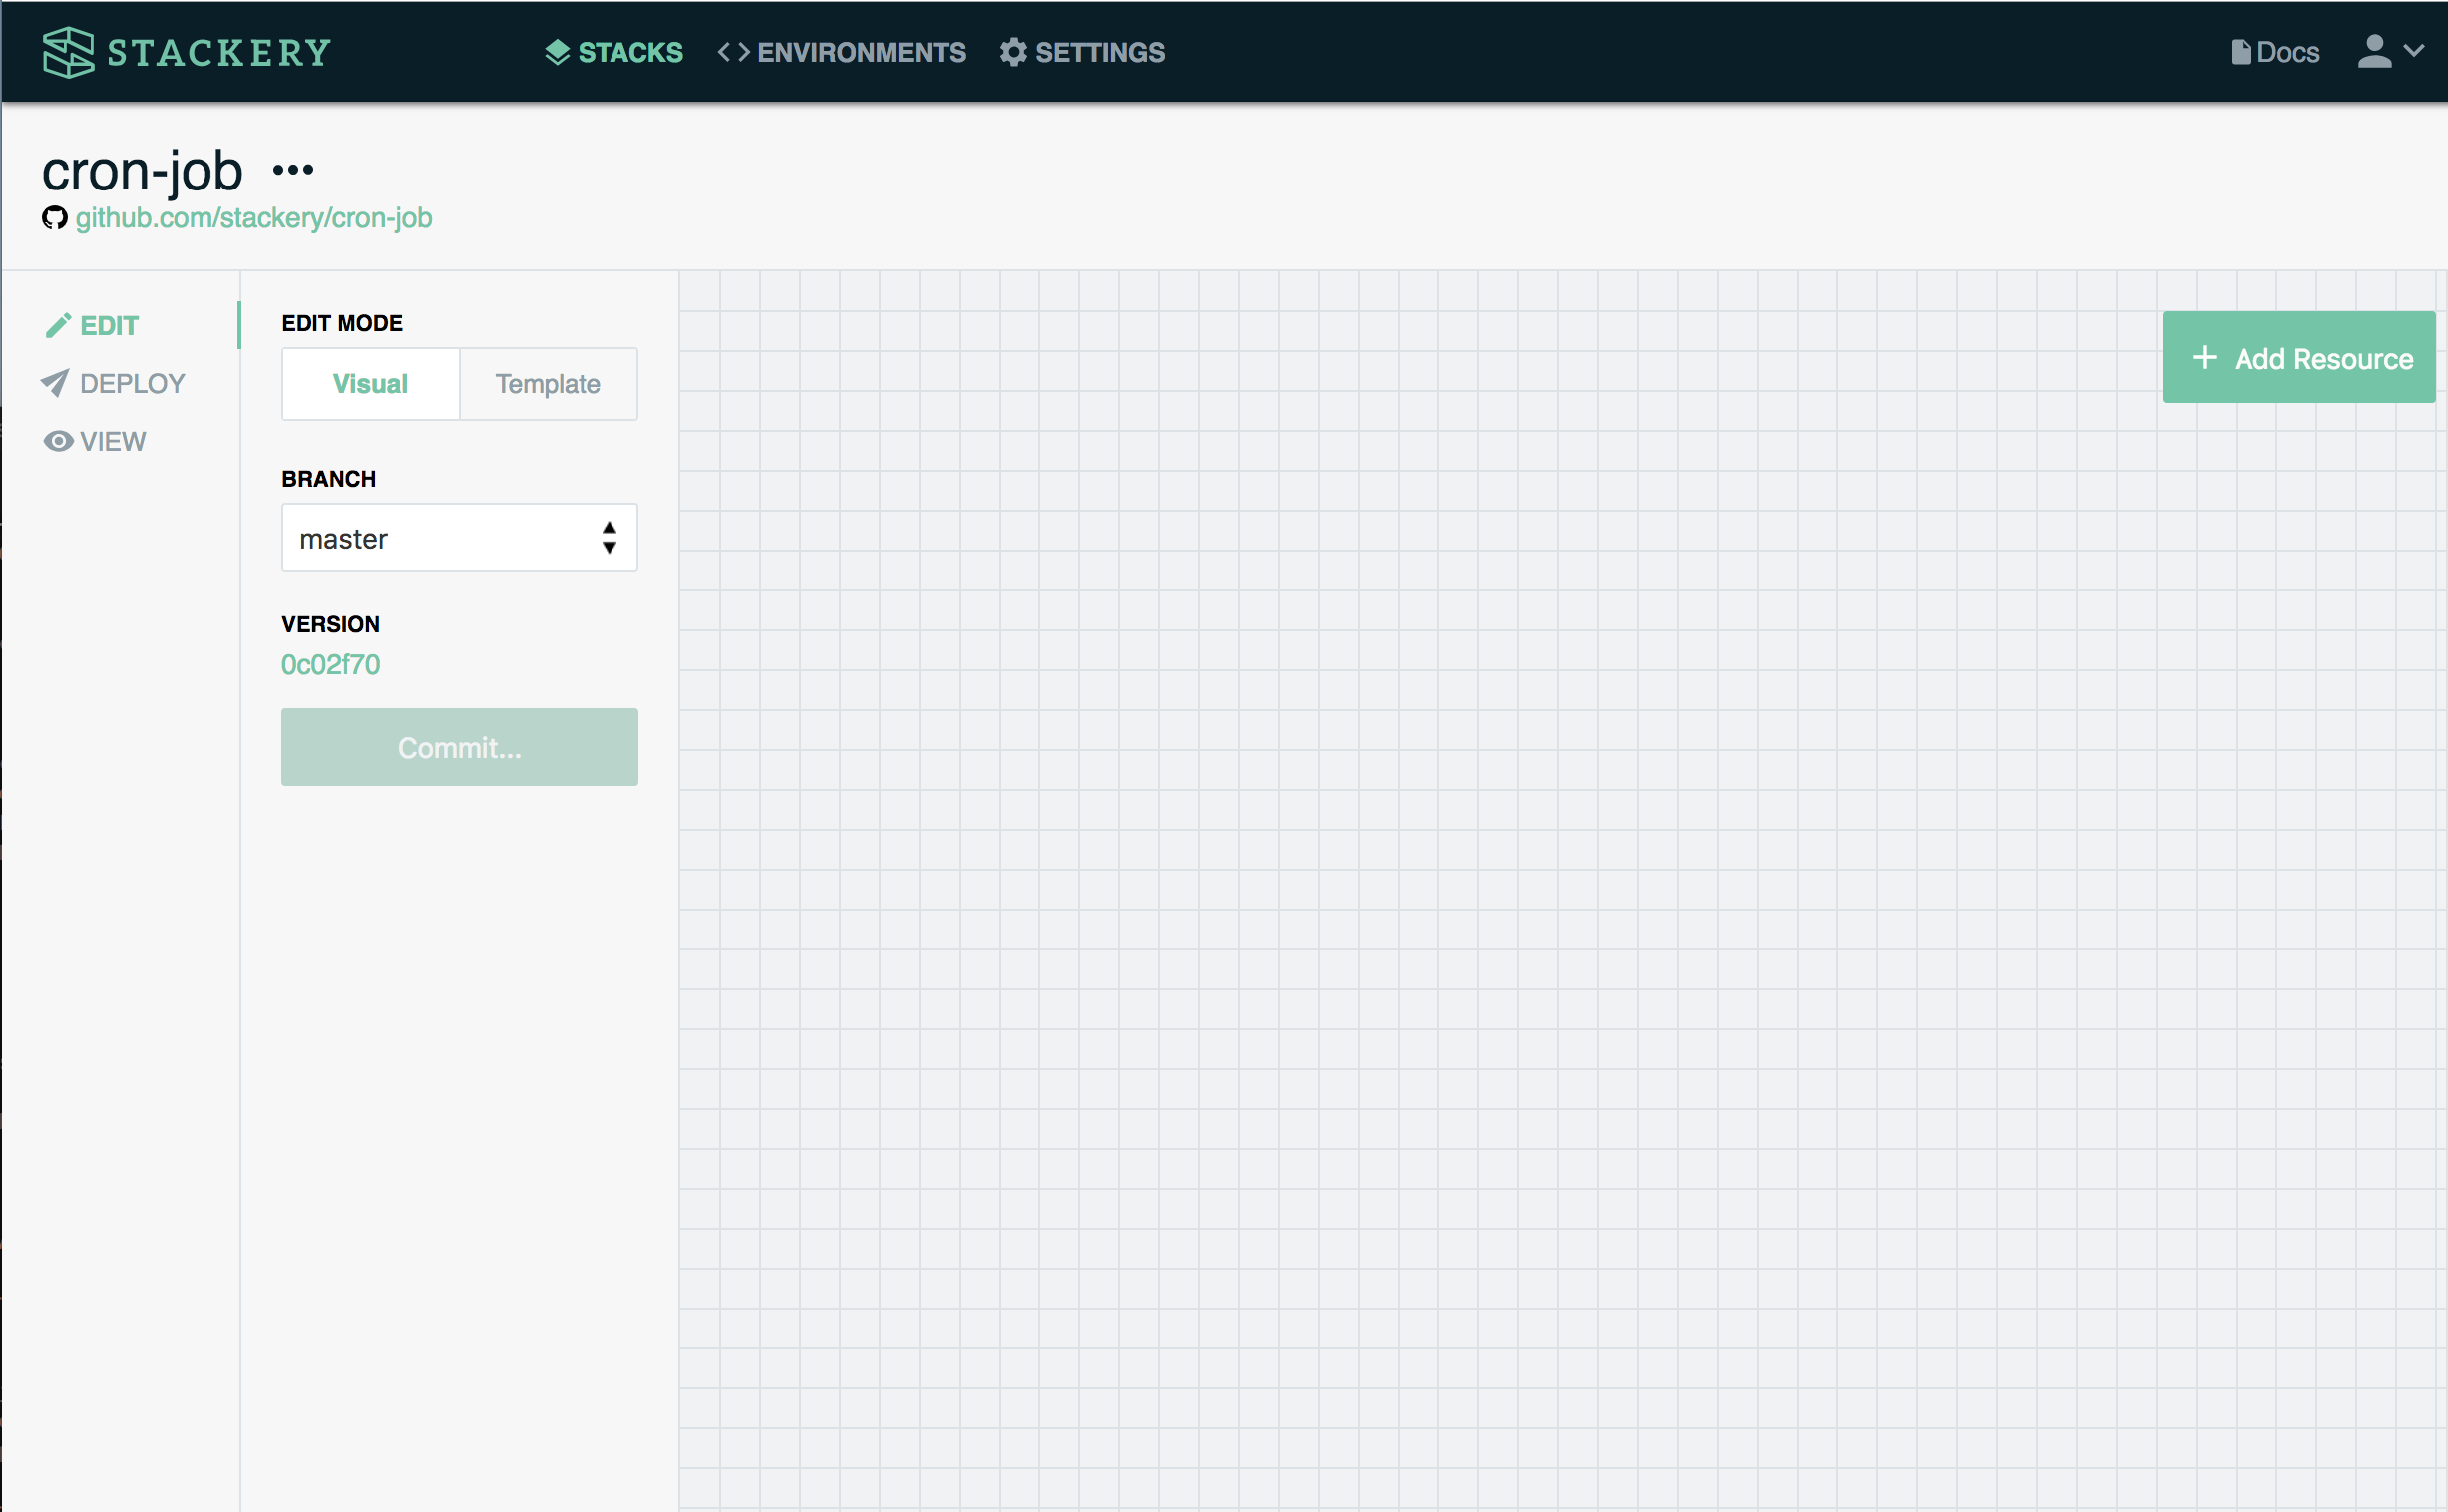
Once that's done you'll see Stackery's default empty stack - a blank canvas on which we'll build out our app.
UP NEXT: Adding in the resources for our cron job application.
2. Configure Timer and Function (2.5 min)
Add in resources in Stackery
We'll be using two resources in our stack, so click the Add Resource button in the top right and drag in a Function and a Timer.

We'll want to configure these very slightly before we commit them to our repository, so start by clicking and dragging an Event Subscription Wire from the output port (right) of the timer to the input port (left) of the function.
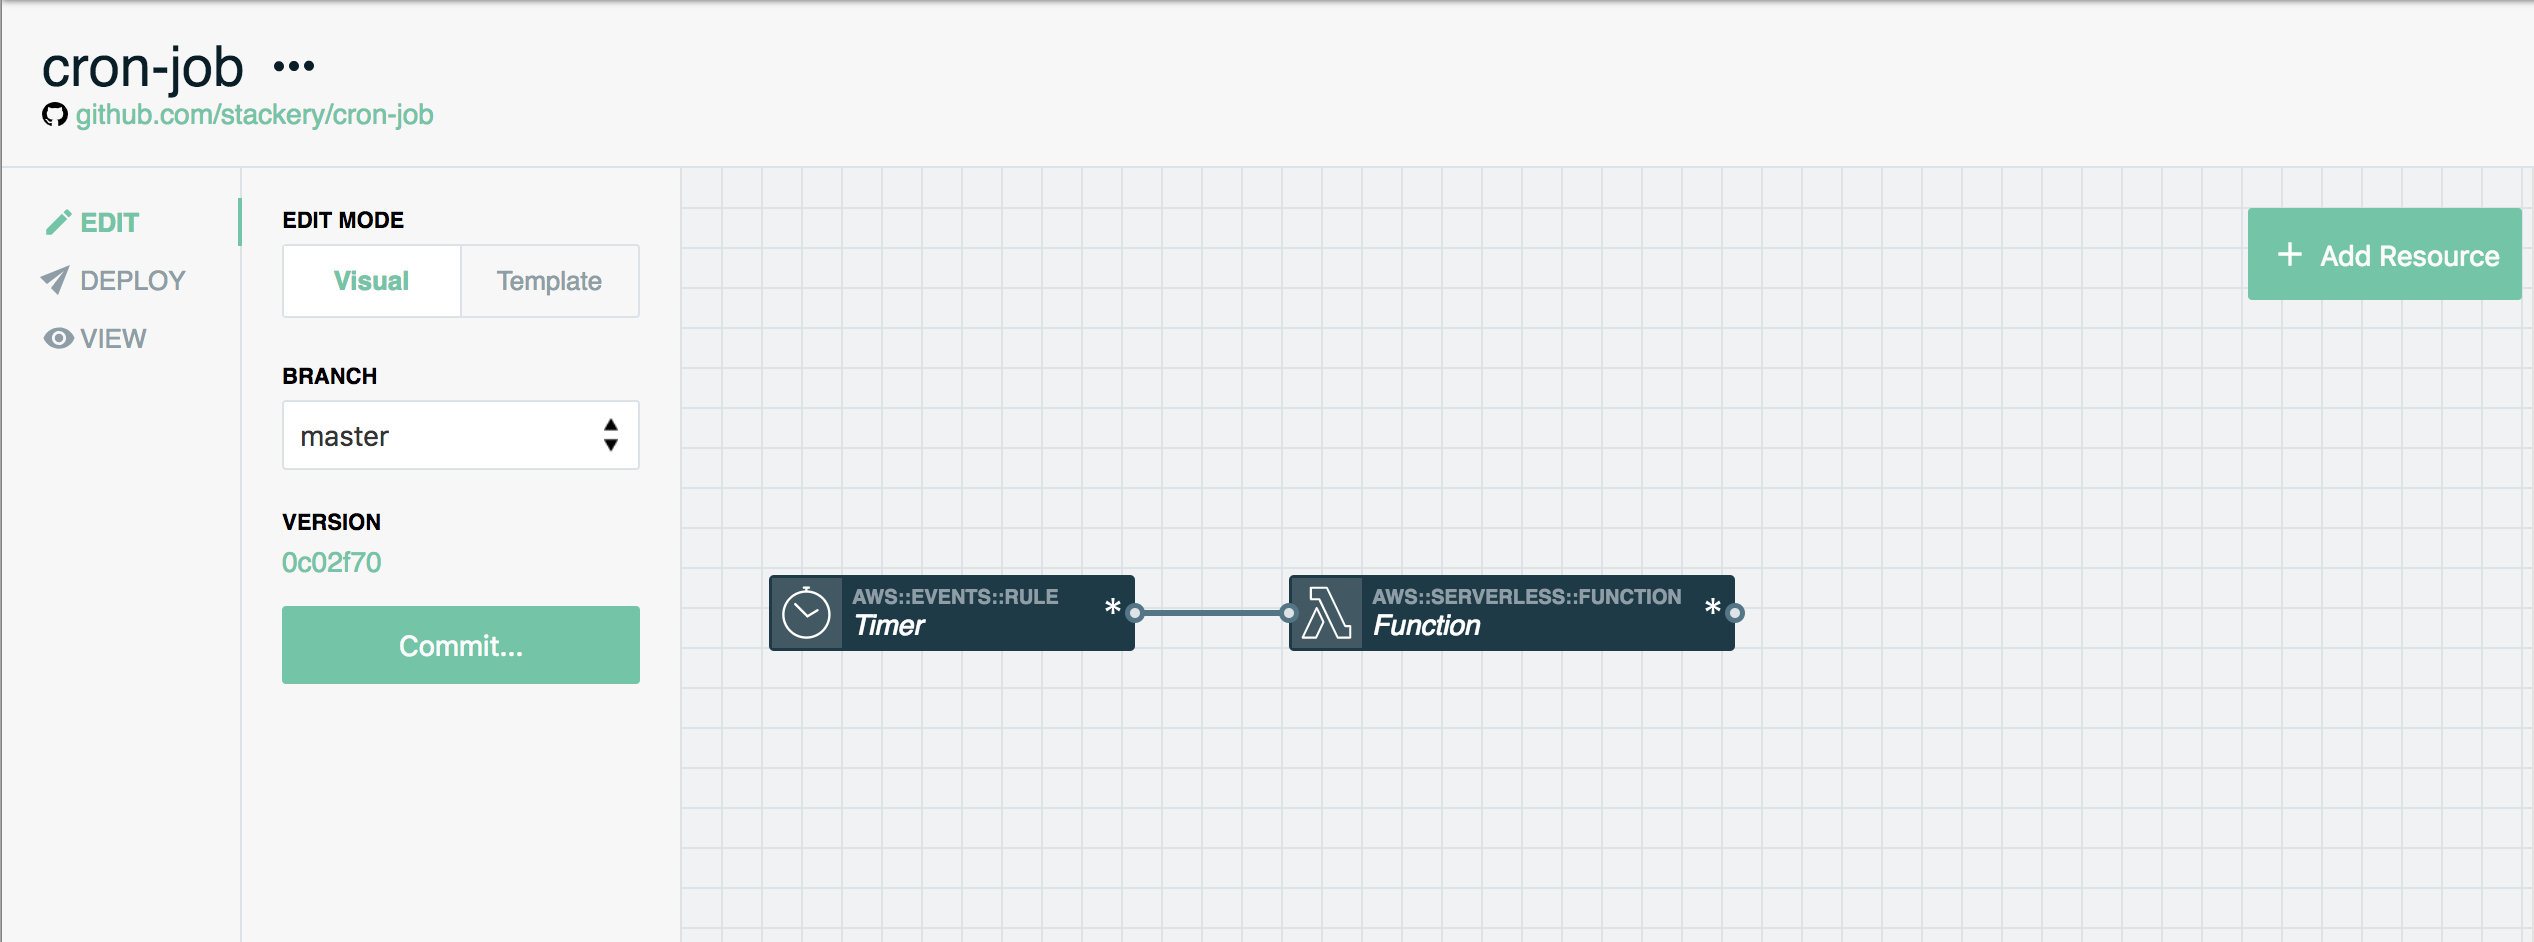
Double-click the Timer resource. If you know how to configure crontab, you can put in the code here, otherwise choose Interval and have it trigger every few minutes.

Note that crontab offers a lot more than 'every X minutes/hours/days', and if you're not familiar with the syntax, the crontab generator can help you write a rule like "every Thursday every other month".
Double-click the function resource, give it a name, and click 'save'.

UP NEXT: Pull down your function code to edit it.
3. Local Development (2 min)
Git clone your function code
To write the code for our Lambda we'll need to work with this stack locally. AWS has an online editor to write function code but it's quite limited, so it's much easier to just grab your stack's code.
Click your commit ID in the left-hand toolbar:
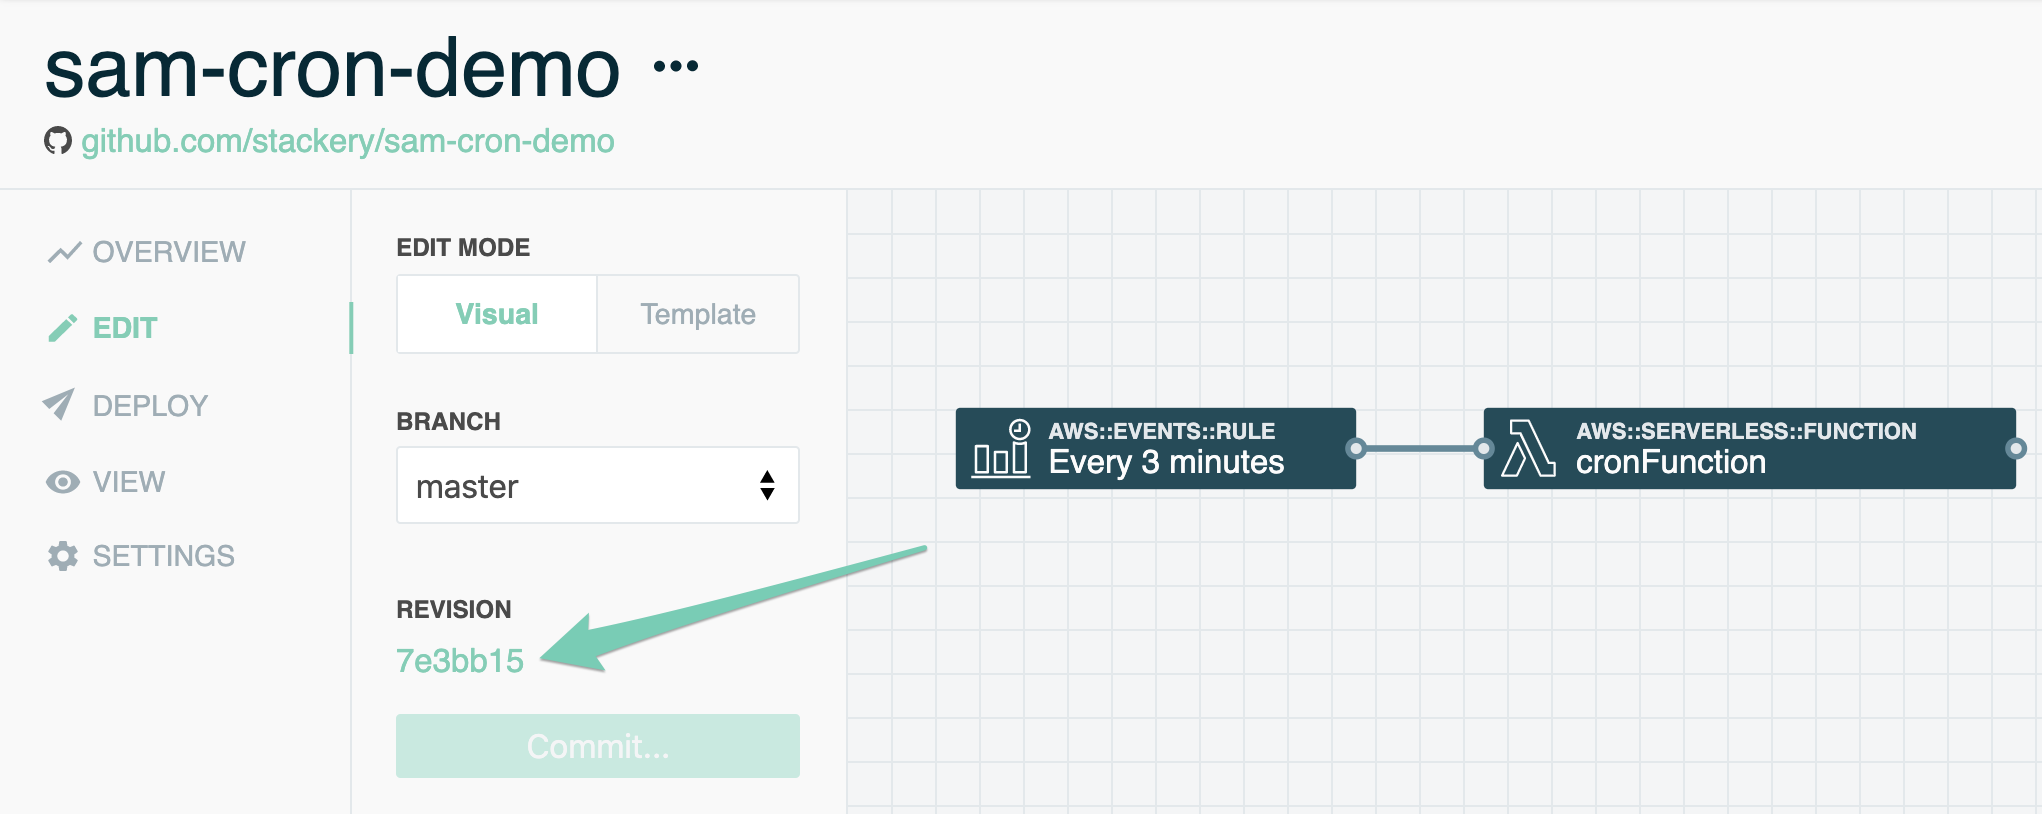
Grab your repository's clone URL:
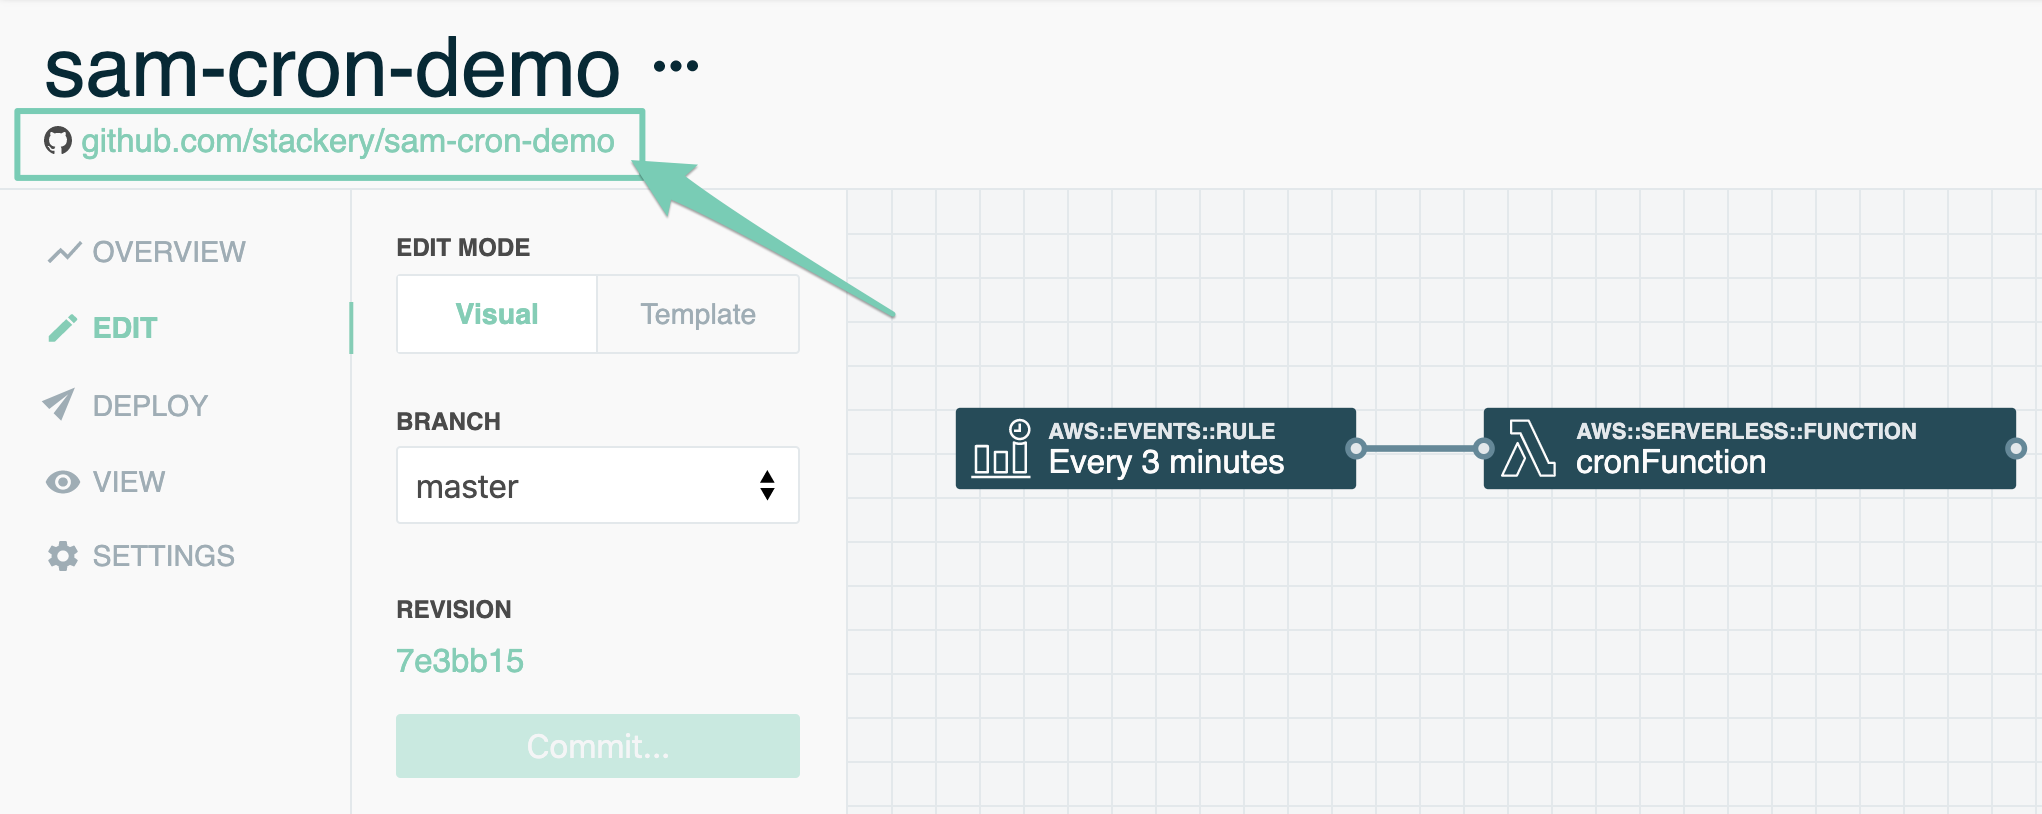
Pull it to your hard drive with the console command:
git clone [your url]
That's it! With that you should be able to go into the /src/[function name] folder and see the index.js file with your function's code.
UP NEXT: Editing your function code.
4. Edit Your Function and Deploy (4 min)
Edit your function code
Right now the function will have the bare minimum: a handler function exported, which AWS expects to find every time, and a return of some value, without which the system will think the function failed.
Let's add a single line of code to the function, just a console.log('here is a periodic logging message') so we can be sure this is our function when we see logging.
exports.handler = async message => {
  console.log(message);
  console.log('here is a periodic logging message');

  return {};
};
With that change saved, push your changes with:
git add . && git commit -m 'one more line of logging' && git push
The Stackery Dashboard will notice these changes and prompt you to refresh (though nothing will change visually since it's just the function code that's been updated).
Now those changes are displayed in Stackery, we can Prepare Deployment and, after it's done processing, Deploy!


The
Deploybutton takes you to the CloudFormation confirmation page. This by design: Stackery is built for teams, so we want you to be able to propose a deployment even if you shouldn't be the one to execute it.
If you're working on your own account, you should have no trouble clicking Execute.
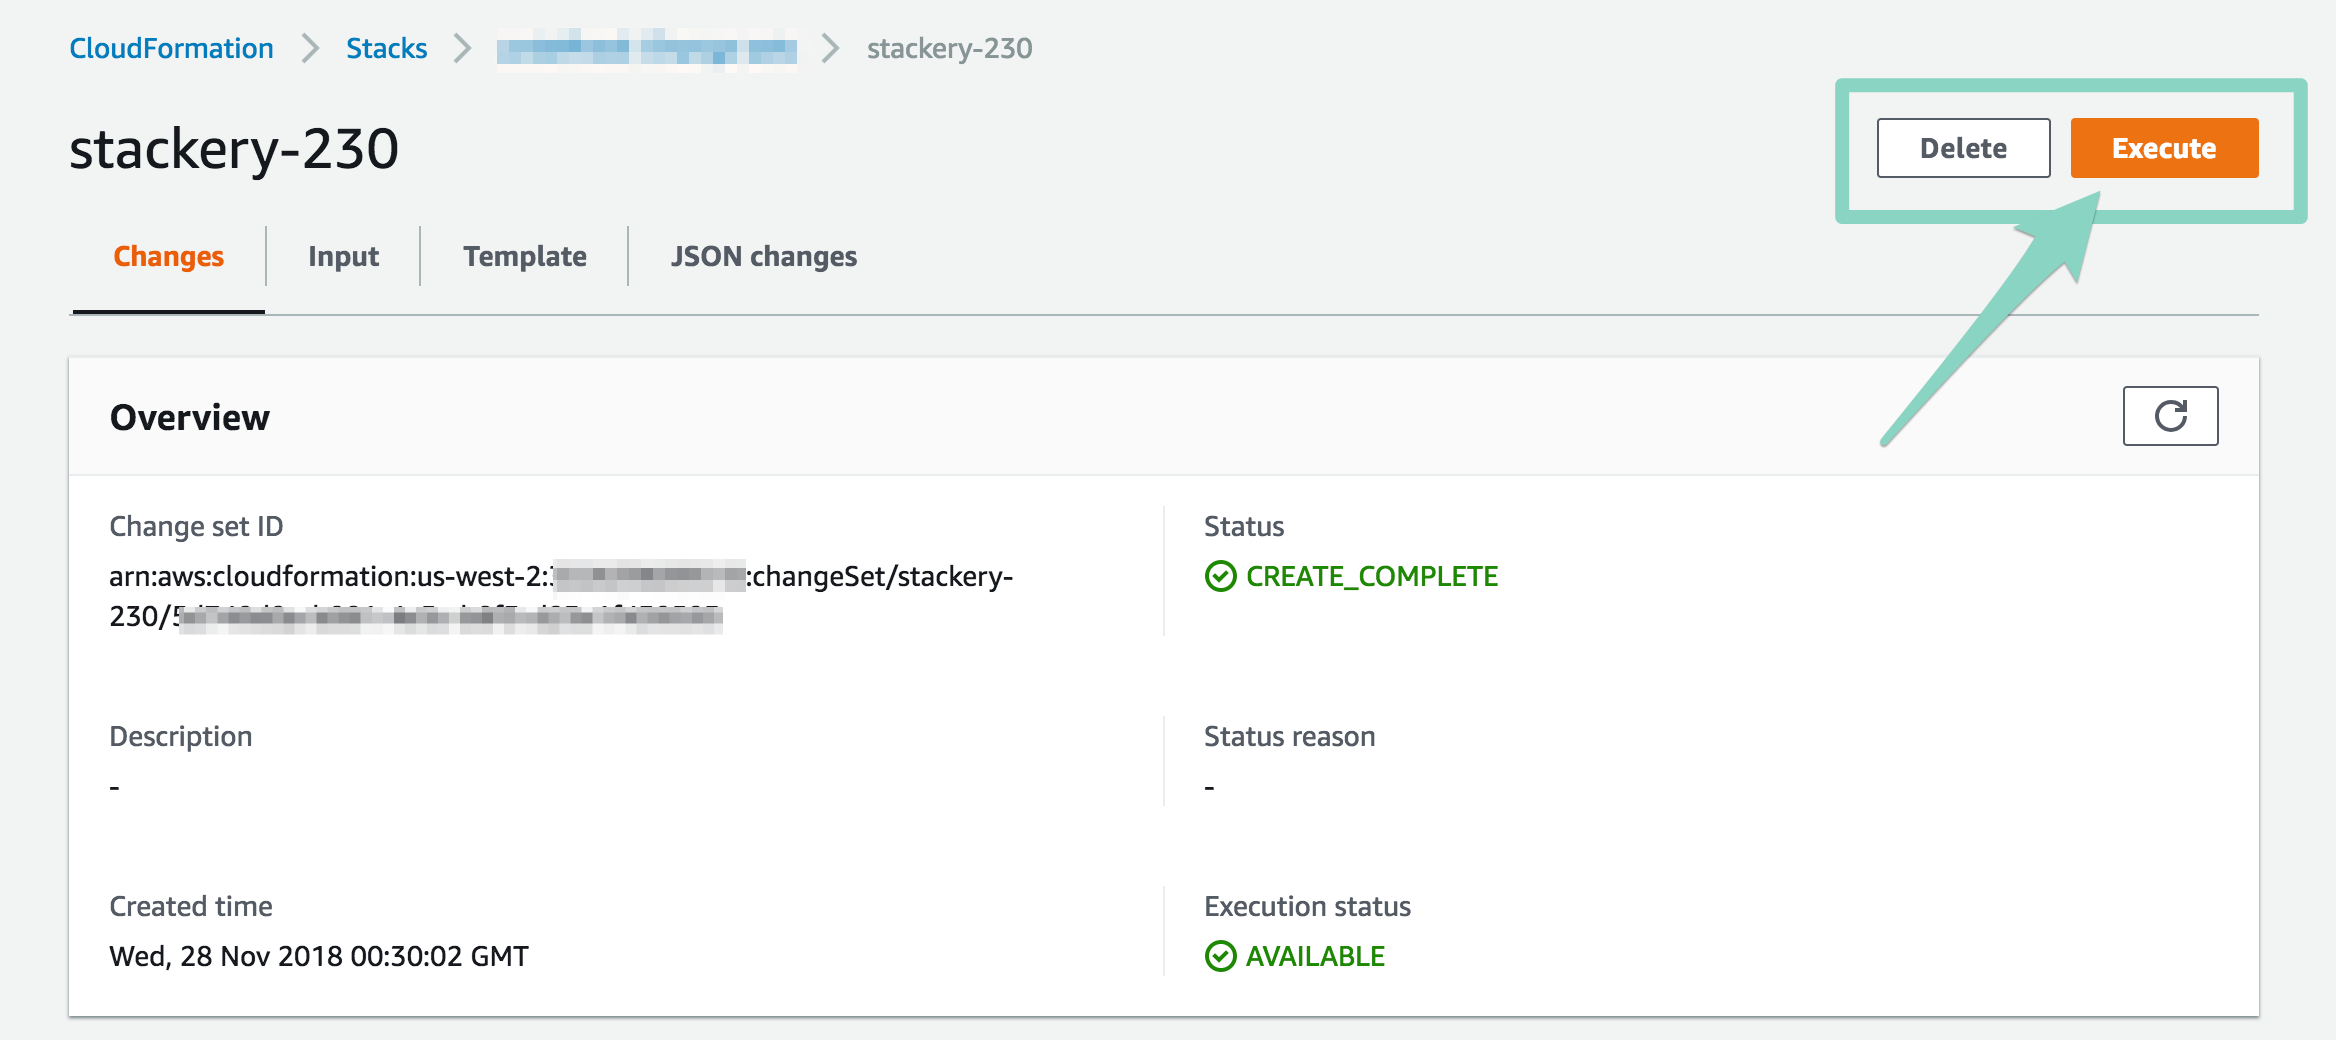
In a few minutes the CloudFormation menu will tell you the stack is deployed!
UP NEXT: View your new cron job.
5. Seeing Results (3 min)
View your deployed stack
Now that the deployment is done, the View tab in the Stackery Dashboard will have info on the current deployment.

The Function resource will show the number of times it was invoked, errors, and total execution time. If you double-click on the function, you'll get a whole set of useful links into the AWS console.
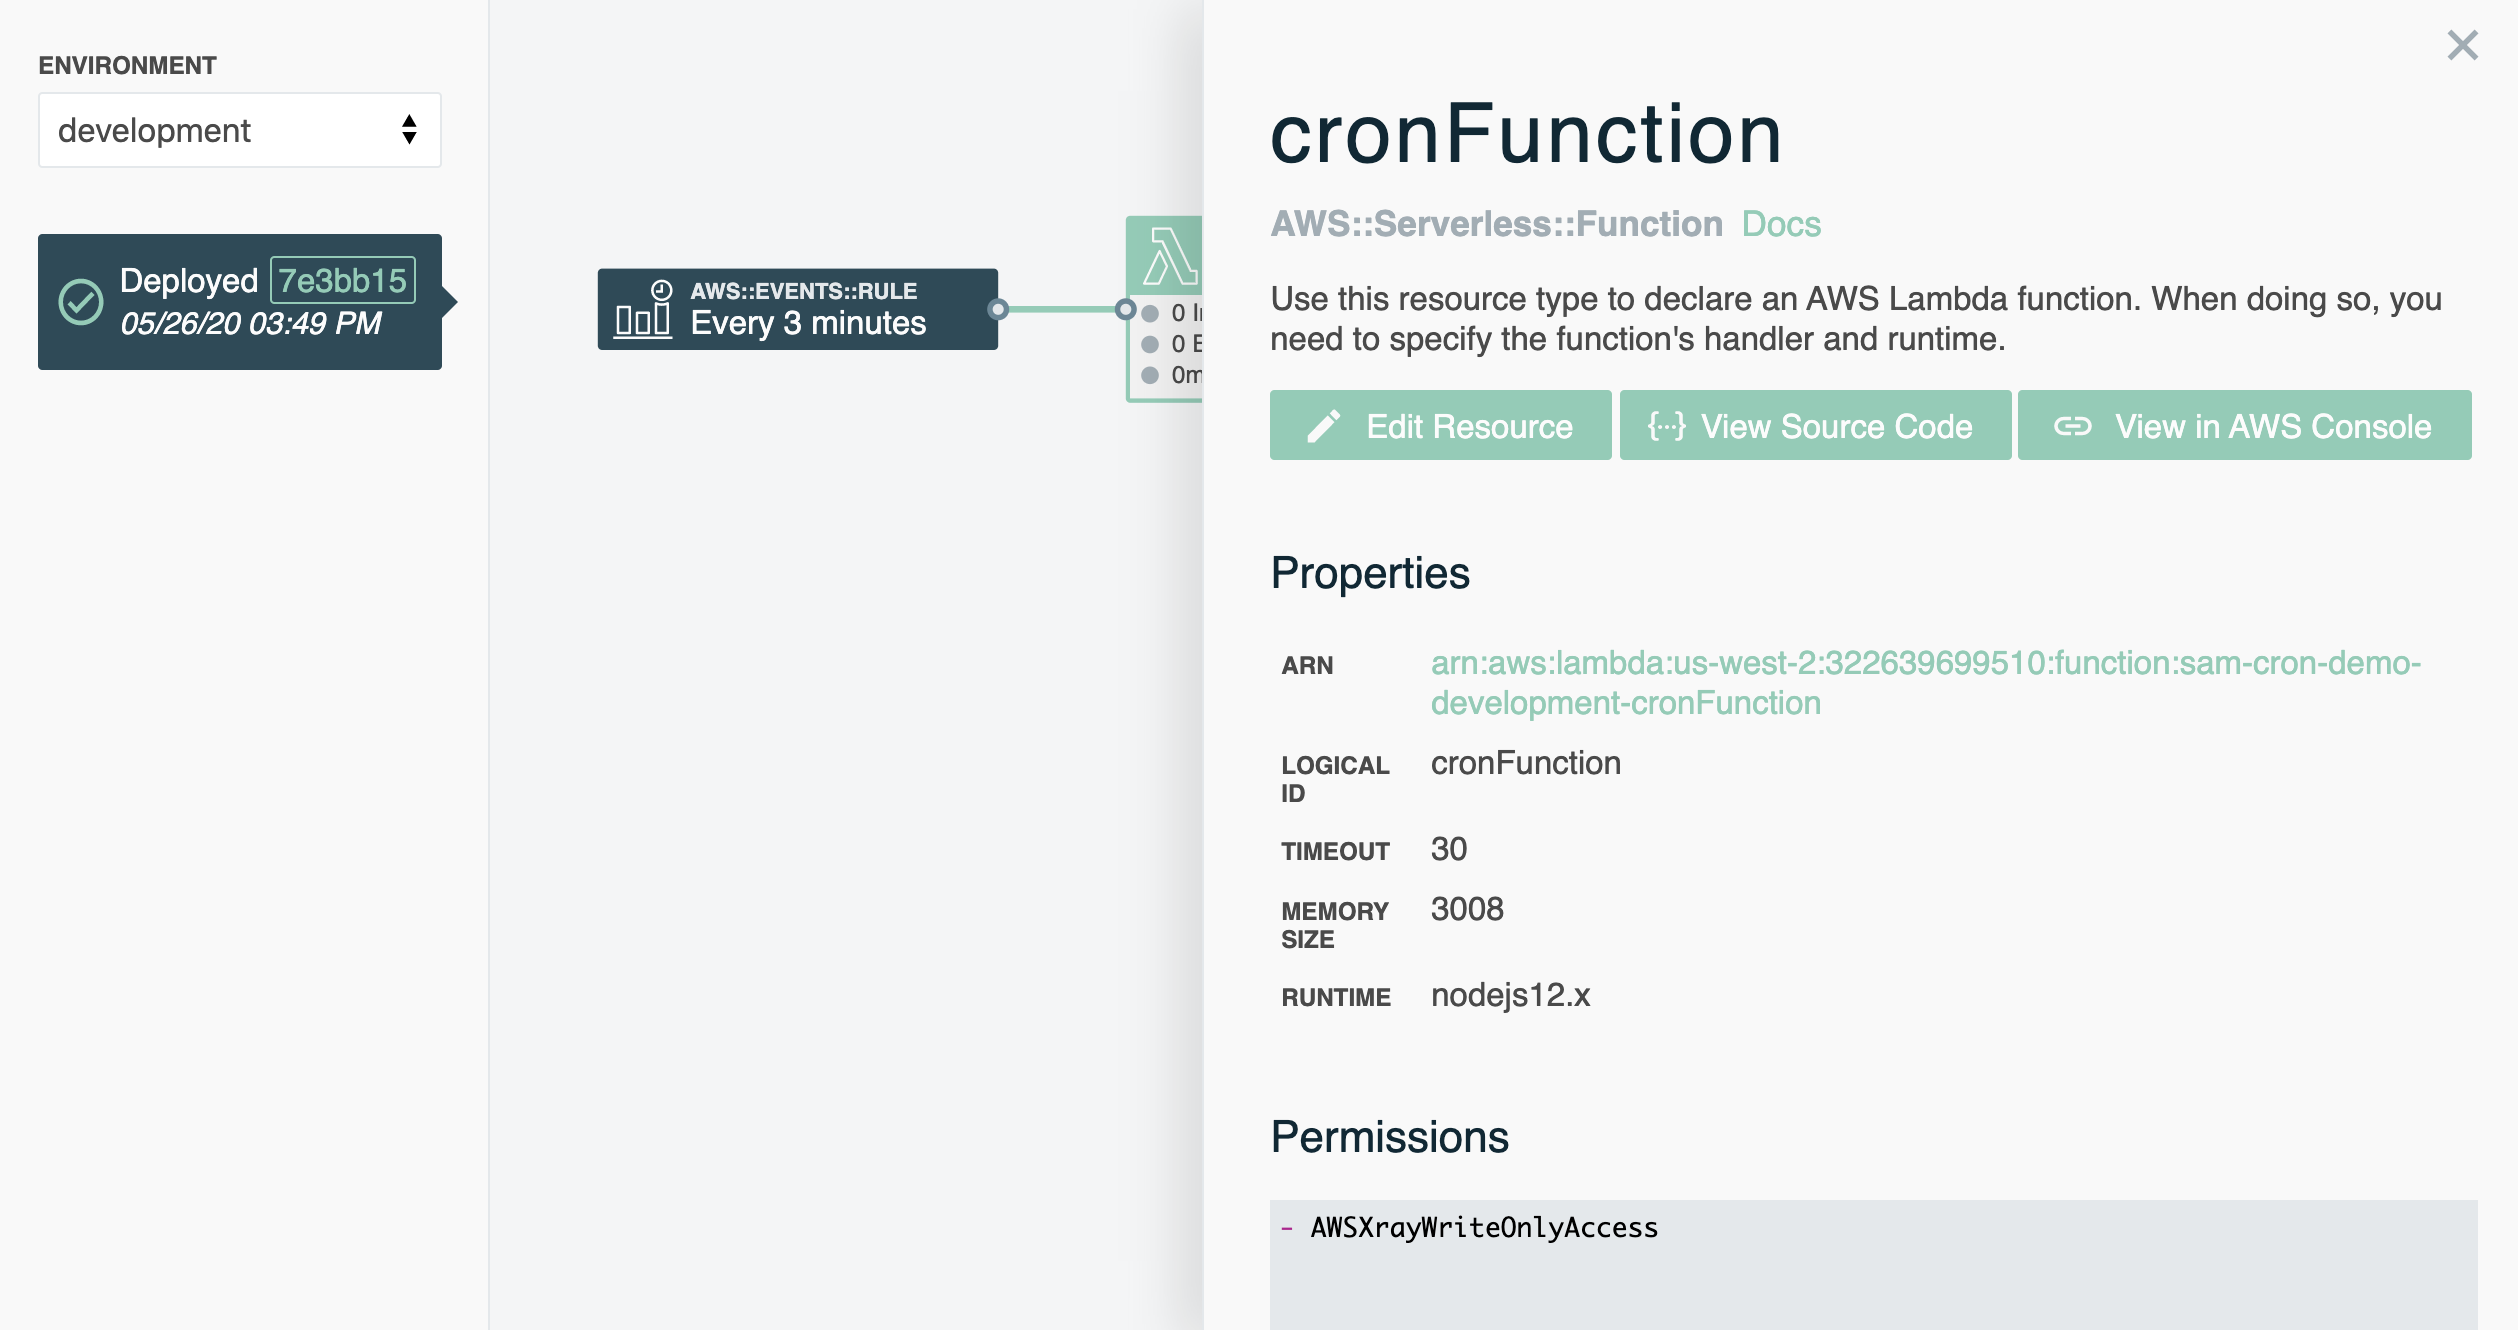
All our lambda function is doing is logging information, so follow the Logs link to go to the CloudWatch logging dashboard.
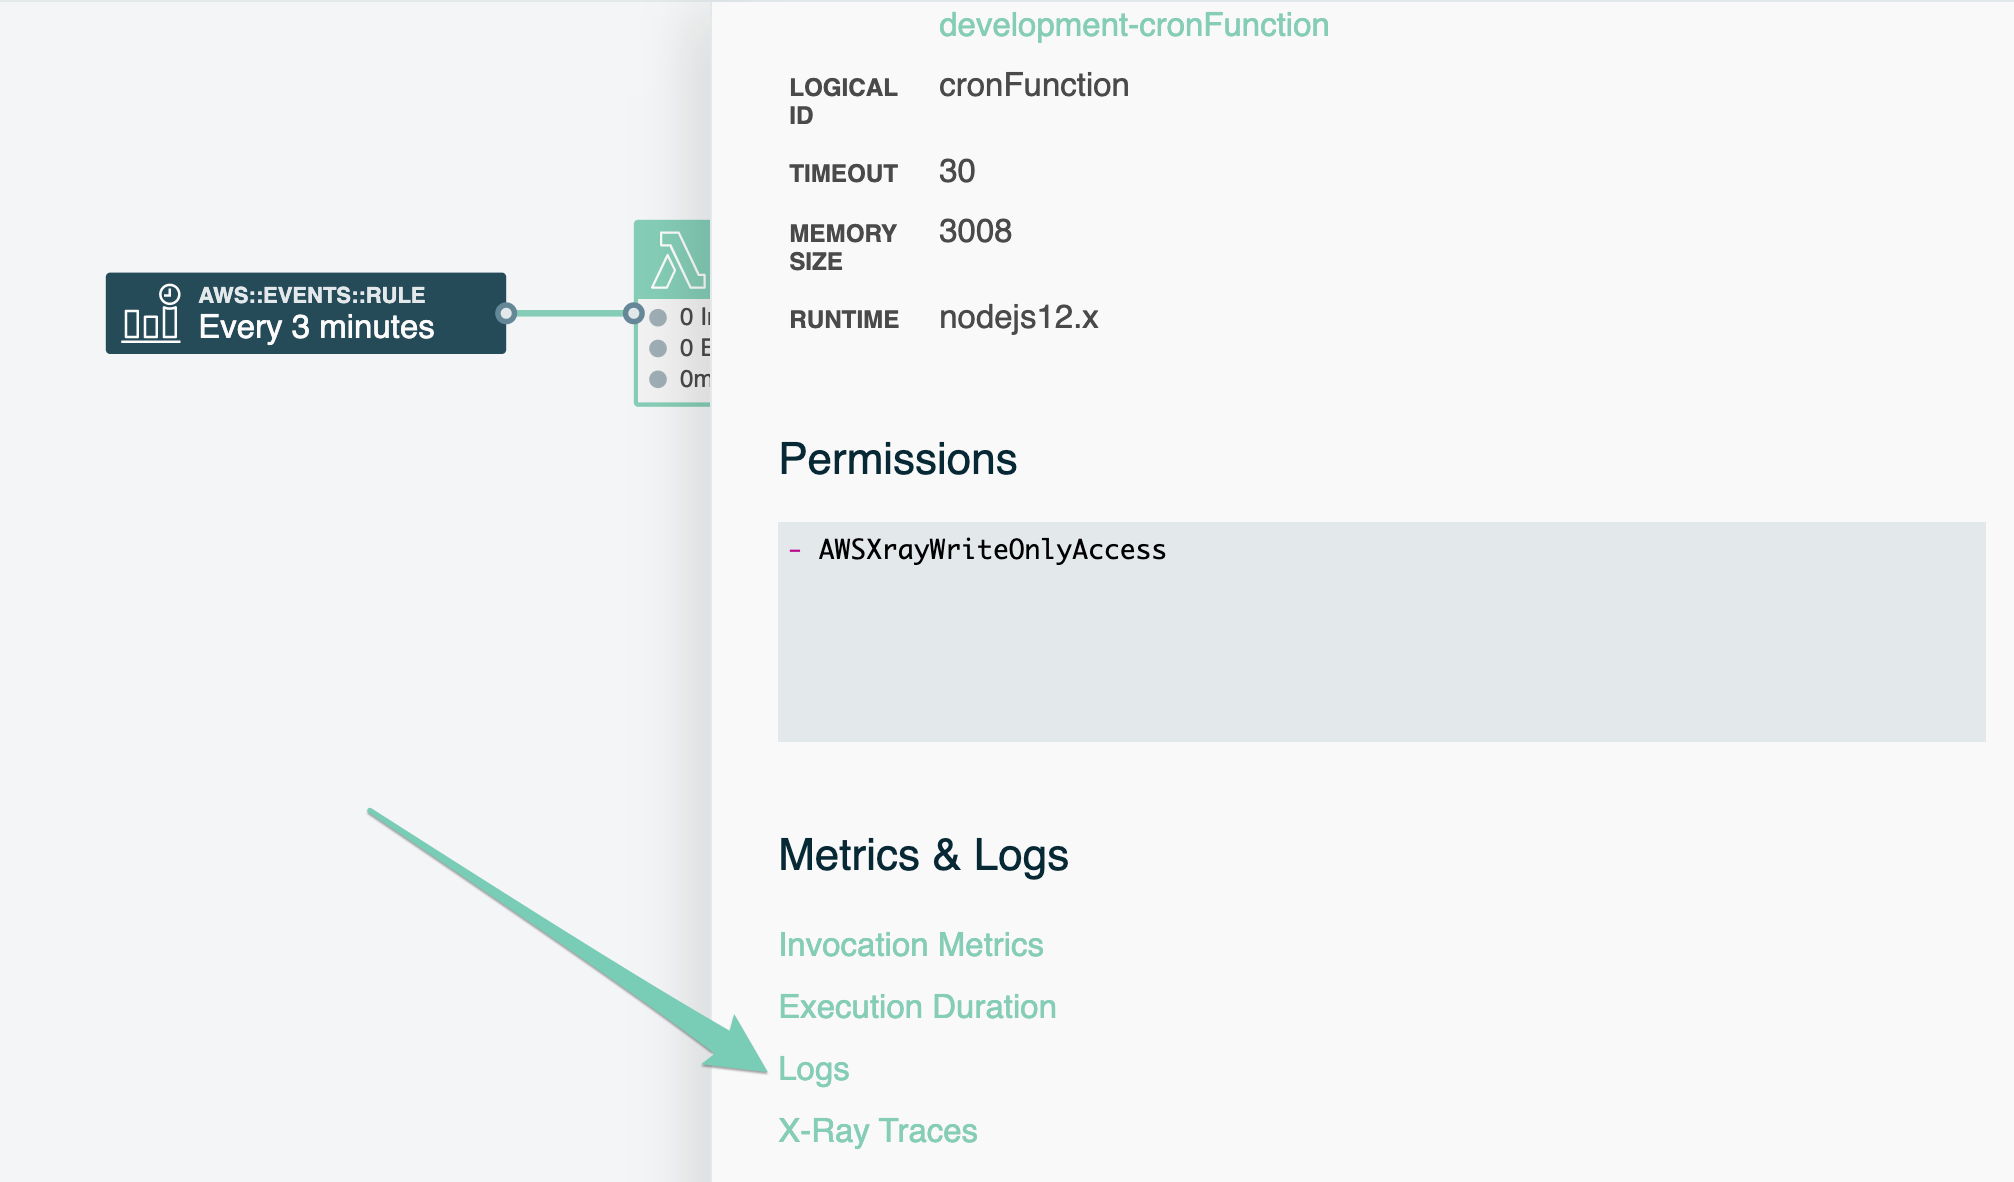
The AWS logs can be a bit intimidating, but look for the START and END statements to bracket a single Lambda invocation. Sure enough, we'll see our two log statements right there in our logs, and again in 3 minutes!
