Sharing a Custom API Domain
Overview
This guide will cover a more advanced use case of sharing a custom domain between multiple APIs. The stacks we create will each live in a mono-repo; a version control pattern that some teams may prefer when organizing serverless projects.
Setup
Since this guide refers to stacks stored in a mono-repo, to follow along, you can either:
- Fork and clone shared-domain-monorepo (Completed project repository)
- Use the mono-repo-blueprint as a starting point, renaming the directories to suit your own stack/api naming conventions
Domain name
This guide assumes you already have a domain to be used by separate APIs. The Environment parameters section below covers additional values you'll need.
Walkthrough
Environment parameters
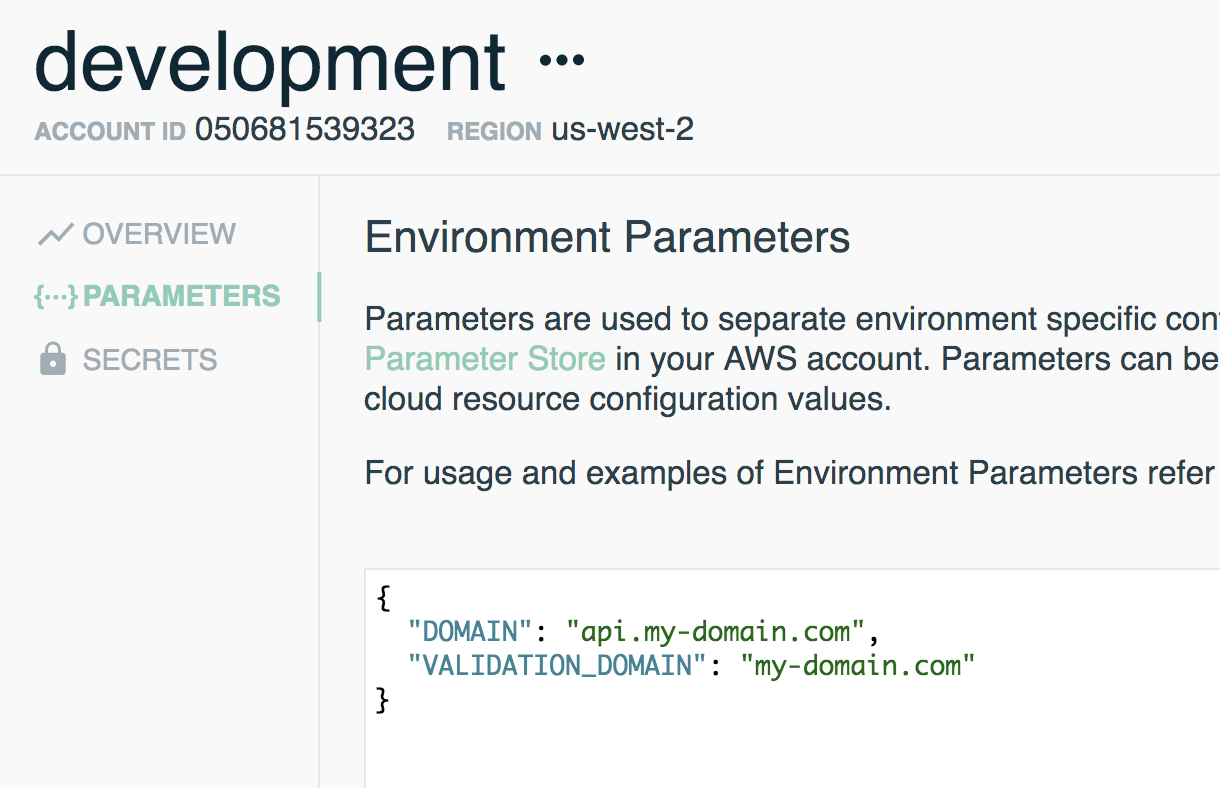
Before we begin, we'll retrieve our domain, and validation domain and store it in an environment named development. These parameters will be referenced when we create our Domain stack.
Building our API stacks
Here's a resource overview of the two API stacks we're building:
Accounts Stack
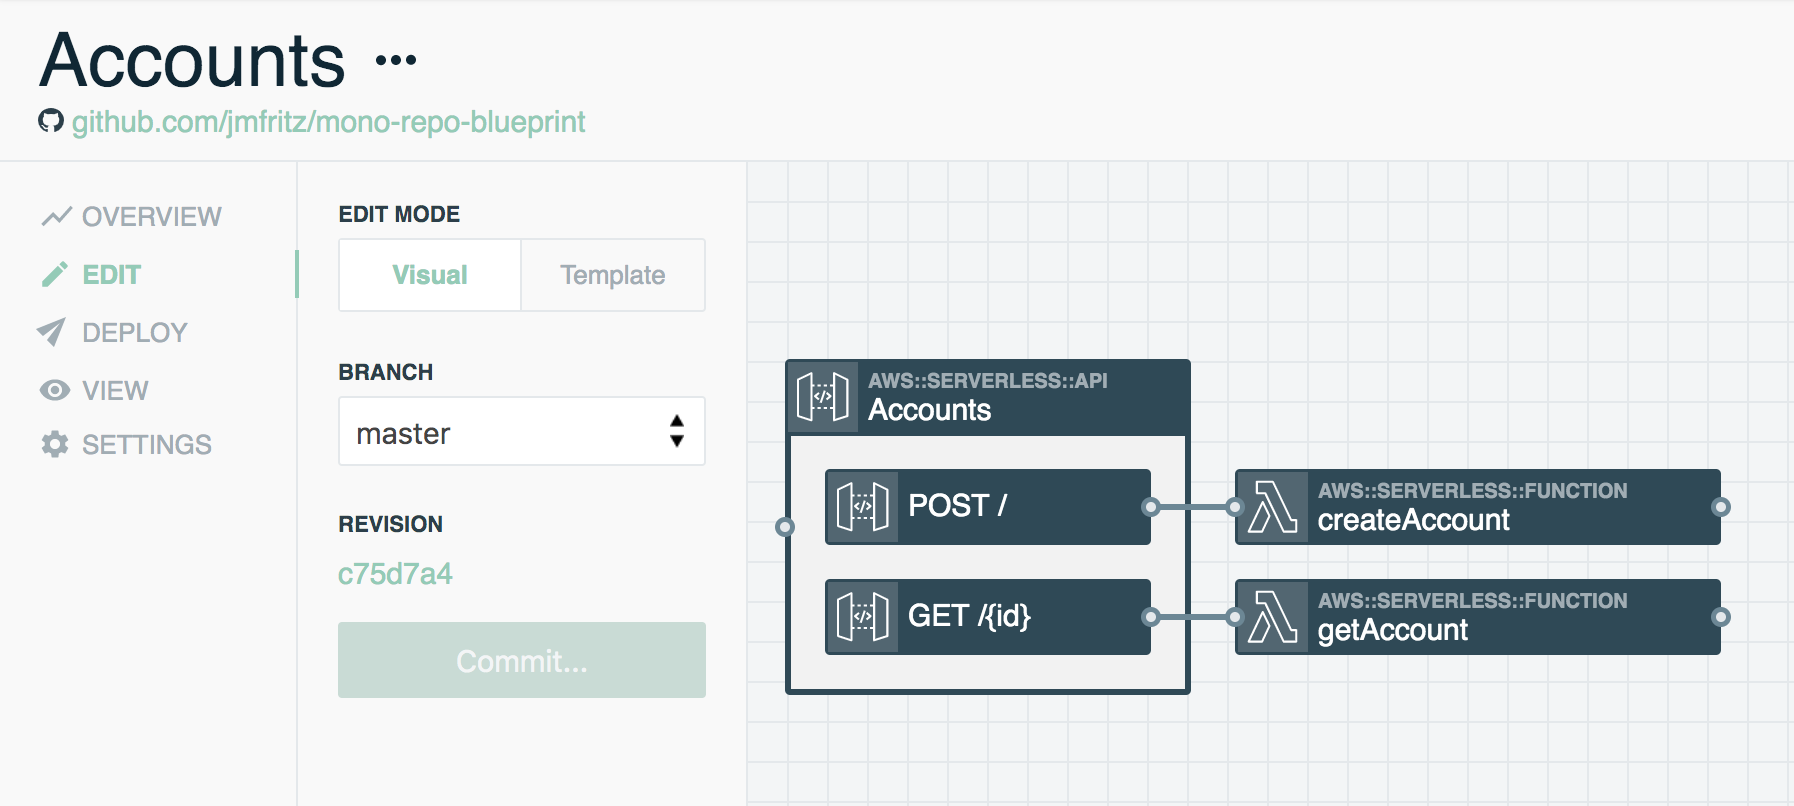
- Accounts REST API
createAccountFunctiongetAccountFunction
Users Stack
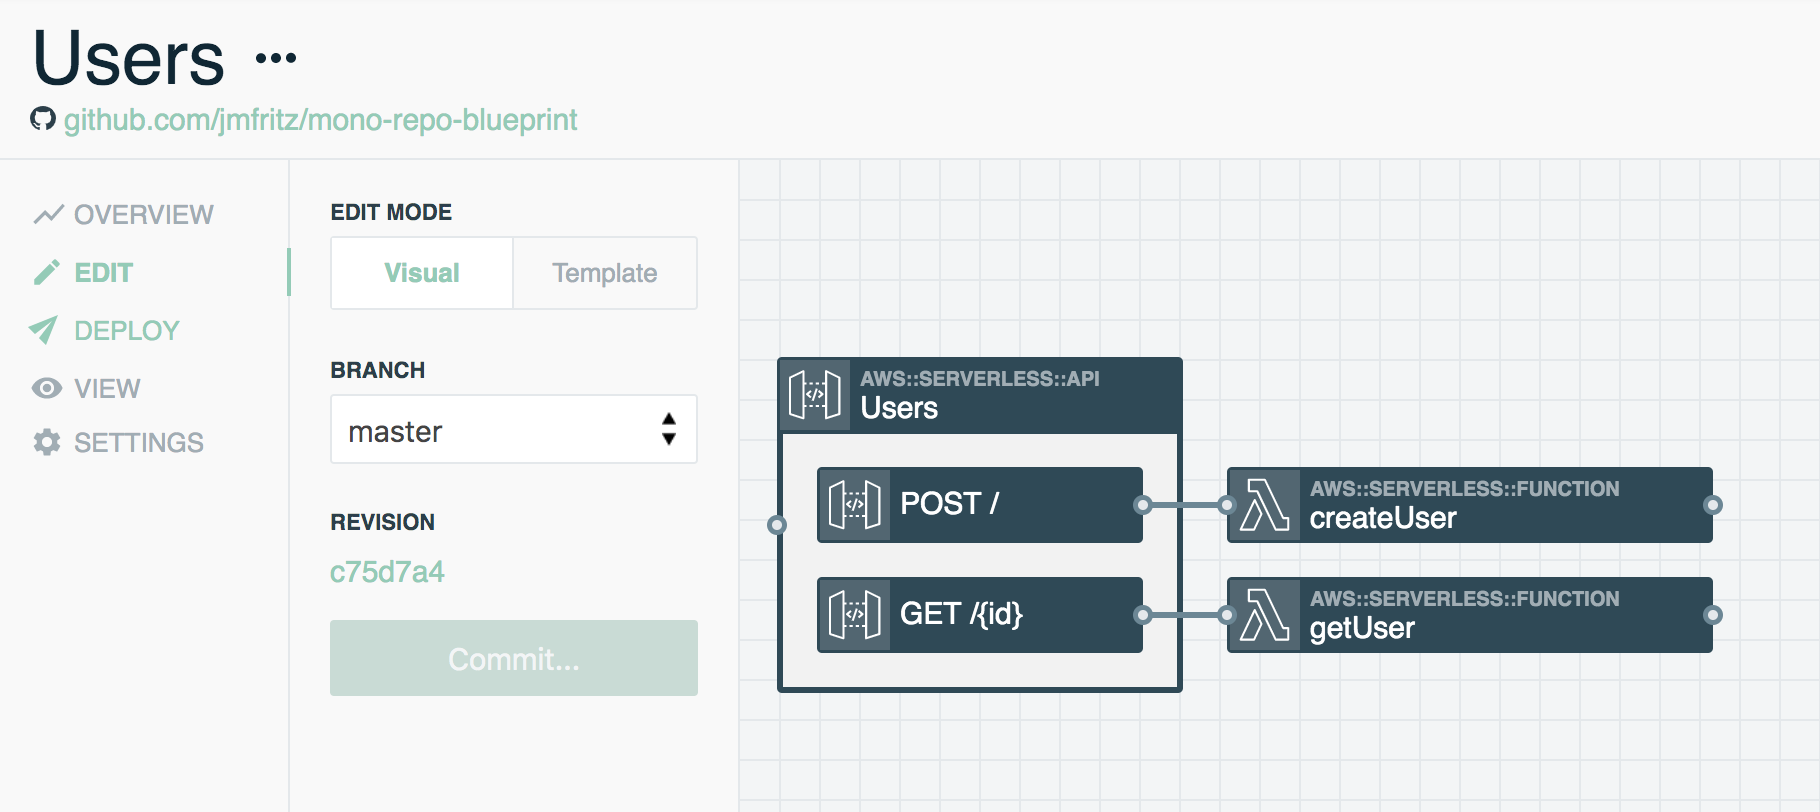
- Users REST API
createUserFunctiongetuserFunction
Let's walk through building our Accounts stack. If you already have existing APIs to work with, you can skip down to the Stack output section below.
Adding resources
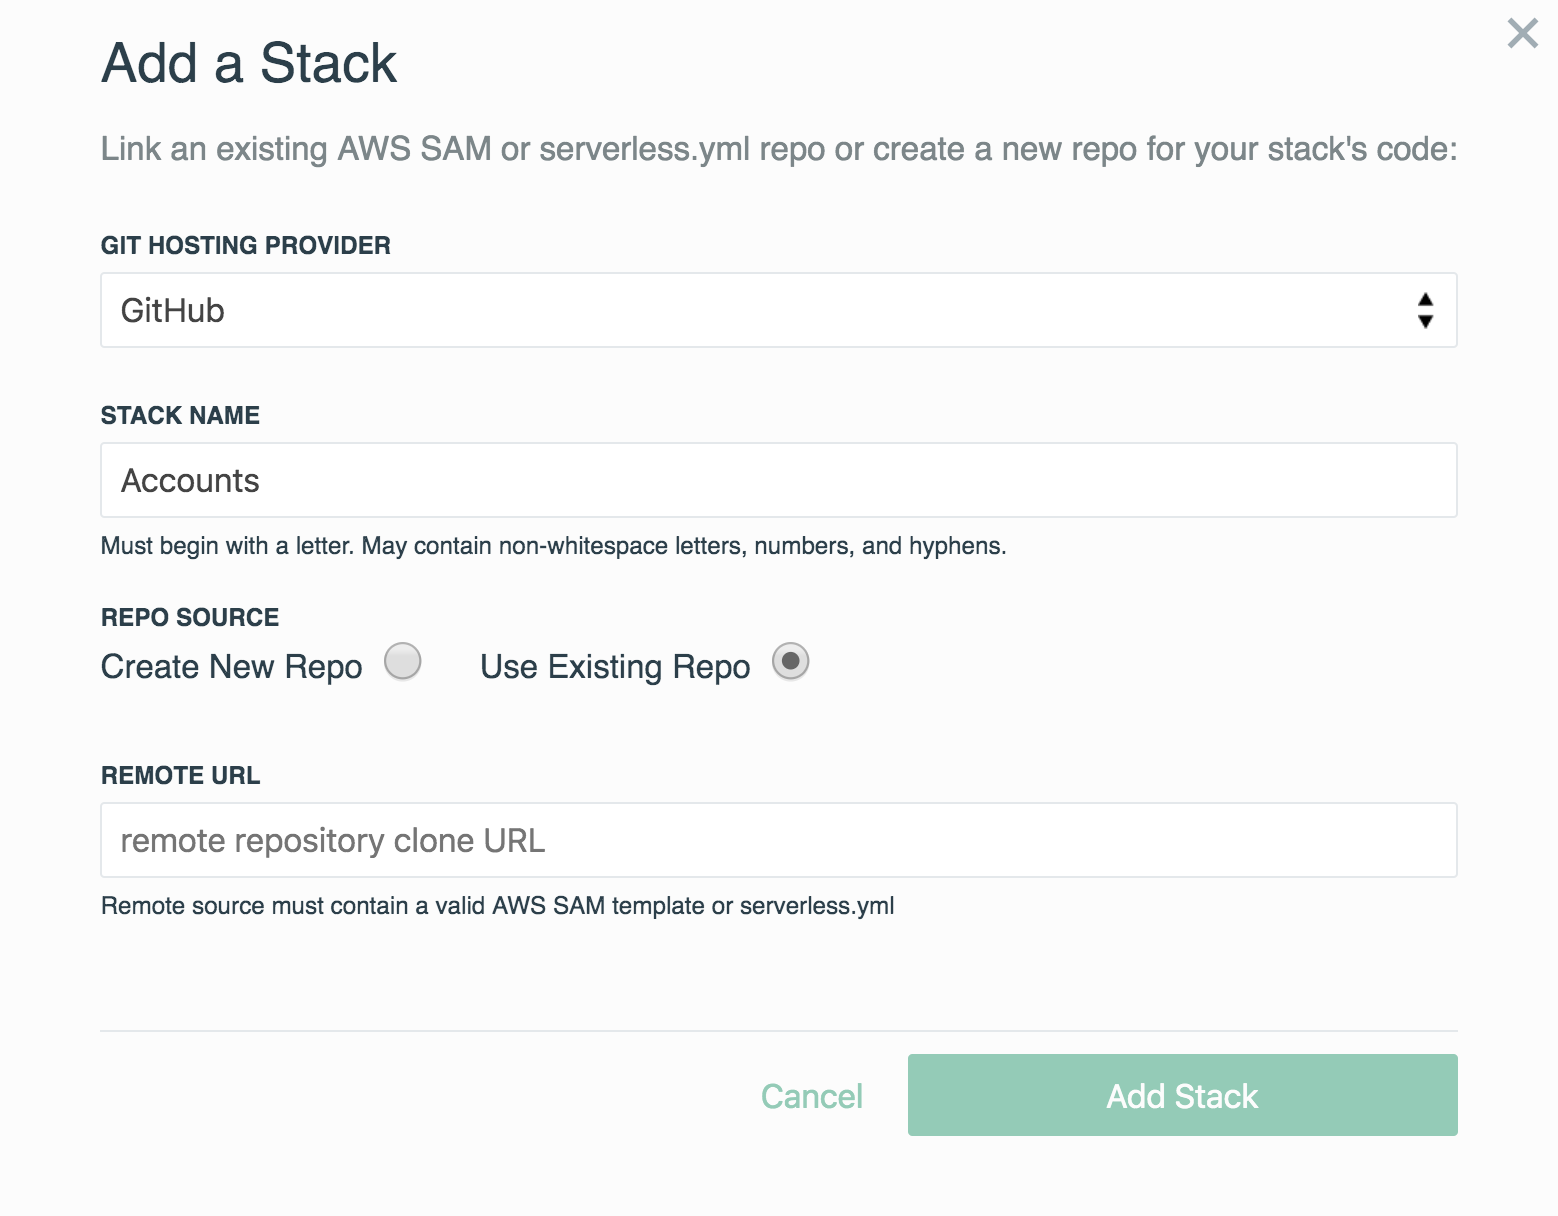
- Create a new stack named Accounts
- Since all three stacks will live in a mono-repo, select Use Existing Repo, provide your remote mono-repo URL, and select Add Stack
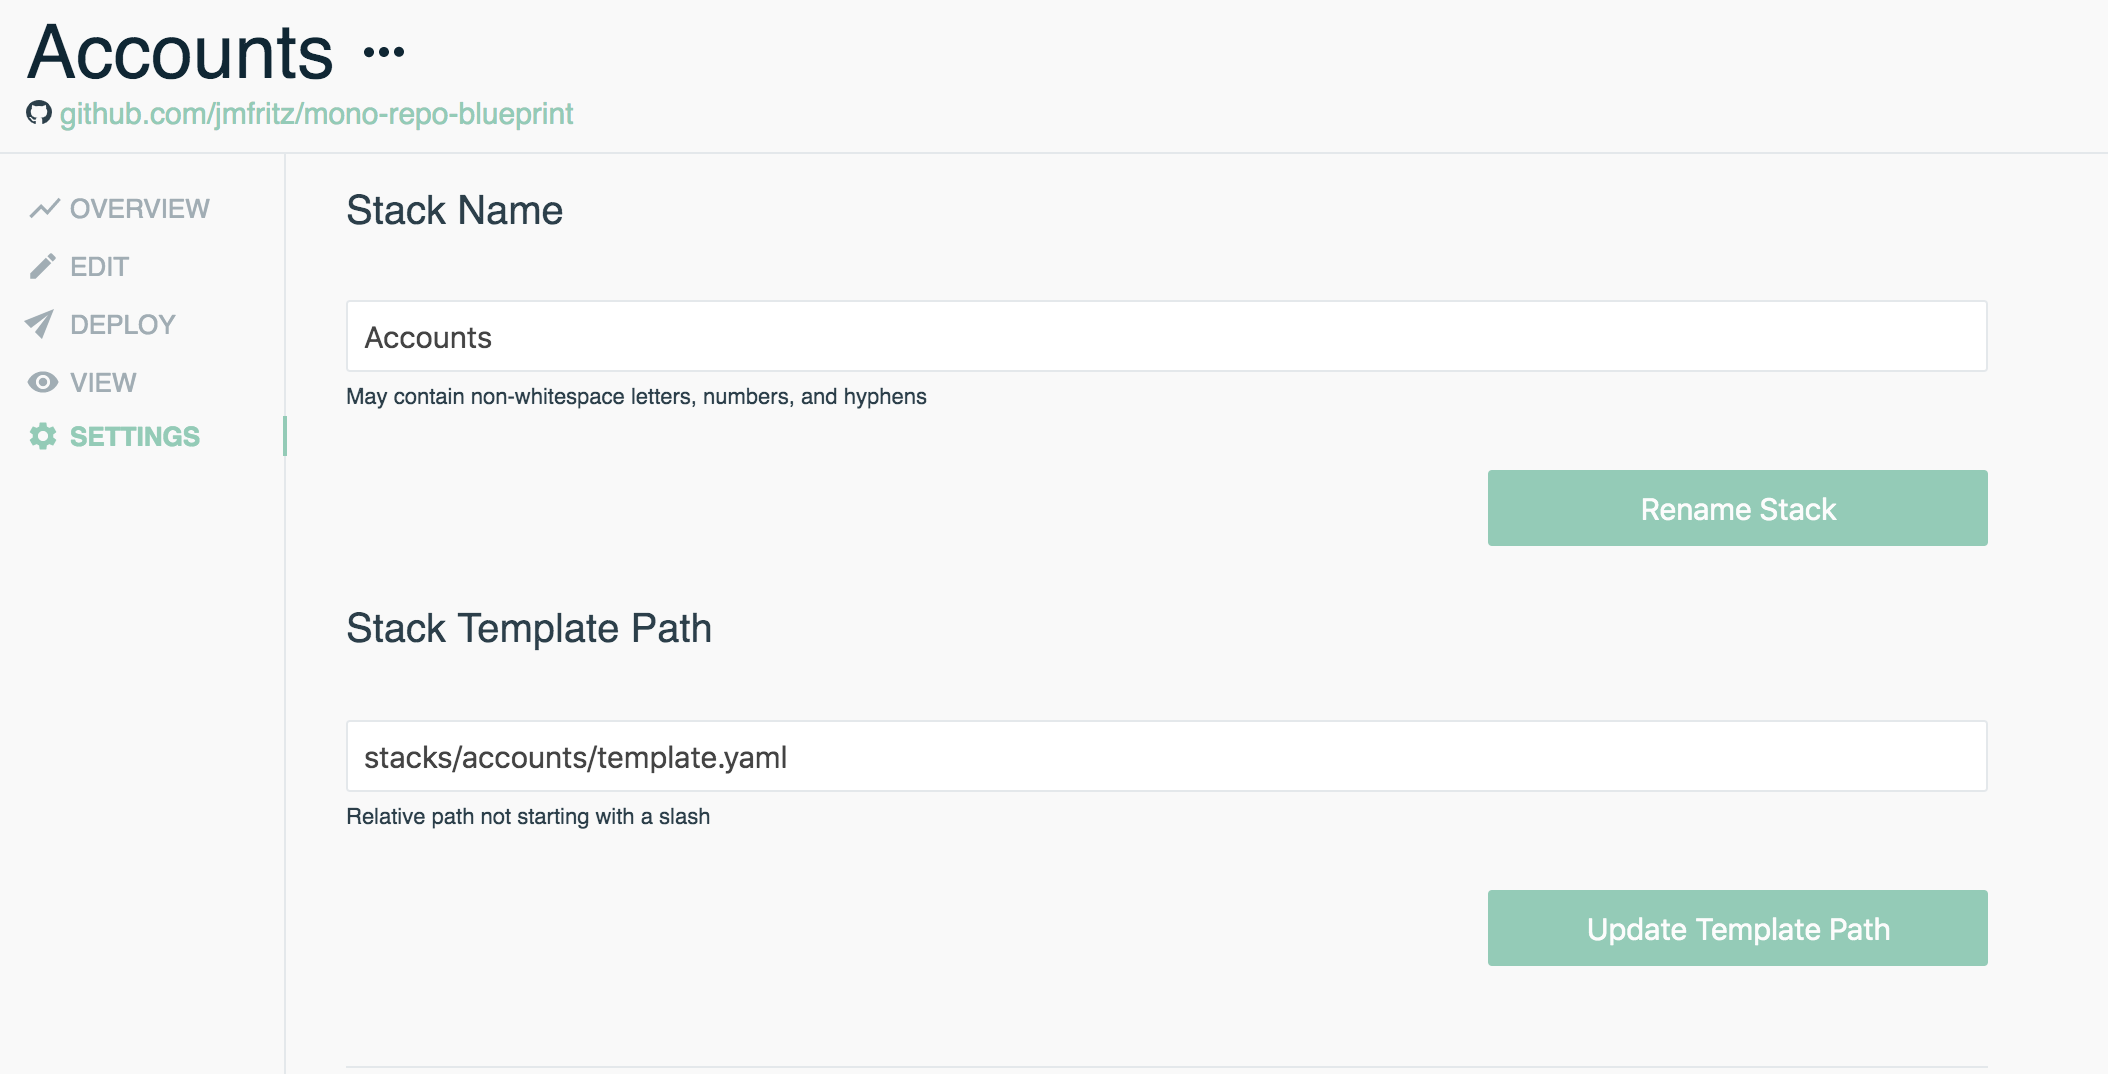
- Once the stack is created, jump to the stack Settings on the left side panel
- Provide the appropriate path for Stack Template Path. For our example, we'll define it as
stacks/accounts/template.yaml - Be sure to save these settings by hitting Update Template Path
- Jump back to Edit to being adding resources
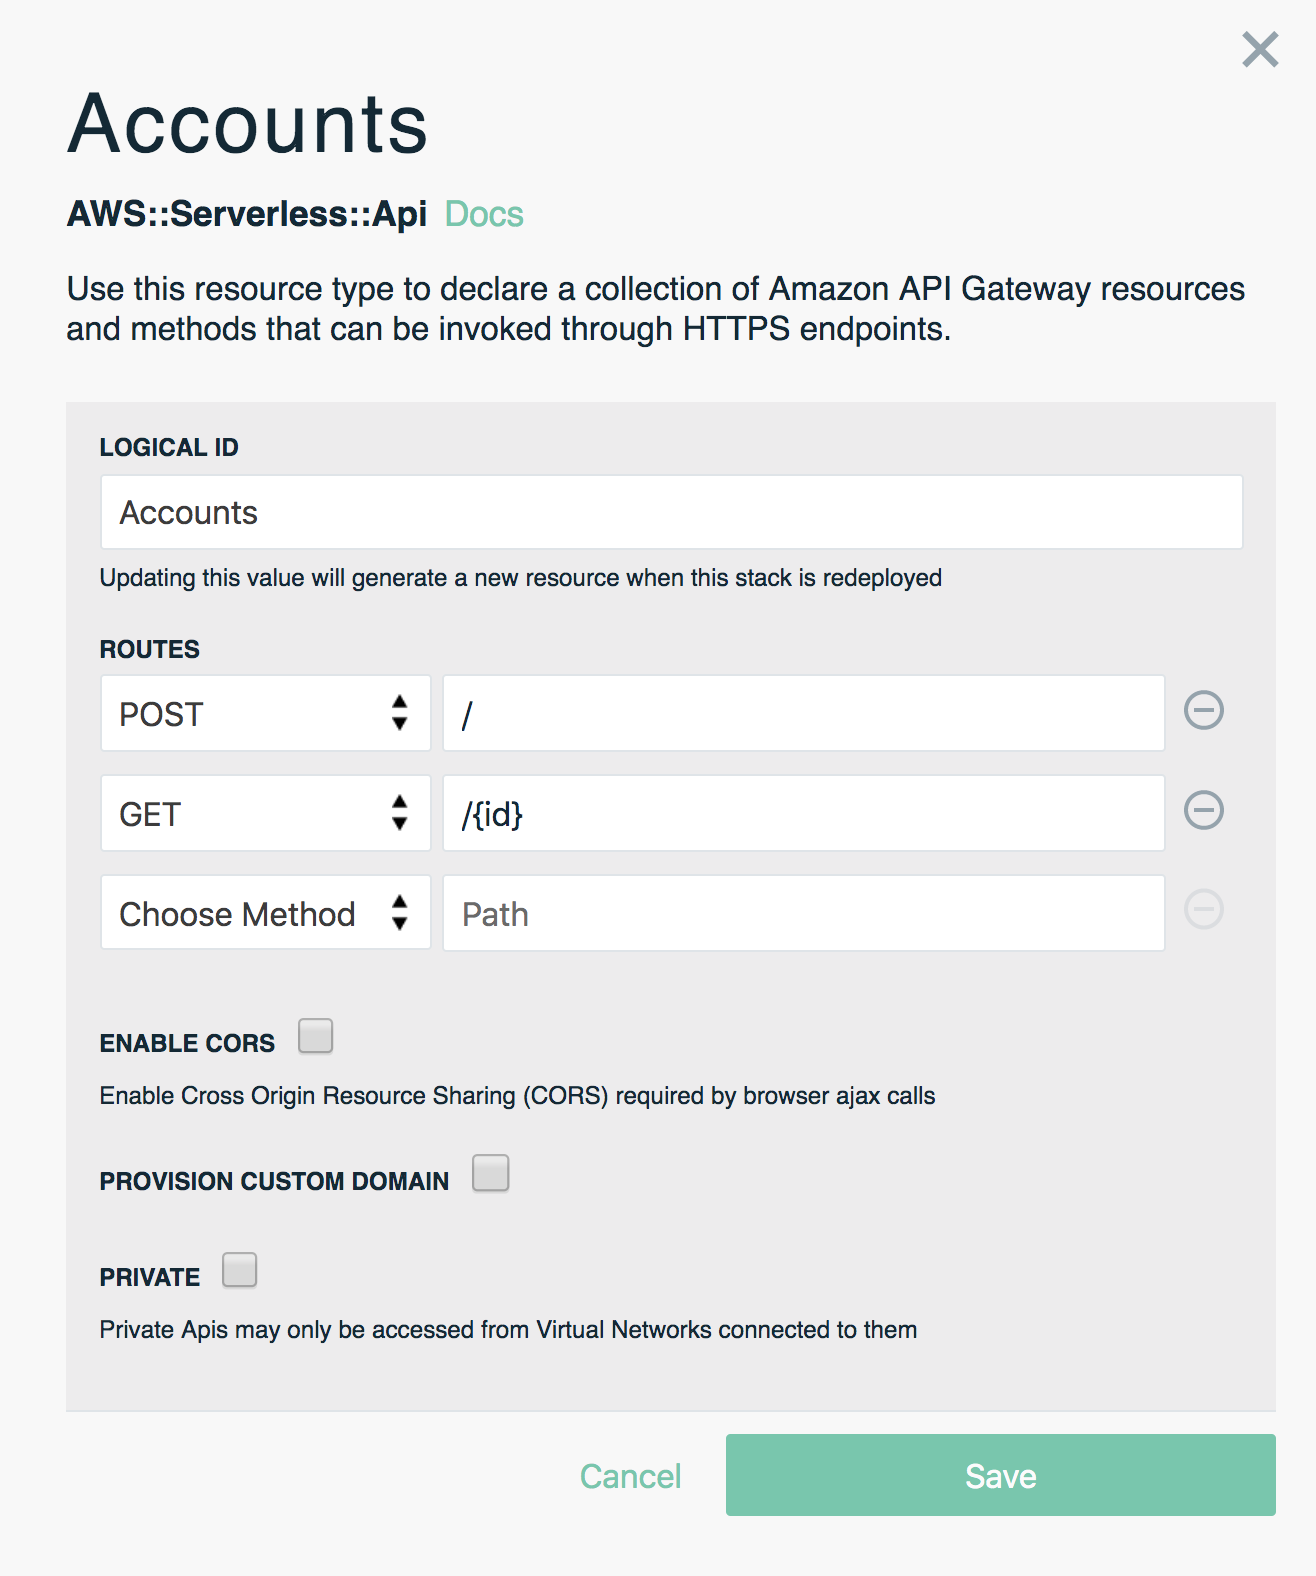
- Add a REST API resources to the canvas and name it
Accounts - Add a POST method to the
AccountsAPI and specify/as the route - Add a GET method to the
AccountsAPI and specify/{id}as the route - Save the settings for the
AccountsAPI

- Add two Function resources to the canvas and name them
createAccount&getAccount - Update each Function's Source Path to be
src/createAccount&src/getAccount - We won't worry about function settings for this example, so save both Functions with their default settings
- Use an event subscription wire (solid line) to connect the
AccountsPOST method tocreateAccount - Do the same for the
AccountsGET method andgetAccount

Stack output
We're configuring CloudFormation outputs to allow our Domain stack to reference and map to each API in the upcoming section
- Switch Edit Mode to Template and add the following YAML snippet to the end of your
template.yamlfile
  Outputs:
    RestApiId:
      Description: Accounts API Gateway Rest API ID
      Value: !Ref Accounts
      Export:
        Name: !Sub Accounts-${EnvironmentTagName}-RestApiId
    RestApiStageName:
      Description: Accounts API Gateway Rest API Stage Name
      Value: !Ref EnvironmentAPIGatewayStageName
      Export:
        Name: !Sub Accounts-${EnvironmentTagName}-StageName
In order for our Domain stack to identify our REST API's, we need to output the ID and Stage Name for our Accounts API. If you've given your API a different name, be sure to update the Value and Name to match.
- Commit these changes
- Deploy the Accounts stack to the environment of your choice. In this example, we'll be deploying into our
developmentenvironment - Run the following Stackery CLI command in the your project's root directory, or through the Stackery Dashboard
Stackery CLI
$ stackery deploy --strategy local -n Accounts -e development --aws-profile < AWS_PROFILE >
Stackery Dashboard
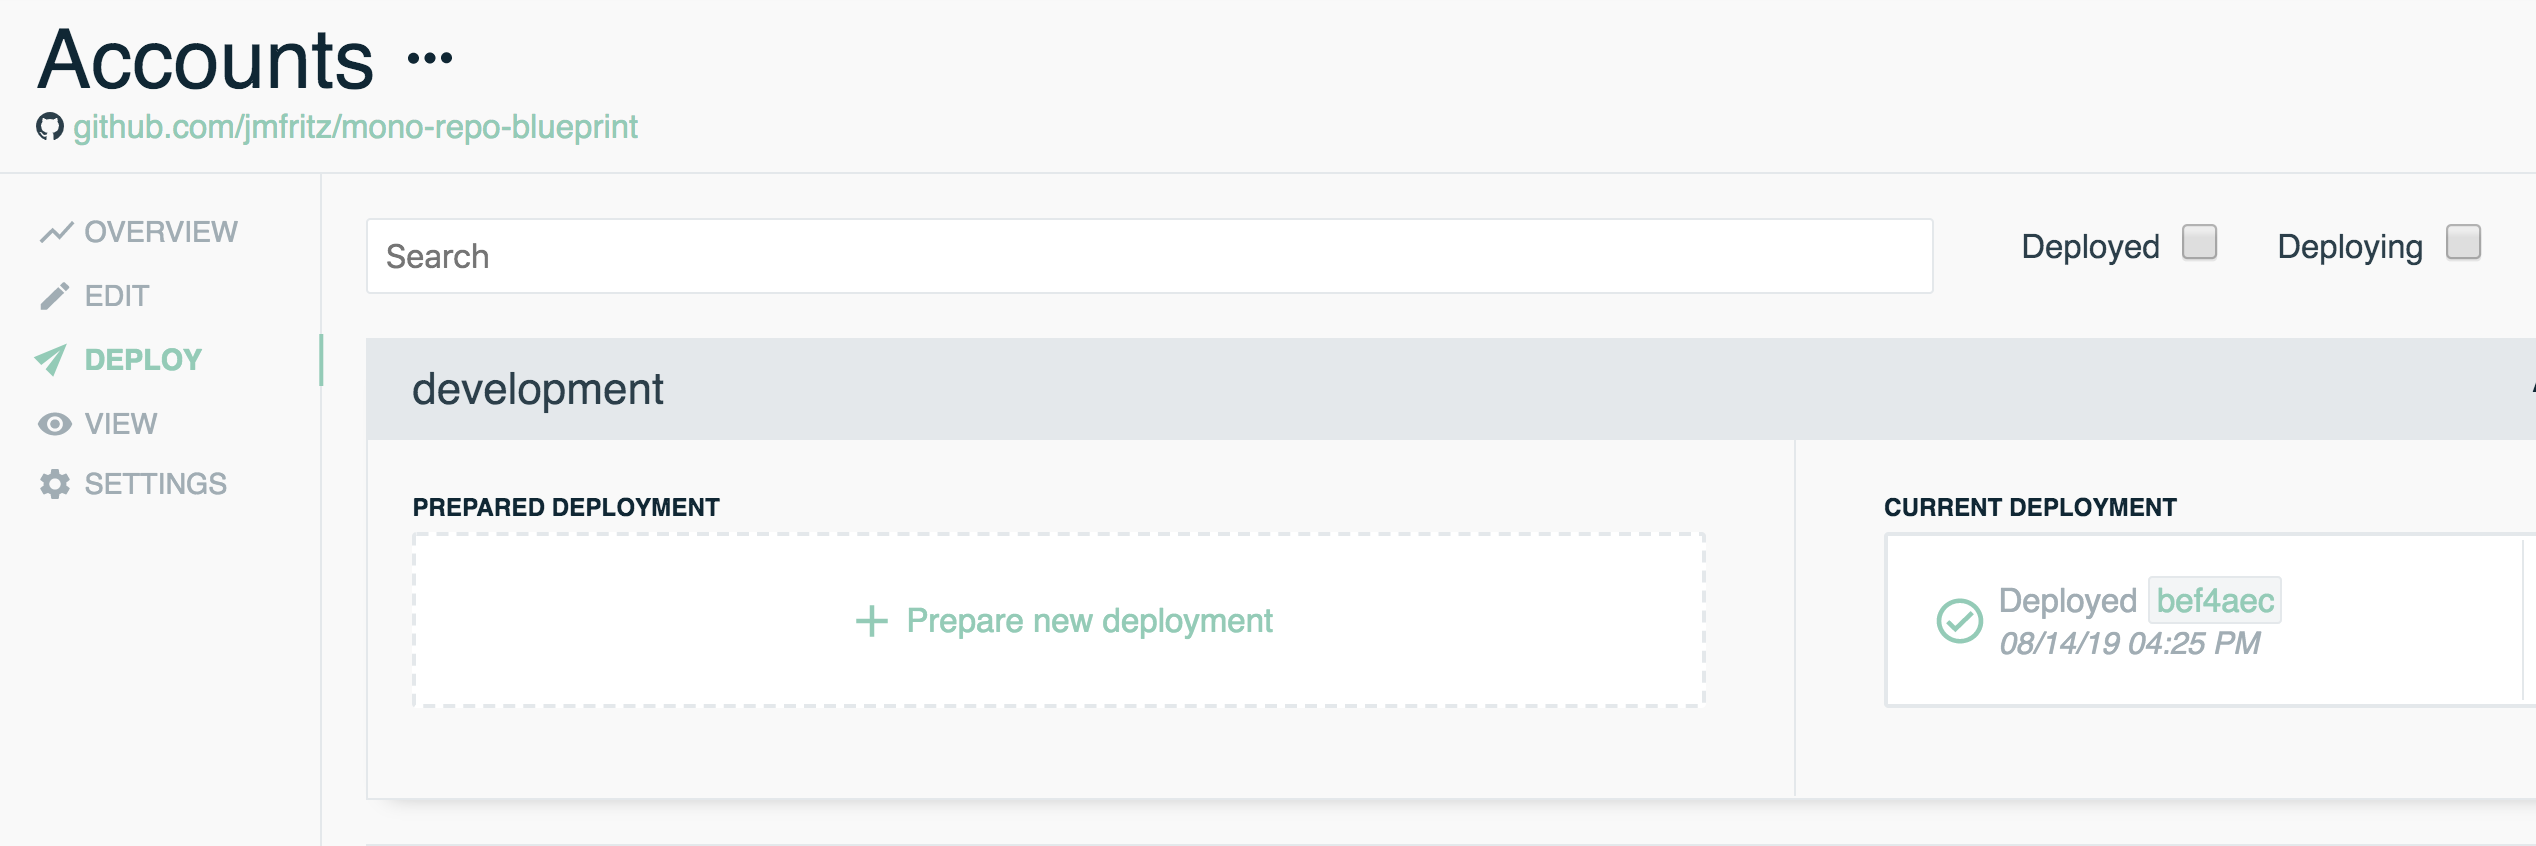
Once the Accounts stack is deployed, repeat the process for the Users stack, replacing all instances of Account(s) with User(s)
Important: The Domain stack references output provided by both Accounts and Users. Both API stacks need to be deployed before the domain stack for the initial deploy, but each stack can be redeployed separately after that.
Building our domain stack
The resources defined in this stack are not natively supported in the Stackery editor. Instead, this stack will showcase how to define AWS resources using the Anything Resource
- Create a new stack named Domain
- Since all three stacks will live in a mono-repo, select Use Existing Repo, provide your remote repository URL, and select Add Stack
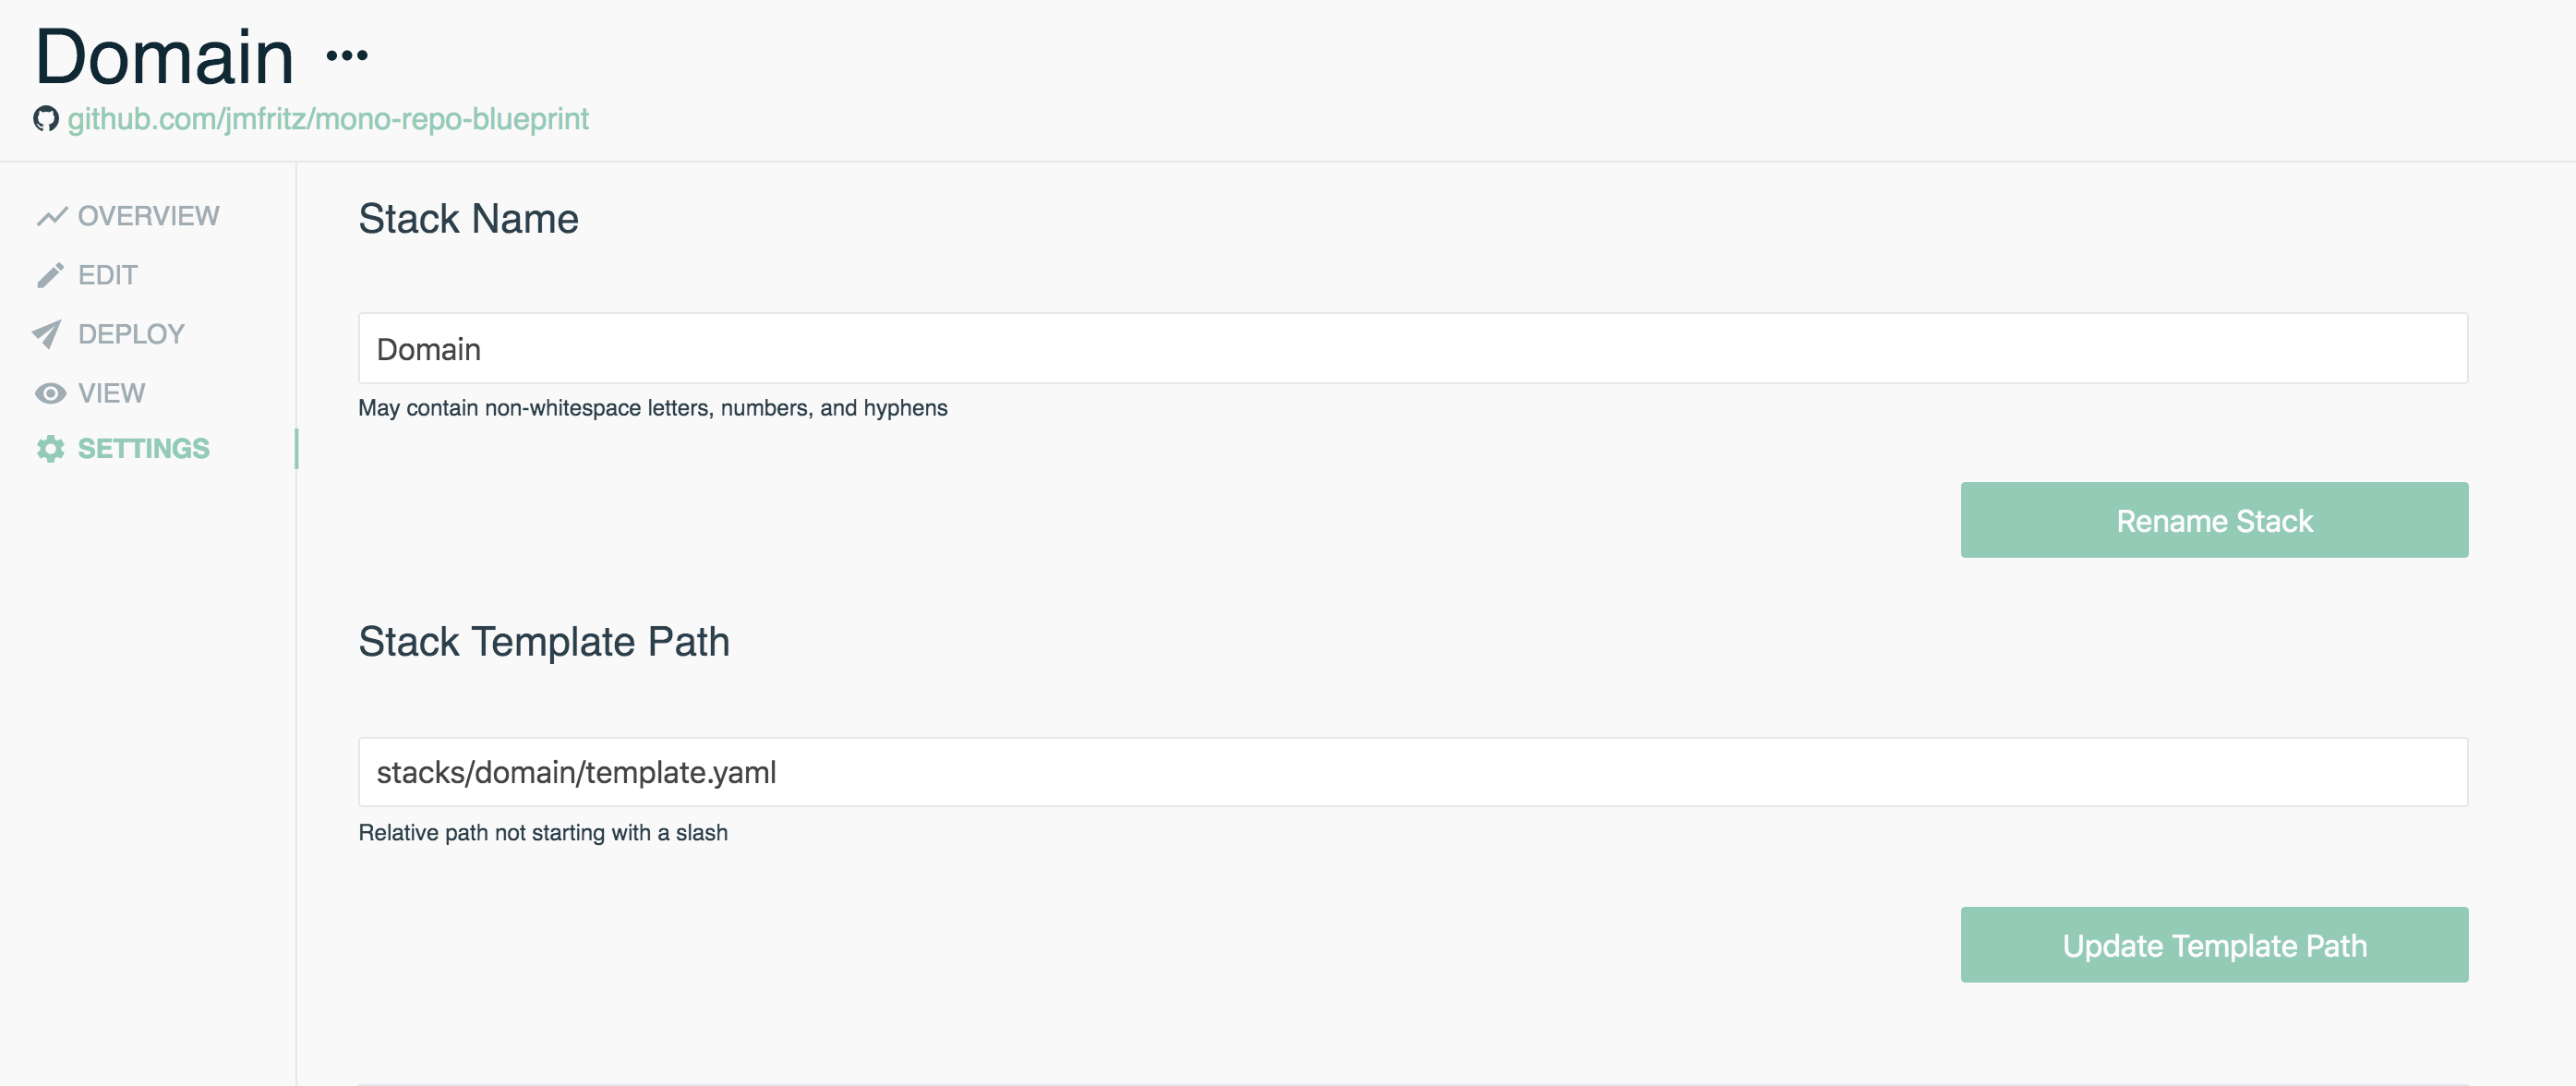
- Once the stack is created, jump to the stack Settings on the left side panel
- Provide the appropriate path for Stack Template Path. For our example, we'll define it as
stacks/domain/template.yaml - Be sure to save these settings by hitting Update Template Path
- Jump back to Edit and switch Edit Mode to Template
- Copy and paste the Domain stack's entire template.yaml into the template editor
Let's go over which resources we're using.
Resource type overview
Our Domain stack will consist of the following AWS CloudFormation resource types:
AWS::ApiGateway::DomainName
ApiDomain:
  Type: AWS::ApiGateway::DomainName
  Properties:
    DomainName: !Ref EnvConfigDOMAINAsString
    EndpointConfiguration:
      Types:
        - REGIONAL
    RegionalCertificateArn: !Ref ApiCertificate
ApiDomain is the custom domain name shared by our Accounts and Users APIs.
The DomainName property references the value of DOMAIN stored in our development environment in the previous section. For the RegionalCertificateArn, we're referencing ApiCertificate, the next resource we'll be configuring.
AWS::CertificateManager::Certificate
ApiCertificate:
  Type: AWS::CertificateManager::Certificate
  Properties:
    DomainName: !Ref EnvConfigDOMAINAsString
    DomainValidationOptions:
      - DomainName: !Ref EnvConfigDOMAINAsString
        ValidationDomain: !Ref EnvConfigVALIDATIONDOMAINAsString
    ValidationMethod: EMAIL
When this stack is deployed, ApiCertificate will request an AWS Certificate Manager (ACM) certificate that will be used to verify and enable secure connections to our shared API domain.
The DomainName property references the same value as ApiDomain as well as utilizes the VALIDATION_DOMAIN environment parameter we set earlier. The certificate's ValidationMethod is set as EMAIL.
When CloudFormation creates this resource type, a confirmation email will be sent to the domain owner, requesting validation of the certificate. In the console, you'll notice this resource will stall on CREATE_IN_PROGRESS until the owner confirms via the email.
AWS::ApiGateway::BasePathMapping
ApiUsersPathMapping:
  Type: AWS::ApiGateway::BasePathMapping
  Properties:
    BasePath: users
    DomainName: !Ref ApiDomain
    RestApiId:
      Fn::ImportValue: !Sub Users-${EnvironmentTagName}-RestApiId
    Stage:
      Fn::ImportValue: !Sub Users-${EnvironmentTagName}-StageName
ApiAccountsPathMapping:
  Type: AWS::ApiGateway::BasePathMapping
  Properties:
    BasePath: accounts
    DomainName: !Ref ApiDomain
    RestApiId:
      Fn::ImportValue: !Sub Accounts-${EnvironmentTagName}-RestApiId
    Stage:
      Fn::ImportValue: !Sub Accounts-${EnvironmentTagName}-StageName
Rounding up our Domain stack's resources are our two base path mappings: ApiUsersPathMapping & ApiAccountsPathMapping.
These resources will set our provided domain as the base path for both APIs, allowing them to share.
The BasePath property is the https://< Your-Domain >/< Base-Path> value we want each API to be under.
For example, our Accounts API will be reachable at
- POST:
https://< Your-Domain >/accounts/ - GET:
https://< Your-Domain >/accounts/{id}
Each mapping resource has a property for the RestApiId and Stage that each API stack outputs and is what maps each API to the appropriate path.
Stack parameters and metadata
Parameters:
  EnvironmentTagName:
    Type: String
    Description: Environment Name (injected by Stackery at deployment time)
  EnvConfigDOMAINAsString:
    Type: AWS::SSM::Parameter::Value<String>
    Default: /<EnvironmentName>/DOMAIN
  EnvConfigVALIDATIONDOMAINAsString:
    Type: AWS::SSM::Parameter::Value<String>
    Default: /<EnvironmentName>/VALIDATION_DOMAIN
Metadata:
  EnvConfigParameters:
    EnvConfigDOMAINAsString: DOMAIN
    EnvConfigVALIDATIONDOMAINAsString: VALIDATION_DOMAIN
If you've used Stackery environment parameters to configure resources before, the above YAML snippet should look familiar. Parameters and Metadata get added to the stack's template.yaml whenever you configure a resource using the Param input.
We've added this snippet directly to the end of our Domain stack's template.yaml after our Resources have been defined. We won't go too much into detail, as this is just how we retrieve our DOMAIN and VALIDATION_DOMAIN parameter values from AWS Systems Manager parameter store.
Commit and push these changes, then deploy Domain using the Stackery CLI or the Stackery Dashboard.
Validating certificates on deploy
As mentioned previously, when a ACM certificate is deployed by CloudFormation, it sends an email to the domain owner to validate the use of the domain. Have the domain owner be on the look out for an email with the subject of Certificate approval for ....
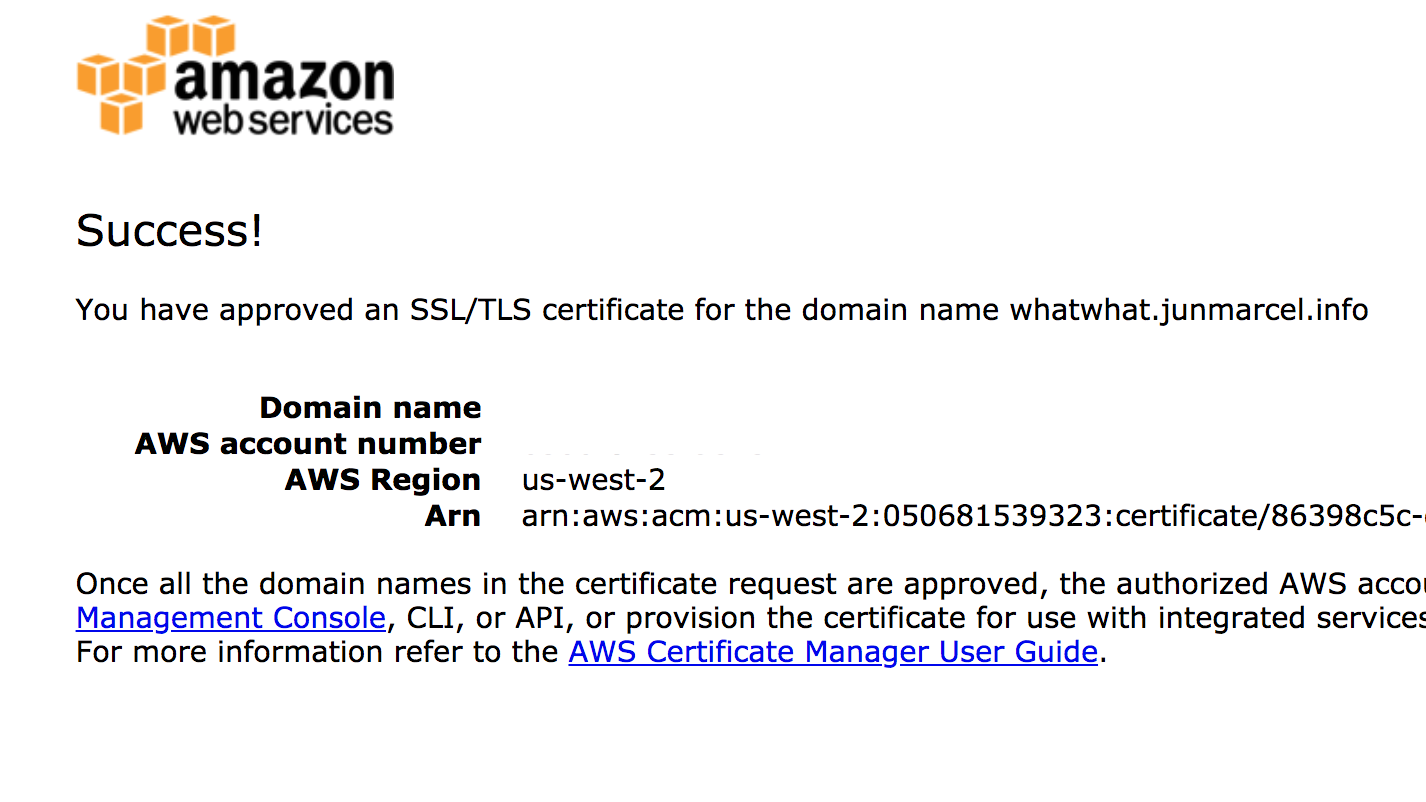
Follow the link to approve the certificate and you'll end up on a screen like the one below:
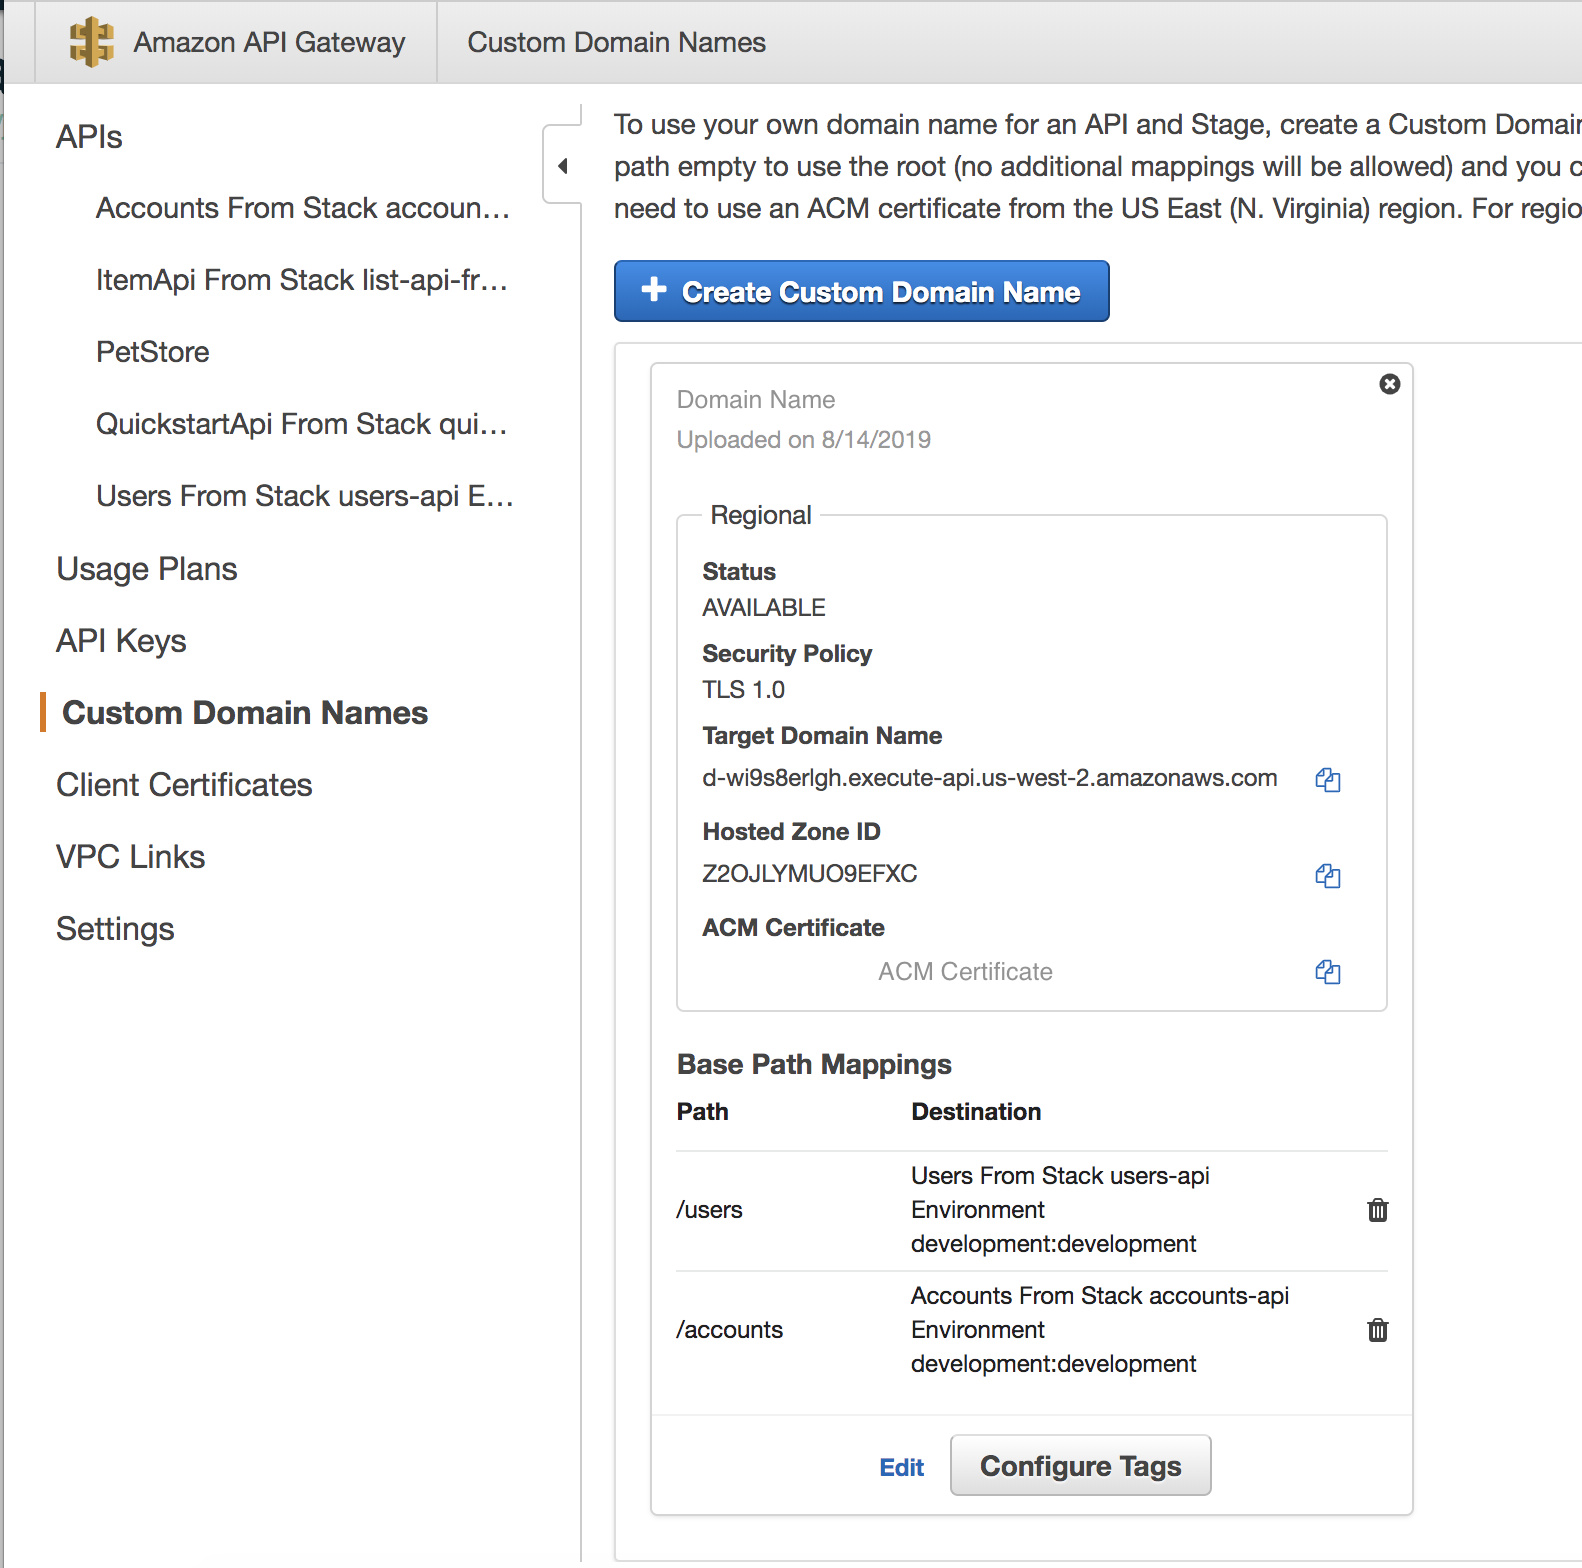
If you're monitoring your deployment in CloudFormation, you'll notice the stack creation continue. Once it's complete, navigate to the AWS API Gateway console and on the left panel, select Custom Domain Names.
This page displays our custom domain and at the bottom, the base path mappings associated with each one of our API's.
Testing the APIs
To test out our shared domain, copy the Target Domain Name in order to construct the following curl statement:
# curl https://< Target Domain Name >/accounts/5 -H 'Host: < Domain Name >' -v
$ curl https://d-wi97rurlgh.execute-api.us-east-1.amazonaws.com/accounts/5 -H 'Host: api.my-domain.com' -v
We haven't written any function code backing these endpoints, so you should receive an empty 200 response after running the command.
The initial Target Domain Name was used in our test command, so be sure to create a CNAME entry in Route53 or your DNS service to sync it to your domain.
